
Start With the Right Three Settings
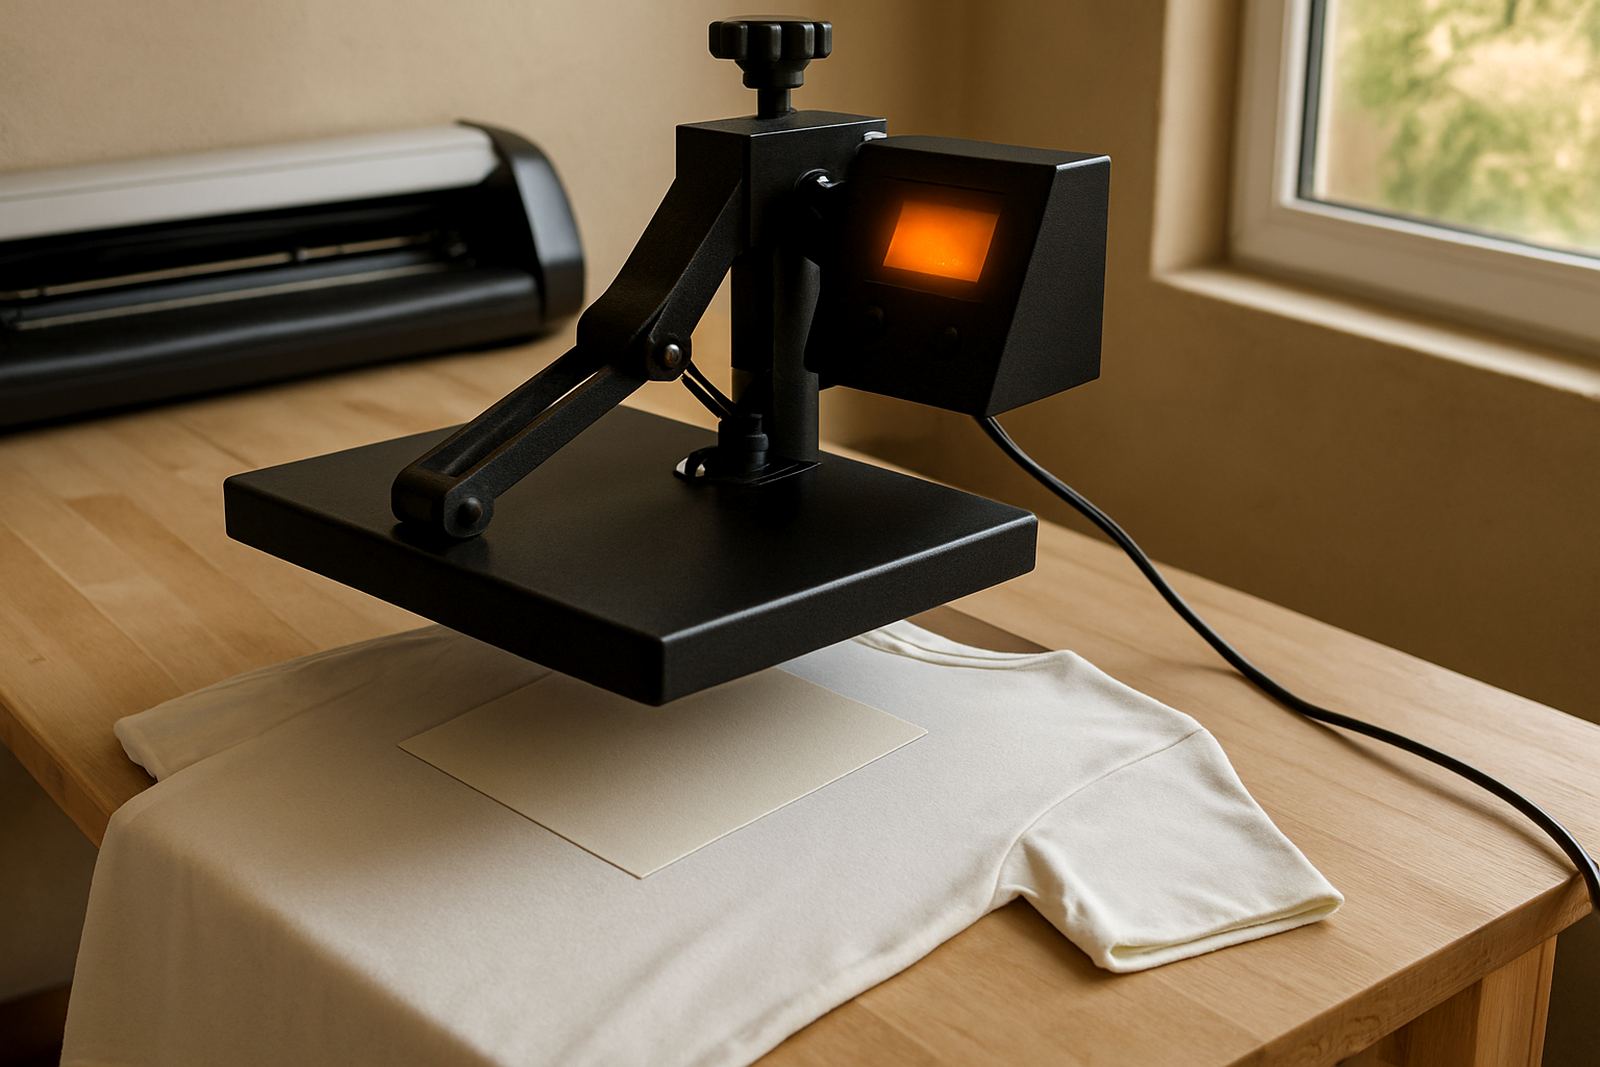
Pressing time is only one part of the job. For dependable transfers, you need the right combination of time, temperature and pressure. If one is off, the result can look fine at first then lift at the edges after a wash or two. That is why it helps to treat every press as a three step check, not just a countdown.
Different films, fabrics and blanks behave differently. Cotton usually takes heat well, while polyester and blends need a bit more care to avoid shine or scorch marks. In Johannesburg, a cold winter morning in Kya Sand can also mean your garment starts out cooler than expected, so a press that works at midday may need a small adjustment first thing.
- Check the film type and follow its recommended press range.
- Confirm the fabric content before you start.
- Preheat the press until it is fully stable, not just switched on.
- Do one test press on a spare item when changing materials.
How Time Changes the Finish
Time tells the heat how long to work into the adhesive or carrier layer. Too little time often gives weak bonding, while too much can flatten texture, leave a gloss patch, or make fine details spread. With HTV, a few extra seconds might be the difference between a neat edge and a messy pull-back on small lettering.
As a rule, start with the supplier range, then adjust in small steps of 2 to 5 seconds. Keep notes for each material, especially if you cut and press the same product often. A cotton T shirt, a canvas bag, and a promotional cap will not all behave the same. If you are running a side hustle from home in Midrand or Roodepoort, those notes save time and reduce waste when orders start stacking up.
- Shorter times suit thin fabrics and lighter films.
- Longer times may suit thick garments or layered designs.
- When in doubt, test before you run a full batch.
- Do not keep opening the press to check, as that loses heat.
Pressure: Light, Medium or Firm
Pressure is what helps the film make full contact with the garment. Many beginners get the heat right but leave the pressure too light, especially on thicker hoodies or tote bags. If the pressure is too low, the transfer can lift at the corners. If it is too high, the item can flatten unevenly or leave press marks.
On a clamshell or swing press, use the machine setting as a starting point, then test by pressing a folded scrap of fabric. You should feel even resistance across the platen, not a soft loose close. If your press is used in a workshop where the temperature changes during the day, recheck pressure after cleaning or moving the machine because settings can shift slightly.
- Light pressure suits delicate fabrics and some thin films.
- Medium pressure is common for standard HTV on T shirts.
- Firm pressure may be needed for thicker garments and textured surfaces.
- Uneven pressure usually shows up first on the corners and edges.
A Simple Pressing Routine You Can Repeat
A repeatable routine gives better results than guessing each time. Start by warming the press properly, then lay the garment flat and remove moisture with a brief pre-press. Position the design, cover it with the correct protective sheet, then press for the set time. Let it cool or peel while following the film instructions, because hot peel and cold peel films behave differently.
Work cleanly. Dust, lint and even a small crease can spoil the bond. In coastal areas near Durban or Gqeberha, humidity can make fabrics feel damp by afternoon, so a short pre-press is especially useful. In Gauteng, load-shedding can interrupt your workflow, so if your press has just come back on, give it time to reach a stable temperature before pressing the next item.
- Pre-press for 3 to 5 seconds to remove moisture and wrinkles.
- Use a lint roller on dark or fluffy garments.
- Align the artwork before lowering the press.
- Keep a clean sheet between the design and the platen.
Common Problems and What They Usually Mean
If a transfer is failing, the fault often shows up in the finish. Edges lifting usually point to low pressure or too little time. A shiny or scorched area often means too much heat, too long under the press, or the wrong setting for the fabric. If the design is patchy, the garment may have had moisture in it, or the heat may not have been even across the platen.
Use the failure as a clue. Do not change everything at once. Adjust one setting, then test again. That approach is much quicker than trying random combinations and wasting blanks. For small businesses in Sandton, Pretoria East or Randburg, a short test run before a customer order can save a lot of money and stress.
- Lifting corners: increase pressure or add a few seconds.
- Scorch marks: lower temperature or shorten the press time.
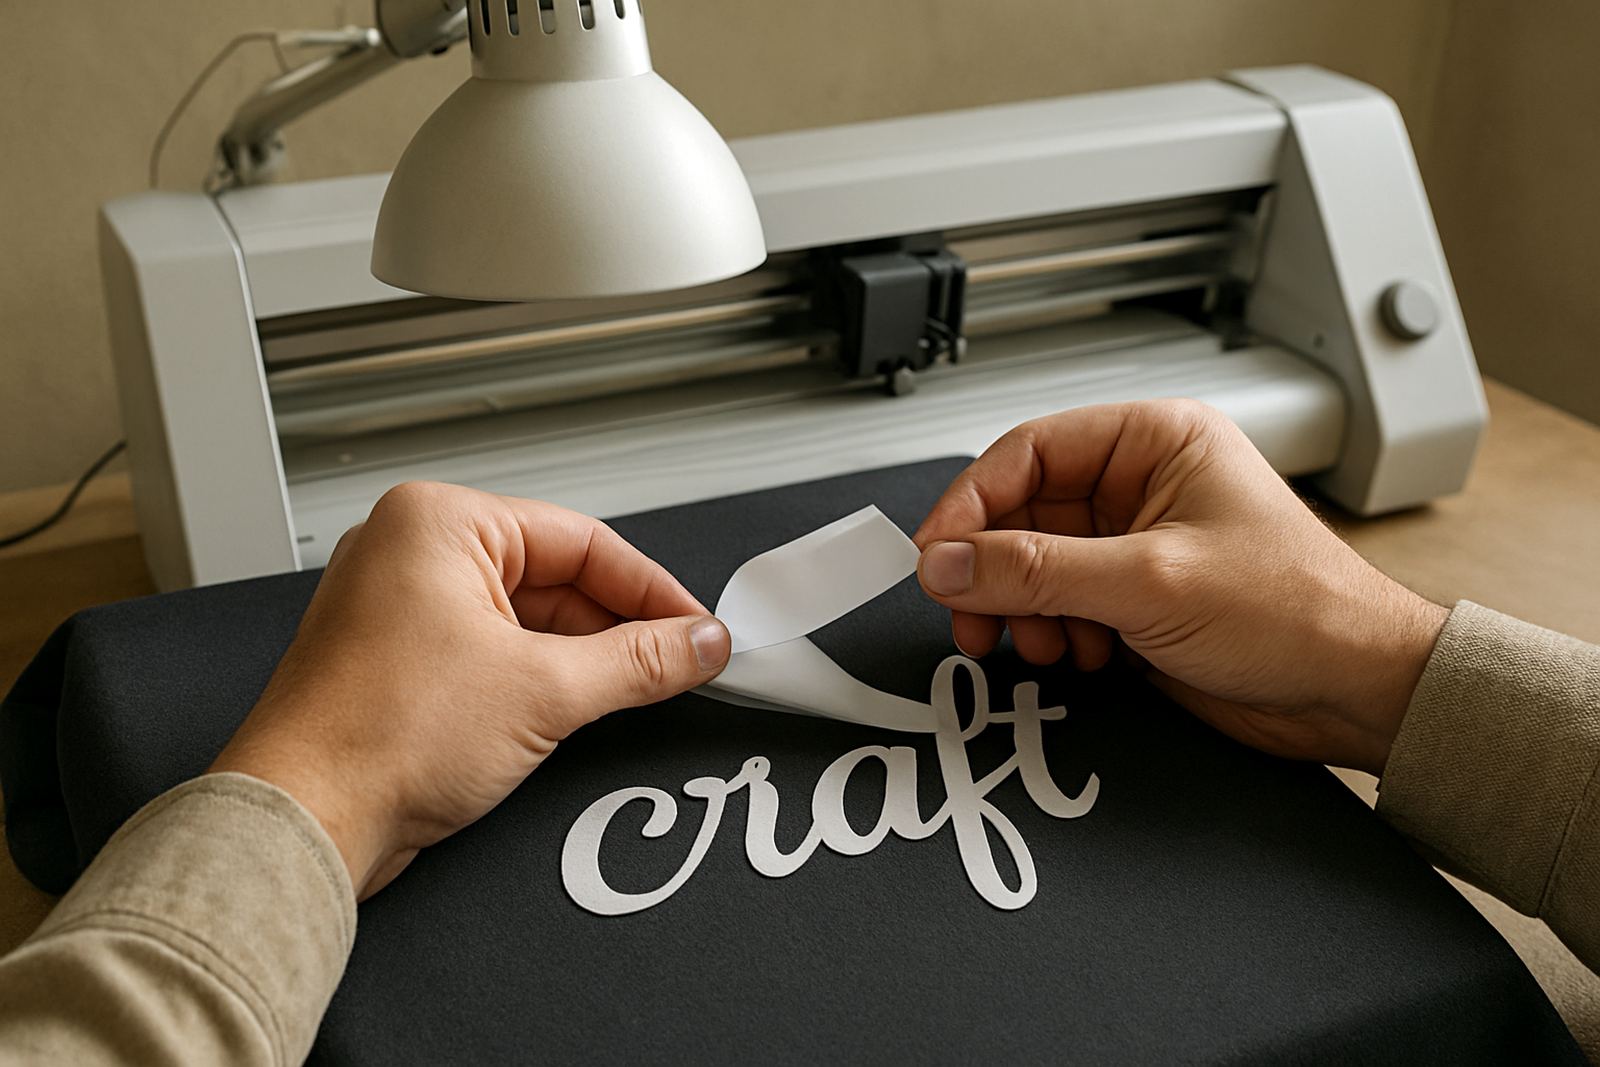
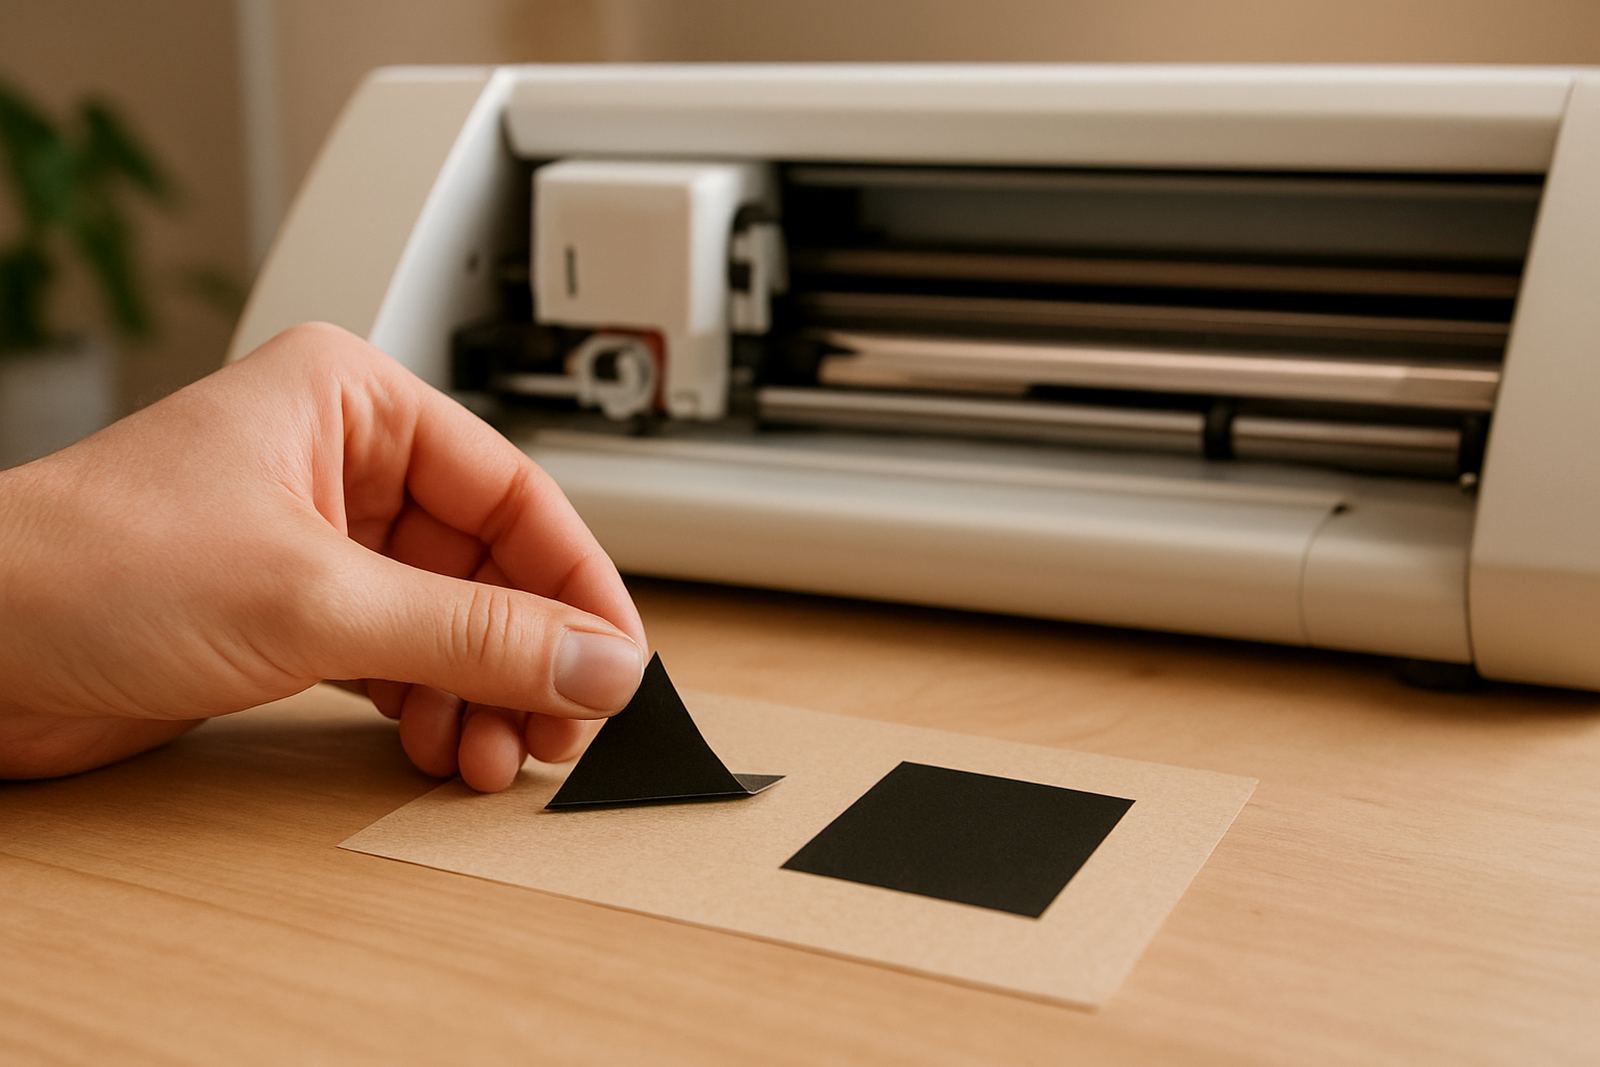
- Poor detail: check blade cut quality and weed the film properly.
- Patchy adhesion: pre-press longer and check for damp fabric.
Keep a Press Log So You Stop Guessing
The quickest way to improve your results is to record what works. A simple log with film type, garment type, temperature, time, pressure and peel method will help you repeat good jobs and spot patterns. After a few weeks, you will know which settings work best for school shirts, cotton tote bags, and thicker workwear.
That record also helps when you change suppliers or take on a new order type. If you are pressing from home, a workshop or a small shop, one page of notes can save an afternoon of trial and error. It also makes training easier for staff, because everyone follows the same process instead of relying on memory.
- Write down the material, colour and fabric blend.
- Note the exact time and temperature used.
- Record hot peel, warm peel or cold peel results.
- Keep the best samples as reference pieces.
If you need help setting up your cutter, checking blade depth, testing material or sorting out cut quality before pressing, our Kya Sand team assists makers across Johannesburg and nationwide.