Why HTV Needs To Be Mirrored Before Cutting
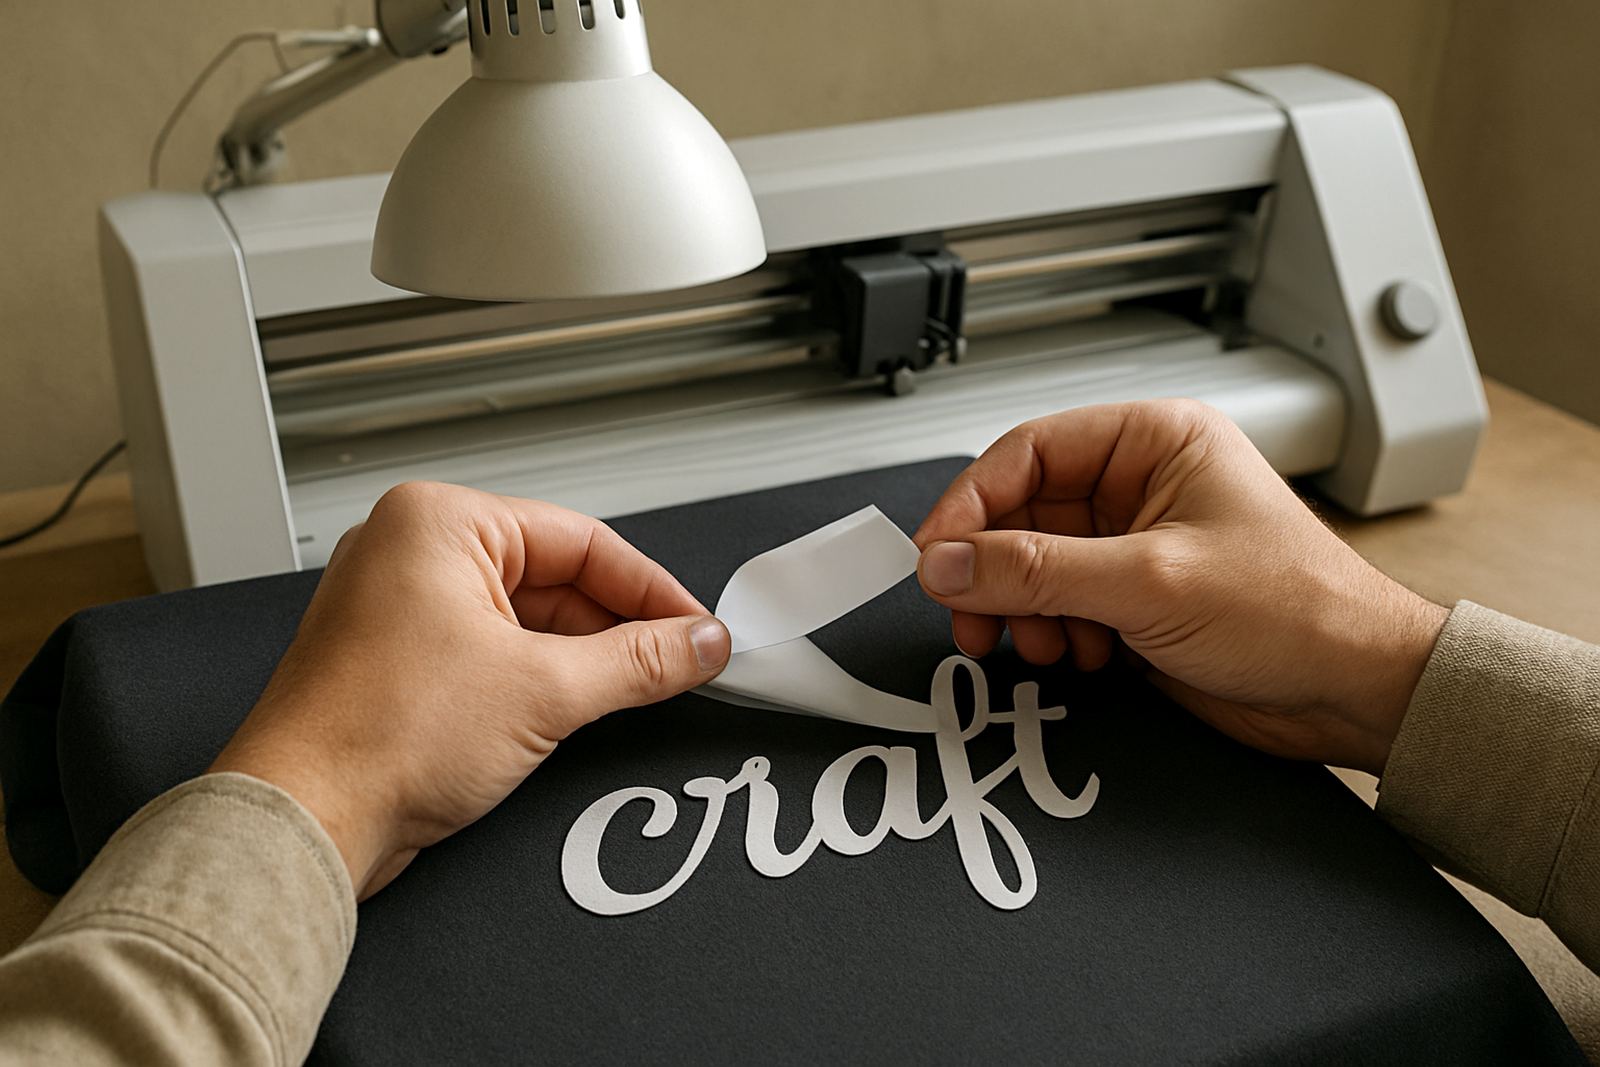
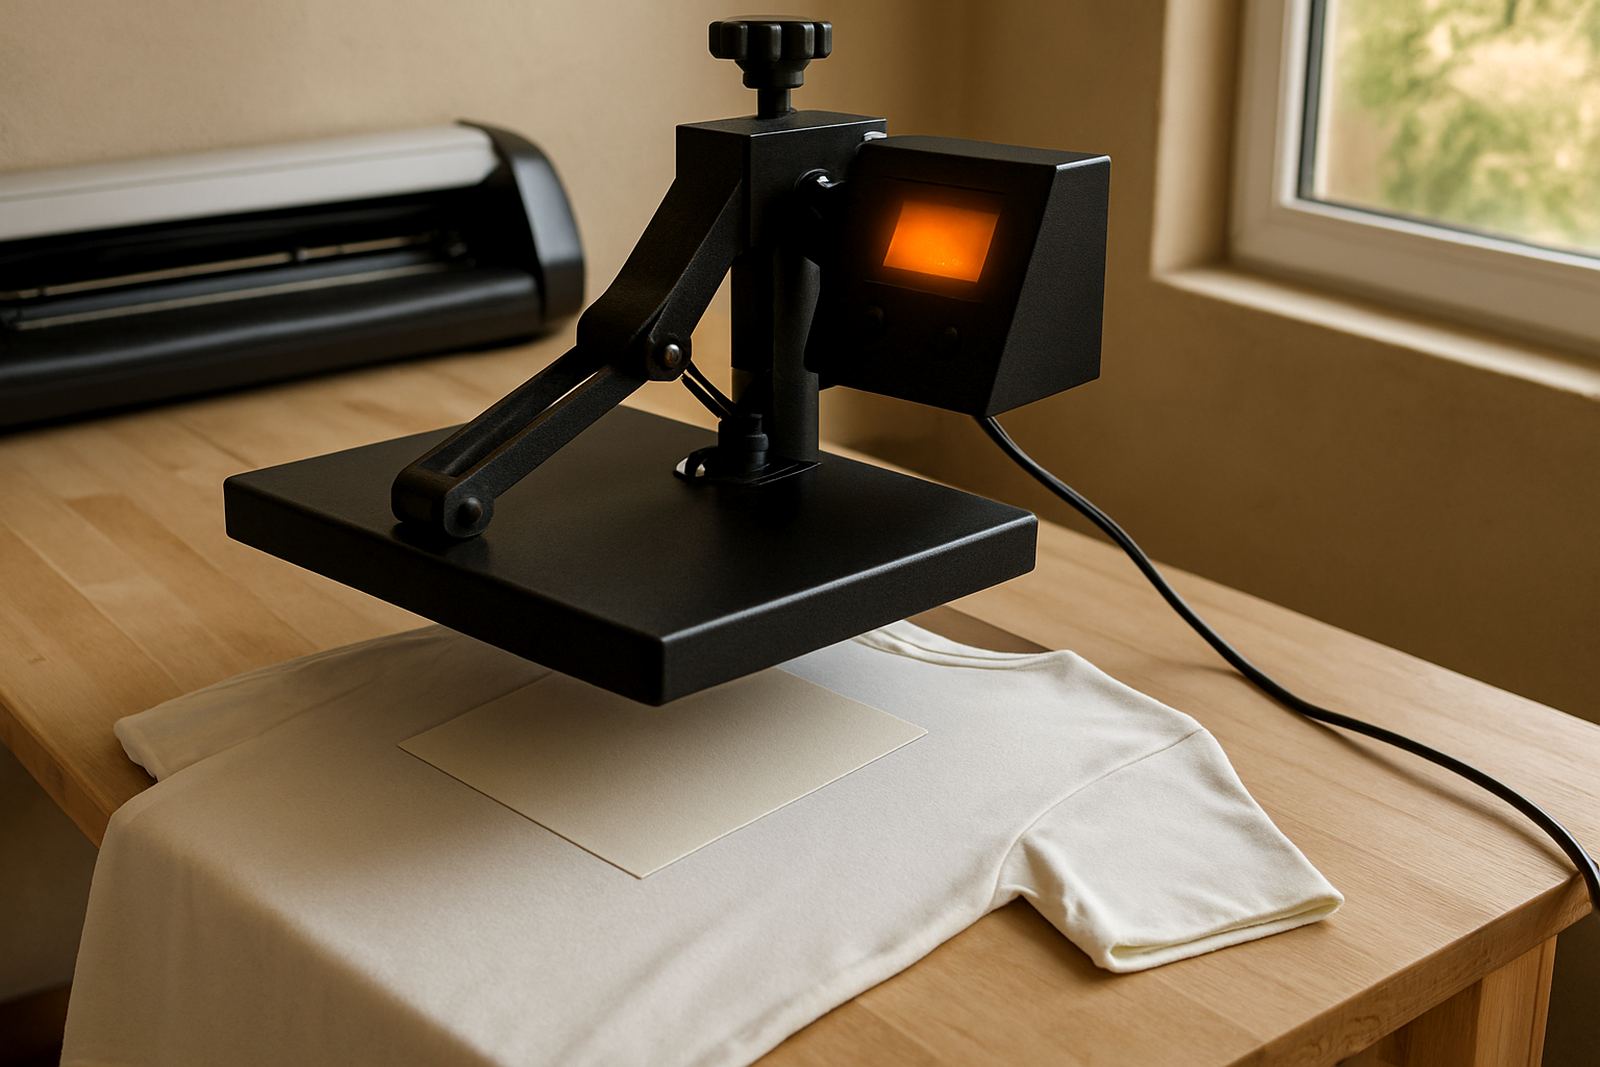
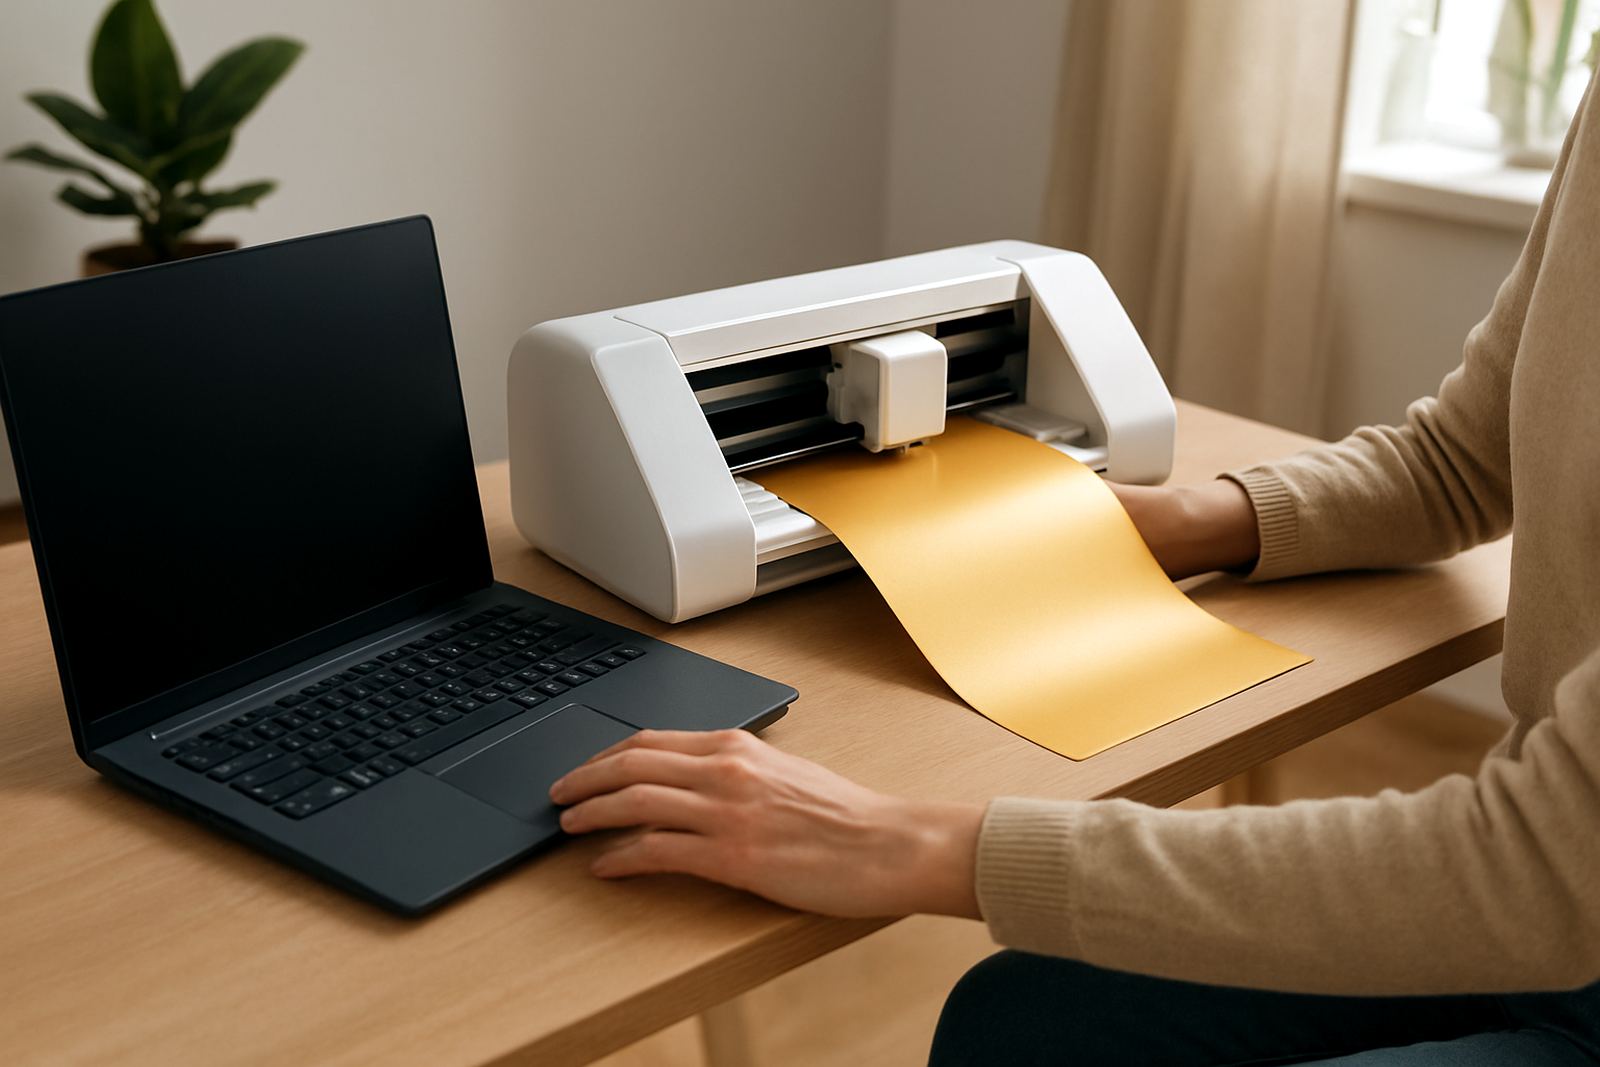
Heat transfer vinyl is cut from the back side, then weeded and pressed face down onto fabric. That means the artwork has to be reversed before the cutter starts, so it reads correctly once the carrier sheet is turned over and heat pressed. If you skip this step, text, numbers and logos with direction will arrive on the garment back to front.
This matters most for names, slogan shirts, sports tops, school event clothing and any design with arrows, dates or fine detail. A simple graphic with no text may still look wrong if it includes a one-way shape, so it is worth checking every job, not only lettering. In a busy workshop or home setup, one forgotten mirror setting can cost you vinyl, time and a client reprint.
The Fast Check Before You Cut
Before you load the cutter, do a 20 second check on screen and on paper if needed. Many mistakes happen because the design is edited after mirroring, or because the software setting gets changed without anyone noticing. In Johannesburg, Pretoria East or at a small workshop in Midrand, the routine should stay the same every time.
- Look at all text and ask yourself: if this was pressed now, would it read correctly from the front?
- Check logos with letters, numbers, icons with direction, and calendar dates.
- Confirm that the design is mirrored in the software, not only in your mind.
- If you copied and pasted the artwork, make sure the new version did not lose the mirror setting.
- For multi colour jobs, check each layer separately before cutting.
When To Mirror And When Not To
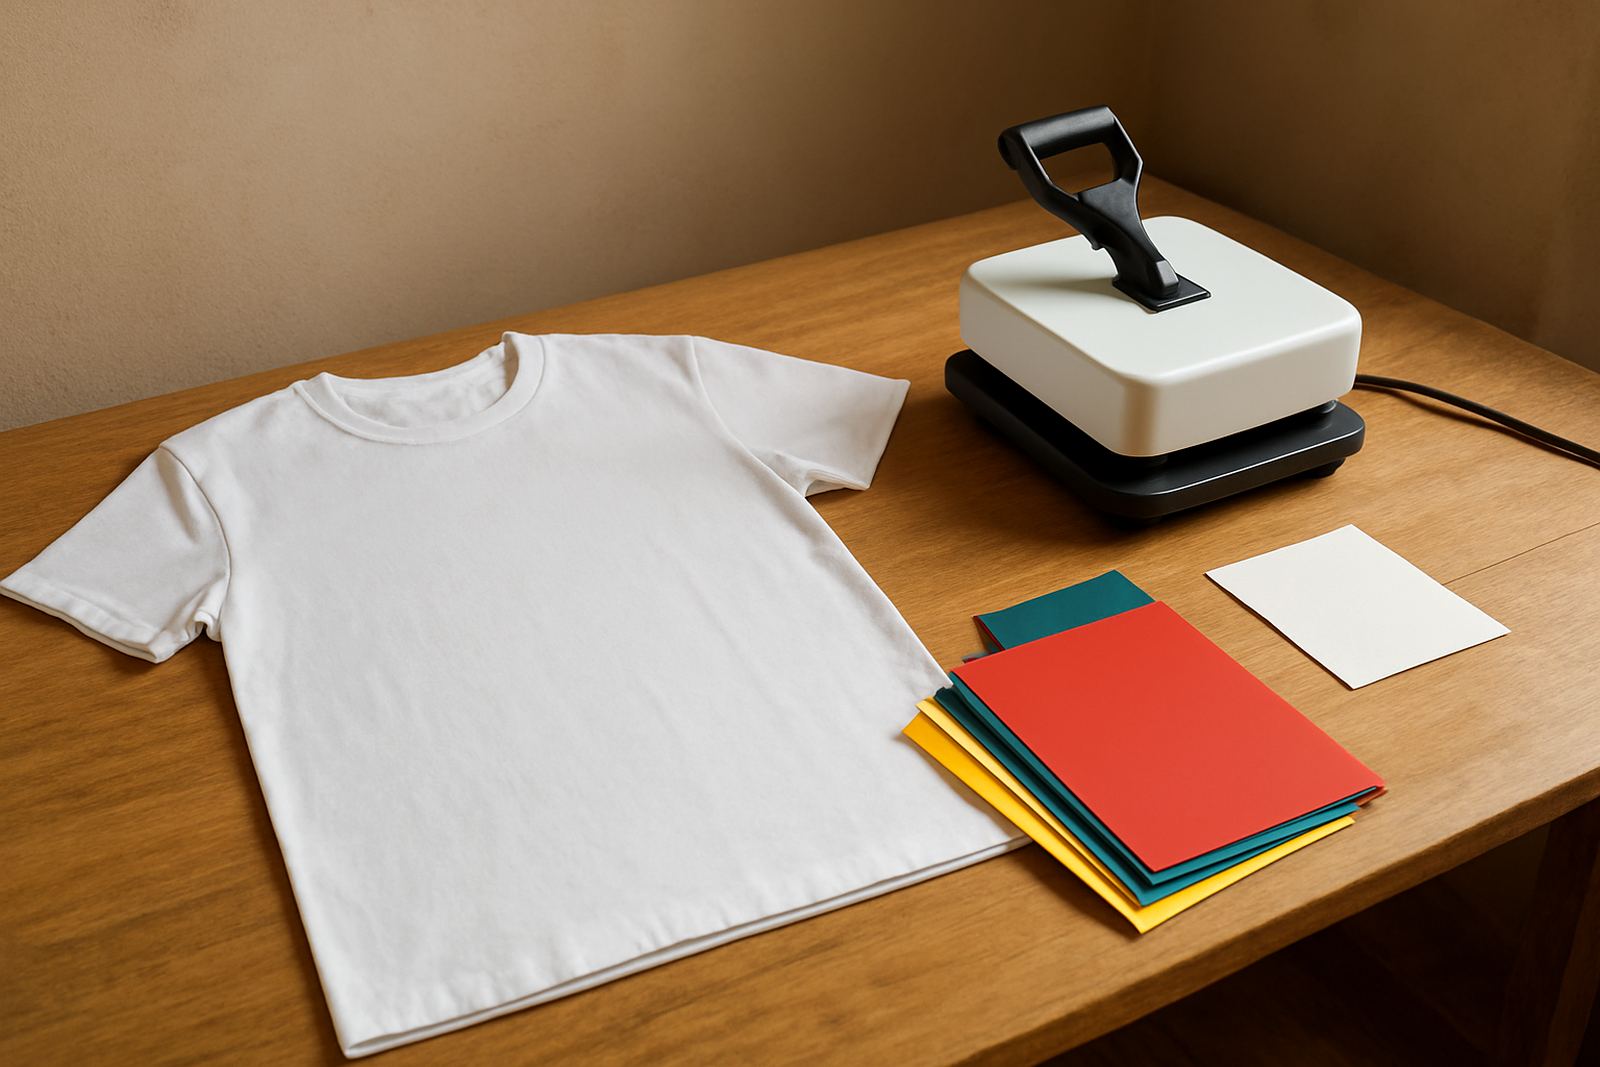
Most HTV designs need mirroring, but not every material is handled the same way. Standard heat transfer vinyl is usually cut mirrored, then weeded and pressed onto cotton, poly cotton, or compatible blends. Printable media, sublimation, and certain speciality films may follow different rules depending on the finish and the pressing method. If you are unsure, test a small piece first instead of using a full sheet.
As a rule, mirror the artwork when the colour side will face the garment and the backing side will face up during cutting. Do not mirror when the artwork is already set up for a direct face-up application method. If your software has an auto mirror option for HTV, keep an eye on it because it is easy to switch off during a rush job.
Set Up The Artwork Properly In Your Software
Before you start cutting, prepare the file so the mirror action is clear. Group the design if needed, size it to the garment, and then apply the mirror command. This helps avoid pressing the wrong layer or cutting text the wrong way around after late edits. For work going out to Tshwane, Randburg or Roodepoort, a clean file also makes remote support easier if you need help.
- Use the final size before mirroring so you do not resize a reversed design by mistake.
- Outline or convert fonts if the software needs it for stable cutting.
- Check that cut lines sit on the correct side of the artwork.
- Save a copy with a clear file name such as mirrored final or cut ready.
- Do a small preview and compare the reversed version to the original.
A Simple Pre-Cut Checklist For Fewer Mistakes
A short checklist keeps the process steady, especially when you are cutting after hours or during load-shedding. It is easier to miss a mirrored setting when the room is busy, power is unstable, or you are handling several customer orders at once. Keep the checklist near the machine and use it every single time.
- Artwork opened and checked
- Mirror setting on for HTV
- Size confirmed against the garment
- Blade calibrated for the material thickness
- Test cut done on a small corner
- Vinyl loaded straight, without skew
- Cut path checked for tiny details
If you are cutting small script or thin lines, a test cut is worth the few extra minutes. It can show if the blade is too deep, the pinch rollers are slipping, or the vinyl is not feeding square. That saves material and helps the final press stay neat.
What To Check After The Cut And Before Pressing
Once the cut is complete, look at the weeded design before it goes to the heat press. The mirror should now appear wrong to the eye if you are holding it from the front side, because you are viewing the back of the film. That is a good sign. If the text reads normally before pressing, something went wrong earlier and the piece should be checked again.
Also inspect the edges, the small counters in letters like O and A, and any very fine detail that could lift during pressing. If the cut looks clean and the artwork is reversed correctly, you can position it on the garment and proceed with confidence. On jobs for coastal areas, keep vinyl clean and dry because humidity can make backing sheets curl a bit.
Common Mirror Mistakes And How To Fix Them
Most mirror errors come from habits, not from the machine. Someone opens a saved file, adds text, then forgets the reverse step. Or they mirror one layer and leave the others untouched. Sometimes a phone photo of the artwork is used as a reference and the cutter file ends up matching the picture instead of the actual design. These small errors are easy to avoid once the team has one clear process.
If you catch the mistake before weeding, recheck the software and resend the cut. If you only notice it after pressing, the garment may need a cover-up layer, a patch, or a fresh print depending on the job. The safest move is always to stop and confirm before the machine starts cutting. A few extra seconds now can prevent a costly rework later.