
Set Up Your Vinyl Before You Touch the Blade Lines
Clean weeding starts before the cut comes off the machine. Lay the HTV flat, check that the carrier sheet is facing the correct way, and make sure the mat or feed path is clean so the material does not shift. In Kya Sand, Randburg and Midrand we often see problems that begin with rushed prep, especially when the workshop is warm or the room has dust from open doors.
Before you weed, let the cut cool fully if you used a heat transfer film that cuts and weeds better once settled. For very small lettering, a fresh blade and correct pressure matter more than people think. If the knife is too deep the carrier gets scored and the tiny islands lift with the waste. If it is too shallow you end up pulling harder and the edges fray.
- Check the blade depth with a small test square first.
- Confirm your cut mat is tacky enough to hold narrow pieces.
- Keep a weeding hook, tweezers and a small blade scraper nearby.
- Work under bright white light so cut lines show clearly.
Choose a Weeding Spot That Helps Your Eyes and Hands
Good lighting makes a bigger difference than most crafters expect. A plain table near a window is useful in daylight, but in Johannesburg evening work often happens during load-shedding or after hours, so a bright lamp is worth having. Avoid coloured lights or shadows across the sheet because they hide the cut line and make tiny serifs hard to spot.
Also pay attention to the room temperature. On humid coastal days the adhesive can feel tacky and the liner may curl, while in dry inland air static can make small offcuts cling to the design. If the vinyl has sat in a hot delivery van or a cool storeroom, give it time to settle before weeding. A calm set-up means fewer lifted corners and less frustration.
- Use a flat, steady surface with enough room for the full sheet.
- Keep the artwork edge nearest to your dominant hand.
- Have a waste strip or bin beside you so scraps do not stick back onto the design.
Start at the Outer Waste, Then Work Inwards
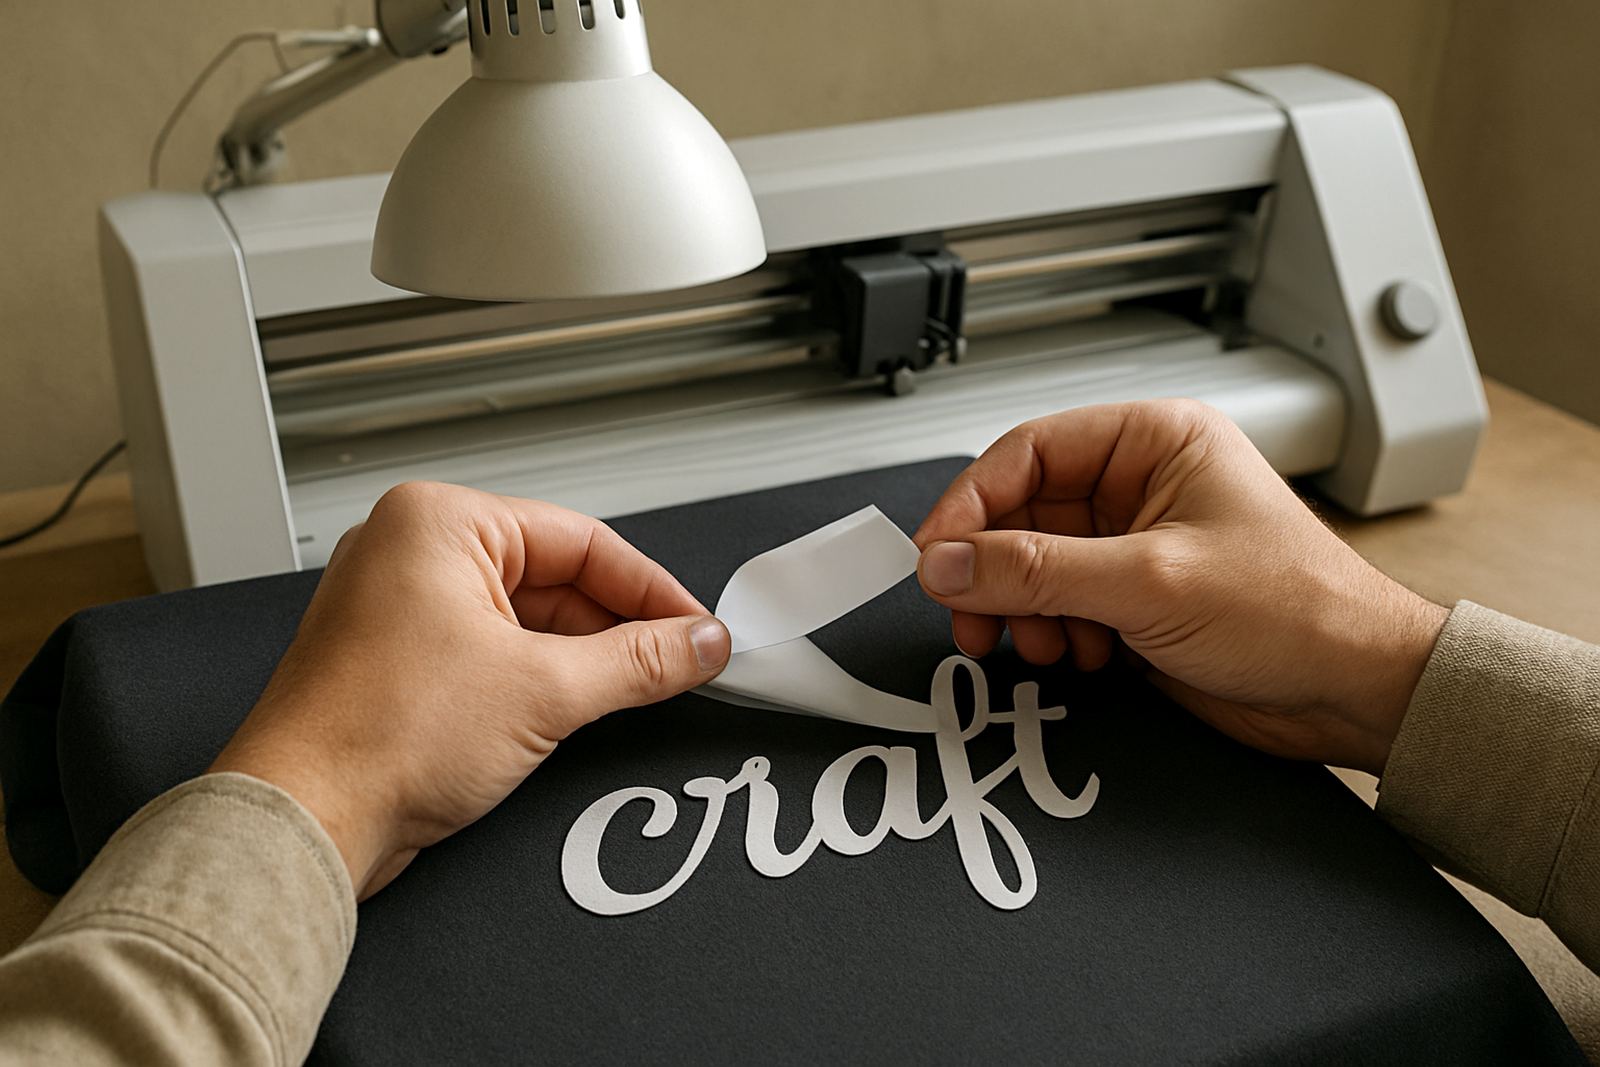
For clean weeding, always remove the larger waste first. Start at a corner and lift slowly at a low angle. If the sheet has been cut well, the waste should separate cleanly without pulling up the letters. When you rush this part, tiny parts like the middle of an A, O, R or e can lift with the waste and spoil the job.
Use your hook to catch the edge of the waste and keep one hand stabilising the sheet. For long names, weed in sections instead of trying to clear the whole piece at once. This is especially helpful for customers in Pretoria East and Sandton who want repeated text for events or school gear, because consistency is easier when you work from one side to the other. Do not yank the vinyl, even if it looks like it is resisting a little.
- Lift waste at a shallow angle, not straight up.
- Weed from the outside border towards the centre.
- Pause if a piece starts to lift and press it back down before continuing.
- Keep fingers away from the cut edge so you do not crease the design.
Handle Tiny Details Without Lifting the Whole Letter
Small details need patience. For dots, inner corners and narrow loops, use the tip of the hook to separate the waste from the live part of the design, then lift the waste away with a gentle twist. If needed, place your free hand over the carrier close to the detail to stop the sheet from moving. A stable sheet is easier to control and gives neater edges.
When weeding tiny logos or script names, it helps to think in stages. First clear the big surrounding areas, then move to the inner parts, and lastly tidy the smallest pieces. If a detail refuses to release, stop and check whether the cut was too light. Forcing it usually tears the vinyl. Sometimes a tiny nick on the blade means the line looks complete but the piece is still hanging by one fibre, so a careful second pass may be needed.
- Use a pointed hook for small cut-outs and a flatter tool for larger waste.
- Keep the design close to your eyes, not your shoulders.
- Work slowly around script fonts where joins are delicate.
Use a Quick Checklist Before You Move to Pressing
Once the sheet is weeded, do a final check before heat pressing. Look for trapped islands, lifted edges, stray scraps and missed dots on letters like i, j and punctuation marks. This step saves time later because once the film has been pressed, mistakes are harder to fix. A quick inspection is especially useful if you are producing several items for one order, such as shirts, aprons or tote bags.
At VinylCutter Craft, we see that good checking habits reduce rework more than any fancy tool. A neat weed should look clean from a few steps back and sharp when you look closely. If you spot a lifted corner, lay it back down immediately and flatten it with your finger or a soft tool. It is much easier to correct now than after heat has set the design.
- Confirm every inner piece is removed where it should be.
- Check that no slivers are hanging from edges or between letters.
- Make sure the carrier sheet is clean and free of dust.
- Test one corner for adhesion if the film feels unusual.
Common Weeding Problems and What to Do Next
If the vinyl tears, the cut is usually too deep or the blade is dull. If the waste will not separate, the cut may be too shallow or the pressure too light. If the carrier curls, the material may have been stored badly or exposed to heat. These are fixable problems, and most of them can be traced back to setup rather than the weed itself. A small adjustment in blade depth or force often makes a big difference.
For repeat issues, keep notes on material type, cut speed and pressure so you can match the settings next time. That is useful for small businesses in Roodepoort, Randburg and Midrand that cut for markets, club shirts or local schools. If the problem keeps returning, check the machine alignment, roller grip and software connection before blaming the film. Sometimes a simple blade calibration or material test sorts it out faster than re-cutting the whole job.
- If letters lift, reduce blade depth and test again.
- If waste sticks, increase cut clarity in small steps.
- If edges look rough, slow the machine down for finer detail.
- If you are unsure, do a small sample before the full run.
Keep Your Tools Ready for the Next Clean Weed
Good weeding becomes easier when your tools are looked after. Wipe the blade holder, keep tweezers clean, and store hooks where the tips will not bend. A tidy tool kit helps in a busy workshop and is handy when you are doing evening work during power interruptions or moving between jobs in Kya Sand, Sandton and Pretoria East. A little maintenance now saves a lot of swearing later, and the tools last longer too.
If your machine starts missing fine details, do not wait until the next large order. Test the blade, run a small lettering sample and check the software connection before the backlog grows. For setup help, blade calibration, material testing and workflow support, the team at VinylCutter Craft works with craft cutters nationwide from our Johannesburg base. Whether you need a remote support session or help choosing the right HTV for a job, we are ready to assist.
- Clean blades and holders after every few jobs.
- Store HTV flat and away from heat.
- Replace worn blades before fine detail starts failing.
- Book support early if your cut quality changes suddenly.