
Why a Test Cut Saves Time and Material
Heat transfer vinyl can behave differently from roll to roll, even when the colour and finish look the same. A small test cut shows whether your blade depth, pressure, speed, and mat grip are right before you start on a full design.
That matters in a home studio, workshop, or small business where every metre counts. If your cut is too light, the design weeds badly. If it is too deep, you score the backing or drag the film and waste stock.
- Use a test cut before every new vinyl type
- Check settings again after changing blades or mats
- Test once more if the room temperature changes a lot
- Do not assume one setting suits all HTV finishes
Set Up Your Cutter Before You Start
Before you run a test, make sure the machine is clean and the blade holder moves freely. Dust, small offcuts, and sticky adhesive from backing sheets can affect the result. In Johannesburg, dry dust can build up quickly, while coastal humidity can change the feel of the material, so a quick check is worth it.
Load a small offcut of the HTV you plan to use. Place it on a cutting mat with enough hold so the corners do not lift. If the mat is tired, the film may shift and the test will not tell you much.
- Inspect the blade tip for damage or wear
- Wipe the platen and feed path
- Check that the vinyl sits flat on the mat
- Confirm the correct blade type for HTV
- Make sure your design software is sending the right cut size
Run a Small Test Shape That Tells You Enough
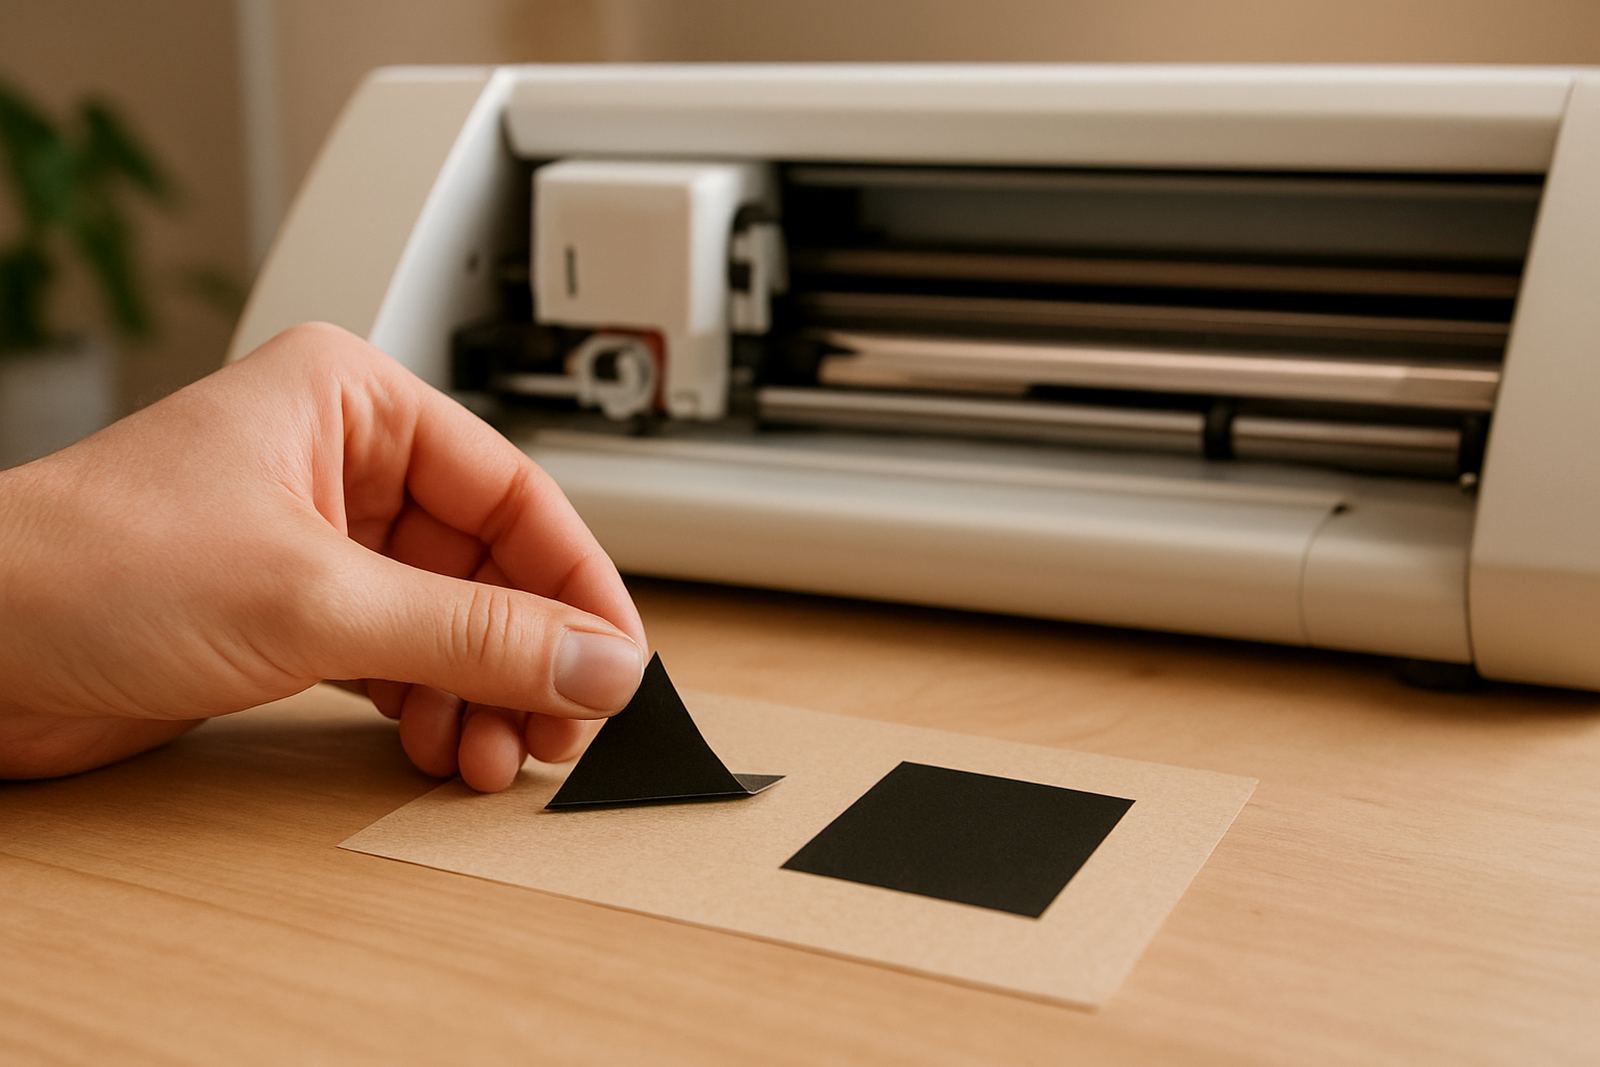
A tiny square, triangle, or simple logo is enough for most checks. The point is not to waste vinyl, but to see how the blade handles corners, curves, and small detail. A good test shape should include an inner cut and an outside edge so you can judge both weedability and depth.
Keep the first test simple. Once you see the result, adjust one setting at a time so you know what made the difference. Changing speed, pressure, and blade depth all at once makes troubleshooting harder later.
- Start with a simple square and triangle or a small script word
- Use the same material you will use on the real job
- Test the smallest detail in your design too
- Note the settings you used on that batch
Read the Cut Result the Right Way
After the test, weed the shape slowly and look at the backing. You want the film cut cleanly through the top layer, with the backing sheet still intact. If the shape lifts neatly, the blade and pressure are close. If the corners tear or the backing is marked deeply, the cut is too heavy.
Watch for dragging at the start and end of the cut, especially on long jobs. That can point to blade drag, a dirty holder, or a mat that is losing grip. A small adjustment now can save you from ruining a full garment run later.
- Good cut: clean weed, backing untouched or only lightly marked
- Too shallow: film stretches or lifts in patches
- Too deep: backing sheet is scored or cut through
- Too fast: corners lift, tiny details do not close properly
Adjust Blade, Pressure, and Speed in Small Steps
Make one change at a time. If the cut is shallow, increase pressure a little or extend the blade very slightly, then test again. If the vinyl starts to shred or the backing shows cuts, reduce pressure first. Speed can also affect neatness, especially on detailed lettering and fine logos.
For most HTV jobs, slow and steady is safer than rushing. Small business owners in Midrand, Pretoria East, and Randburg often work across mixed orders, so keeping a written record of what each material prefers helps a lot.
- Increase or decrease pressure in small steps
- Only adjust blade depth if pressure alone does not fix it
- Slow the machine down for fine detail
- Record the final settings for each HTV type
Check the Heat Press Before Final Production
A clean cut is only half the job. Your heat press also needs to be right or the transfer will fail even if the cut was perfect. Check temperature, pressure, and press time with a small sample before starting a full production run. If the platen has cold spots, the transfer may lift at the edges.
When working in busy spaces or in homes with load-shedding interruptions, let the press reach a steady temperature before testing. Uneven heat can change how the adhesive bonds to fabric. For cotton tees, poly blends, or coated fabrics, do a quick sample press and peel test before committing to the order.
- Confirm the heat setting on the press
- Check even pressure across the platen
- Test the peel method required by the film
- Inspect the final finish after cooling