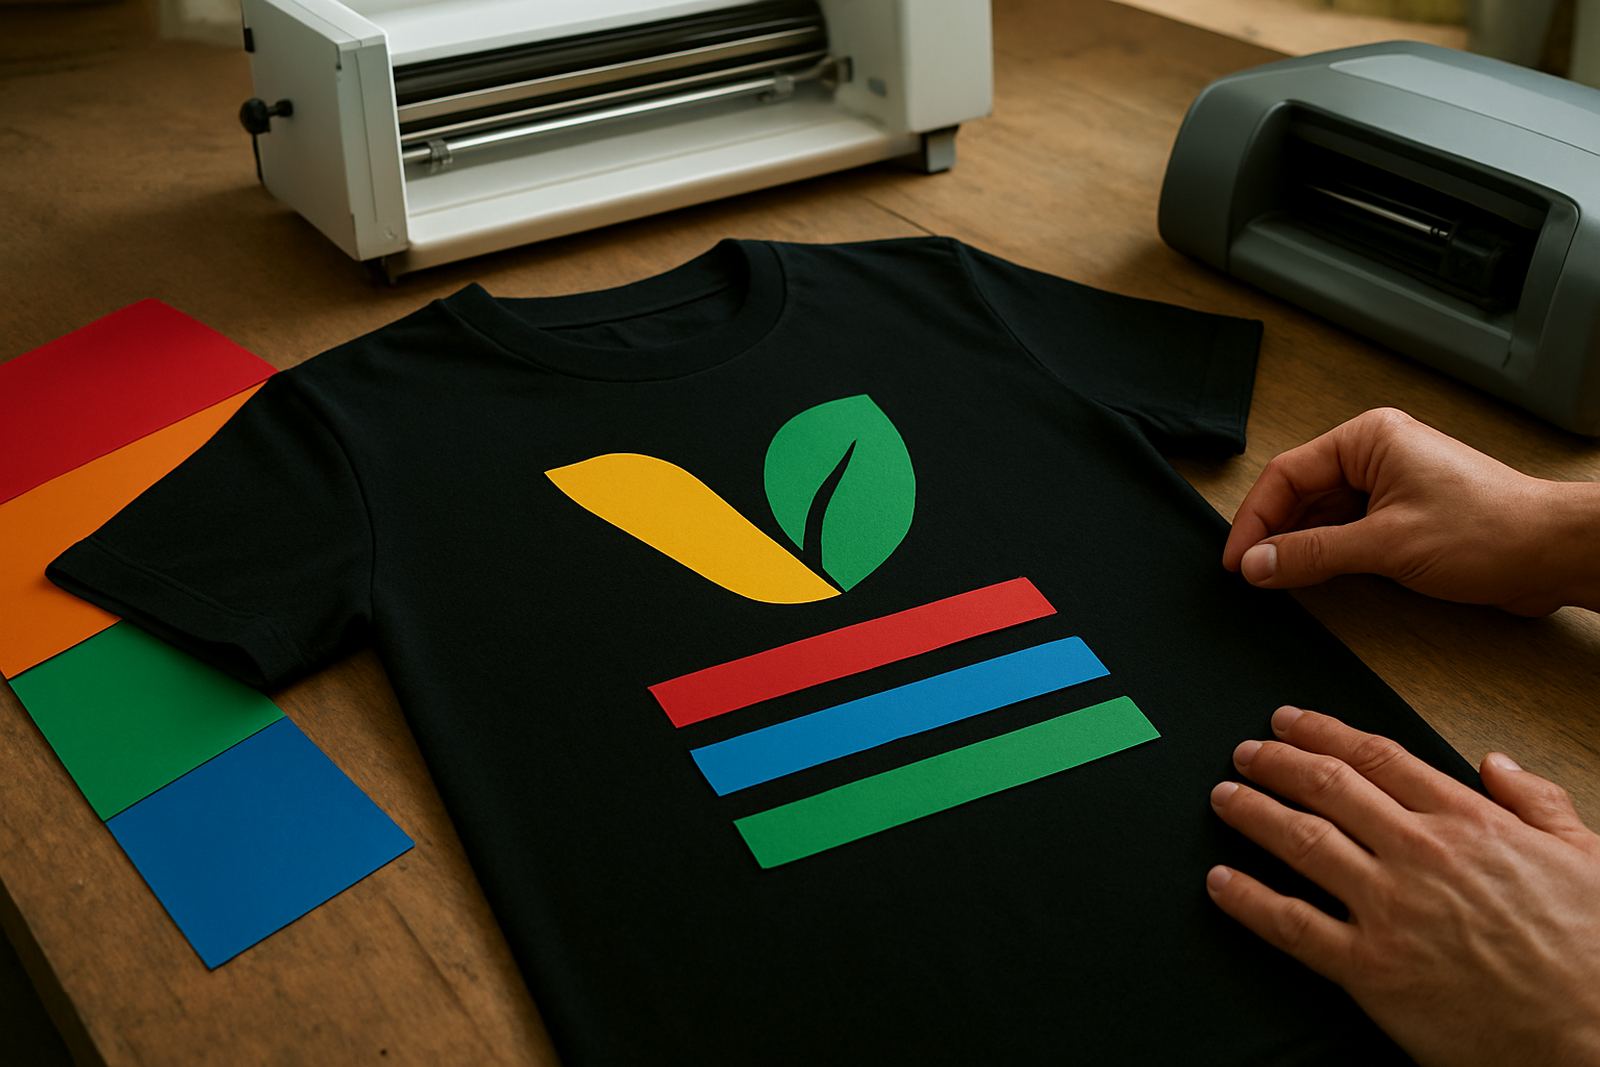
Plan the design before you cut a single colour
Good layering starts with the artwork, not the press. Before cutting, decide which colour sits at the bottom, which pieces will overlap, and where the final shape needs to stay flexible. If every layer is treated like a separate sticker, the finished garment often ends up heavy and uneven.
For simple logos, use two colours if you can. For more detailed work, keep small text and fine lines in one colour so the rest of the design does not become too fussy. In Kya Sand and Randburg we often see crafters trying to stack four or five colours on a light cotton tee, then wondering why the shirt feels stiff. Less is usually better.
- Choose one base layer that gives the design its main shape
- Keep tiny details in the top layer where possible
- Avoid very wide overlaps between colours
- Check the final size on the actual garment before cutting
Work from the biggest shape to the smallest. That makes weeding easier and helps you spot spacing errors early.
Use registration marks and test your alignment
Layered HTV only looks neat when the colours line up properly. Registration marks help you place each layer in the same position after pressing. You can use a simple square corner, a cross or a frame around the artwork, then trim it away once everything is aligned.
When working on a small press or in a home workshop, test the placement on a scrap T-shirt or a piece of similar fabric first. A slight shift of even 2 mm can show on bright colours. For businesses in Pretoria East or Midrand doing repeat orders, a consistent marking method saves time and reduces wastage.
- Use the same mark size for every layer
- Keep your carrier sheet edges square
- Let the base layer cool slightly if the material needs it
- Place the next colour using the marks, not guesswork
If the artwork is mirrored on all layers, check that the marks sit outside the final design area. Otherwise they can become visible after pressing and spoil the finish.
Keep each layer thin to avoid a bulky finish
The biggest problem with layered HTV is thickness. Too much material on top of itself creates hard edges, especially around letters and corners. That can crack after a few washes or feel uncomfortable on kidswear and sports tops.
Thin, clean cuts are best. If your blade is not set correctly, the film may leave rough edges that stack up with each layer. That is why blade calibration matters before you start a run of shirts. A clean cut means less lifting when weeding, and a flatter finish once pressed. If the cutter is trimming too deep or too shallow, sort that out before using your best vinyl.
Try these practical rules:
- Use the lightest possible pressure that still gives a clean cut
- Avoid overcutting small details
- Weed carefully so no tiny scraps sit under the next layer
- Trim away unneeded carrier film where the design allows it
For polyester shirts and stretch fabrics, keep an eye on heat marks too. A thick stack of vinyl can trap heat and leave a shiny patch on the garment.
Press in the right order for the material you are using
Not every HTV layer should be handled the same way. Some films are designed for a short tack press, while others need a full press and then a final finish. Read the material instructions closely, because the wrong timing can cause edges to lift or colours to shift.
A common method is to press the base colour first for a short time, add the top colour, then finish with a final press using baking paper or a cover sheet. This helps bind the layers without flattening the whole design too hard. On cotton shirts, a medium pressure press usually works well. On thicker hoodies, you may need a little more pressure, but not so much that the garment becomes marked.
Remember these points during pressing:
- Pre-press the T-shirt or hoodie before applying HTV to drive out moisture and smooth creases
- Check whether the film is hot peel or cold peel
- Use a cover sheet to protect the top layer
- Keep press times consistent for repeat jobs
In coastal humidity, materials can hold extra moisture. That can affect adhesion, so store your HTV rolls or sheets in a dry room and not near open doors or a damp storeroom.
Match the artwork to the garment, not only the cutter
A design that looks great on a computer screen may not work well on a small kids hoodie or a curved cap. Layering HTV is easiest when the design suits the garment shape and fabric type. Flat chest areas are the simplest. Side seams, zip fronts and stretchy beanies need more care.
For local crafters supplying clubs, schools or small events around Sandton and Roodepoort, it helps to keep a few standard size guides. A left chest logo on an adult shirt usually sits around 90 mm wide, while a larger back design can run much wider if the artwork allows. Caps need smaller, simpler layers so the heat press platen can sit evenly.
- Use fewer layers on stretchy garments
- Avoid very sharp points on designs that will be washed often
- Keep text legible at smaller sizes
- Leave enough space from seams and buttons
The garment choice matters too. Smooth cotton is forgiving. Textured fabrics and some blends can make alignment harder and reduce wash durability if the layers are too thick.
A Kya Sand example: three colours on one work shirt
A practical example from a small workshop in Kya Sand goes like this. A customer wants a navy work shirt with a white name, a red outline and a yellow icon. The first step is to cut the white name as the main layer, then cut the red outline slightly larger so it sits behind the text. The yellow icon is kept separate and placed above the name without touching the outline.
After weeding, each layer is taped or aligned using marks, then pressed in sequence. The white sits first, the red follows, and the yellow is finished last. The result is neat and readable, with no thick edge where all three colours overlap. If the red outline is too wide, the shirt can feel heavy and the letters look uneven.
For a run of ten shirts, this method saves time if the setup is right from the start. Once the machine cut is clean and the artwork is sized properly, the rest of the job becomes repeatable. Thats what makes layering practical for a small business, not just for hobby work.