Start with a cut that weeds easily
Fast weeding begins before the blade even touches the film. If the cut is too deep, you score the backing and the waste grips too hard. If the cut is too light, the vinyl lifts in bits and leaves tiny nicks behind, which slows everything down. The aim is a clean kiss cut that lets the vinyl separate from the liner with a gentle pull.
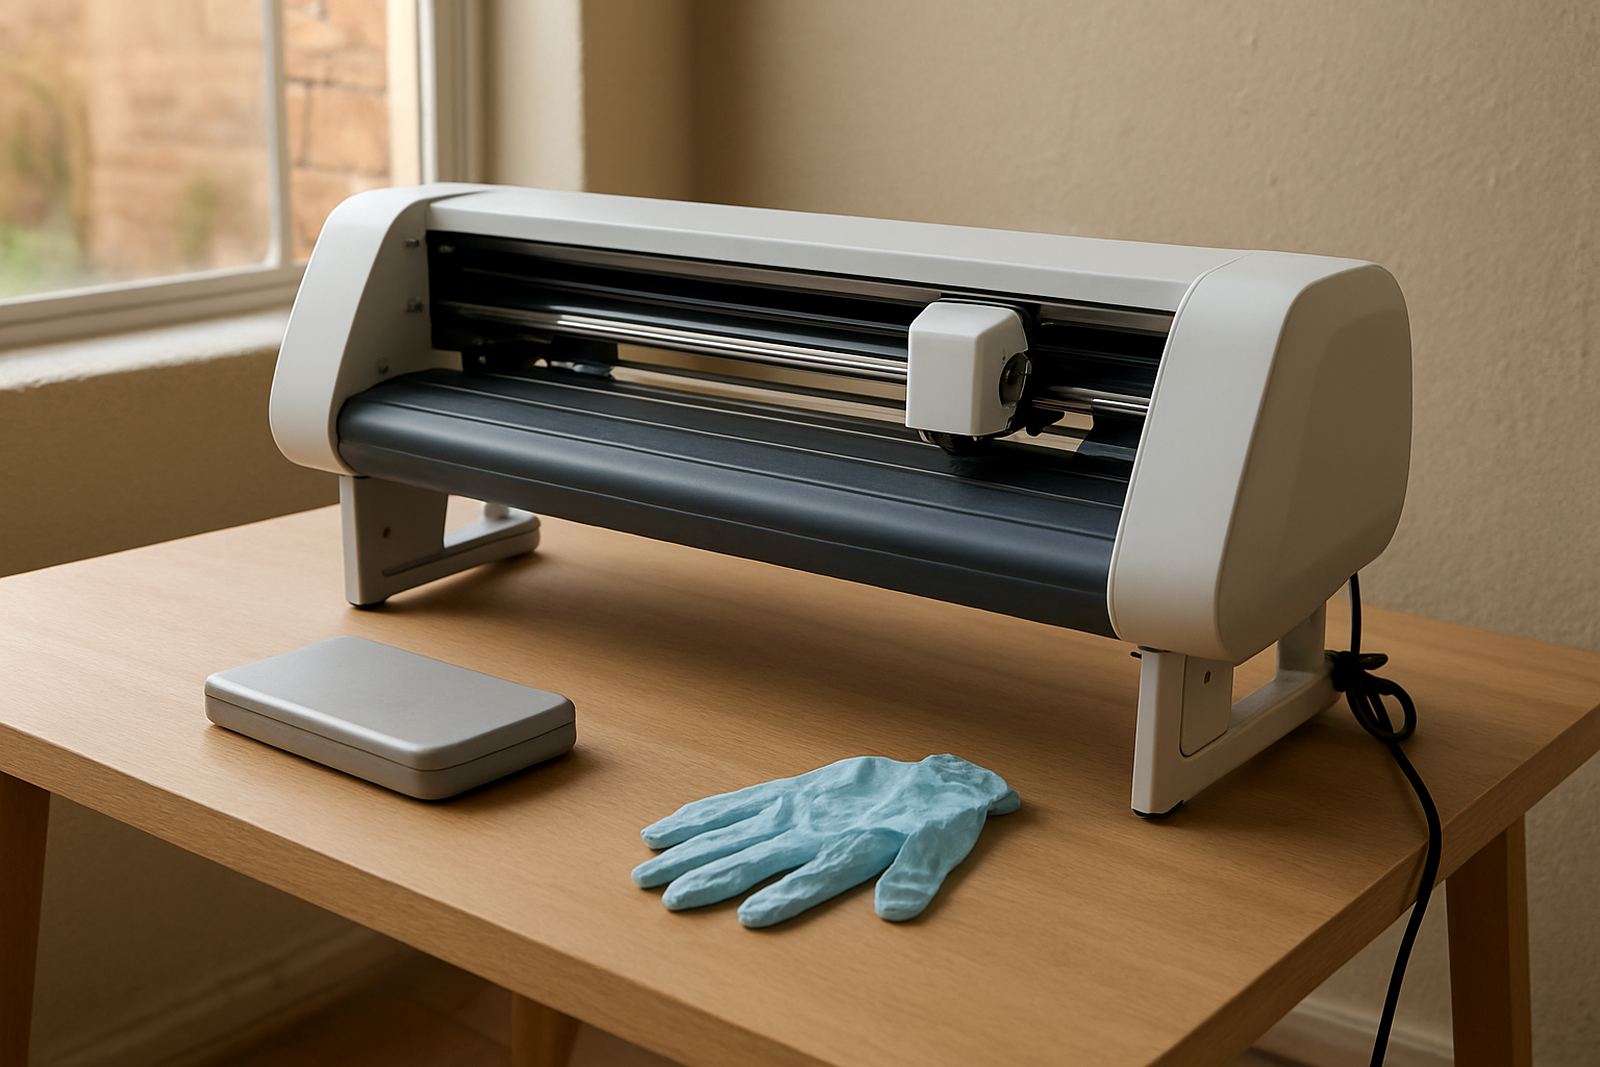
On desktop cutters used in homes around Kya Sand, Randburg and Midrand, a simple test cut saves plenty of time. Check a small square and a triangle, then lift the excess from the corner. The square should peel away in one piece while the liner stays intact. If the waste tears, adjust pressure a little at a time and test again.
- Use a fresh blade when small letters start dragging or ragged edges appear.
- Keep the mat or feed area clean so dust does not affect the cut line.
- Match blade depth to the vinyl thickness, not to guesswork.
- Slow the speed for scripts, fine outlines and tiny interior shapes.
Choose a layout that saves time at the table
Good layout makes a big difference when you are weeding after supper at the kitchen table or during a short break between orders. If you place multiple small items close together, you can weed in one motion instead of picking at separate scraps. Think ahead about how the waste will move off the design and where your fingers will start.
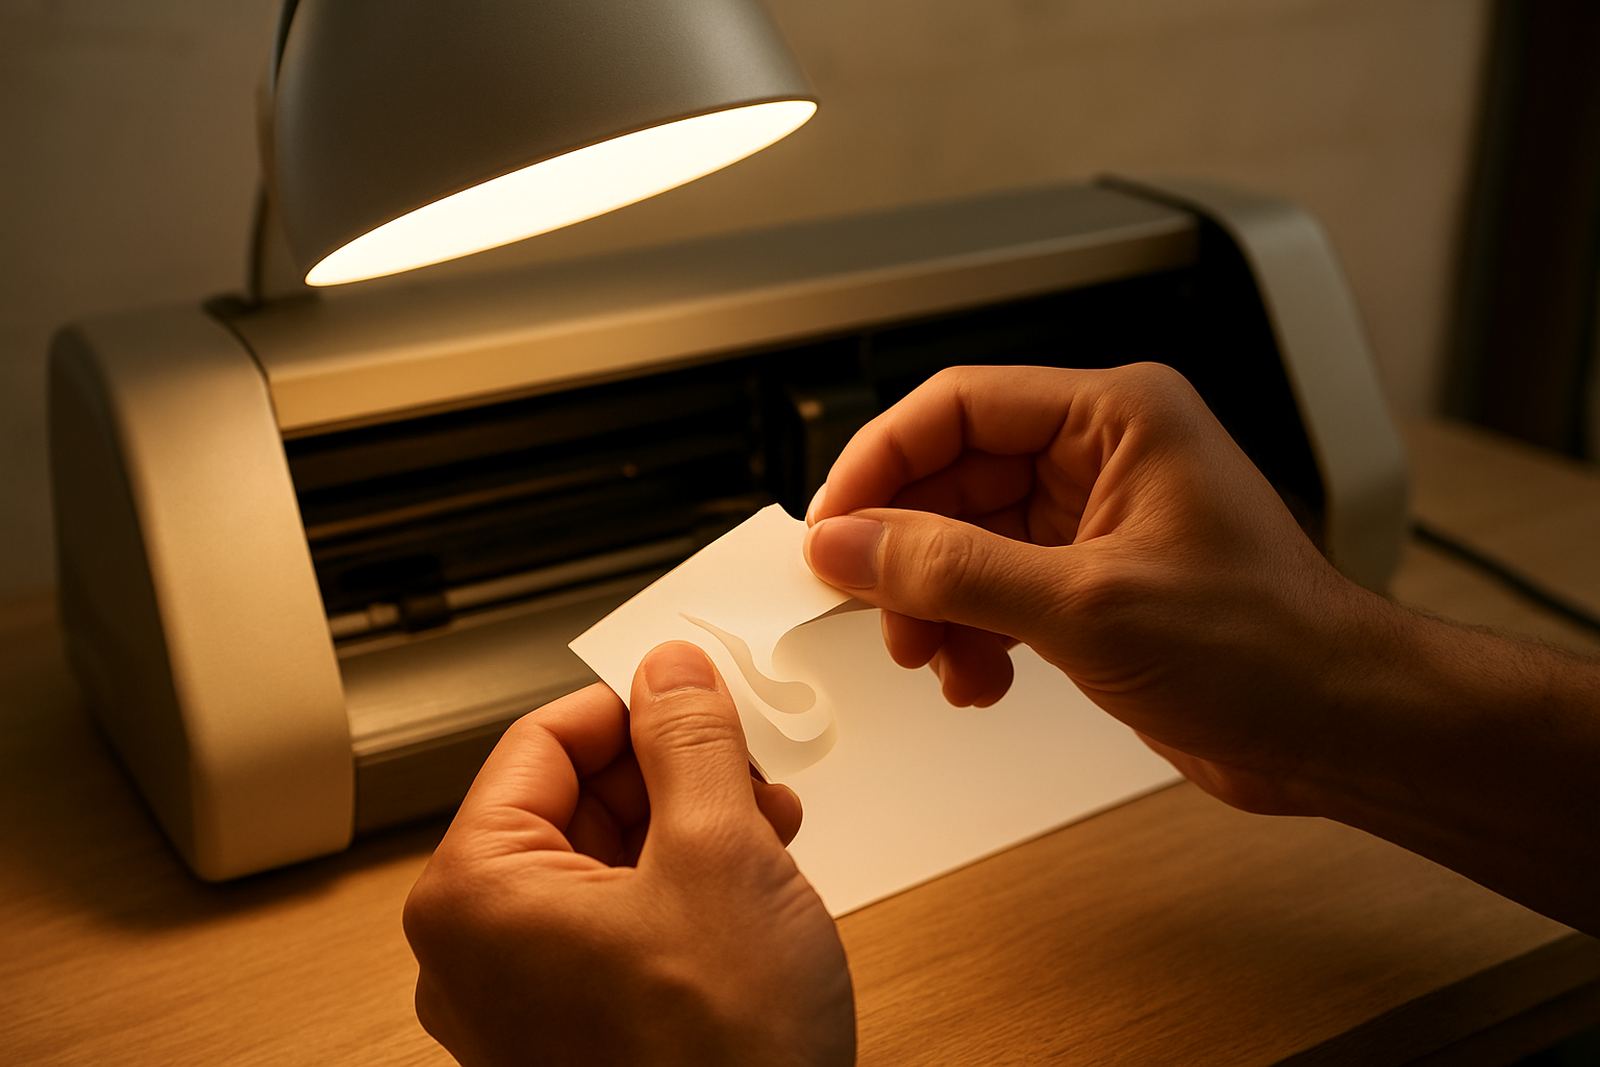
For home crafters in Johannesburg, humidity and dust can affect the feel of the vinyl, especially on open windows during summer. Keep the sheet flat and avoid bending it while you work because curled corners catch the needle and slow the job. A bright lamp positioned over the work area helps more than people expect, especially on fine text and thin line art.
- Rotate the design so the easiest pull starts at a corner with a clear path.
- Group small pieces on the page if you are cutting several labels or names.
- Leave enough margin around artwork for your hand to grip the waste without touching the detail.
- Use a hard, clean surface so the liner does not flex while you weed.
Use the right weeding tools, not force
A pointed hook tool is useful, but forcing it under the vinyl can lift a letter that was meant to stay. The trick is to use a light touch and let the cut line guide the tip. For tiny centres in letters like e, o, a and p, start from the nearest open edge and ease the waste away slowly.
Many small business owners in Pretoria East and Roodepoort try to weed with only a blade or nail, and that usually ends with damaged corners. A proper hook, tweezers and a squeegee make the process quicker and safer. Keep the tip clean too because sticky residue can drag through the design and leave marks.
- Hook tools help lift the waste without scraping the liner.
- Tweezers are useful for small inner cuts and bits that cling after the first pull.
- A squeegee helps flatten stubborn edges before you weed them.
- Keep a small tray nearby for lifted scraps so they do not fall back onto the work.
Weed in stages on detailed lettering
Fine lettering is where many people lose time, because they try to remove everything in one go. A better method is to weed in stages. First remove the outer border, then clear the larger negative areas, and only then deal with the small centres and delicate joins. This keeps the design stable while you work.
If the artwork has thin script or very small text, cut the waste into manageable sections before lifting it away. That helps on jobs like team shirts, wall names or craft labels where one hard pull can ruin the lot. In a busy home workshop, staged weeding is often faster because it reduces rework and saves material.
- Start with the widest open spaces before touching narrow strokes.
- Break large waste areas into strips rather than pulling across the whole sheet.
- Support fragile text with one finger near the cut line as you lift the waste.
- If a letter starts to rise, press it back down immediately and restart from a different angle.
Use heat and light pressure when the vinyl feels stubborn
Some films weed beautifully when the room is cool. Others become more cooperative with a small amount of warmth. If the vinyl is sticking too hard to the liner, warm the sheet slightly with your hand or by placing it under a lamp for a short time. Do not overheat it, because soft vinyl can stretch and distort the shapes.
This helps on colder winter mornings in Johannesburg and on damp coastal shipments that may have sat in transit. The goal is only to relax the adhesive a little, not to melt it. Once the waste starts lifting well, keep the movement steady and controlled so fine points remain sharp.
- Warm the sheet gently if edges keep tearing during removal.
- Avoid direct hot air, which can distort thin strokes and corners.
- Press the liner down with the other hand to stop it from flexing.
- Work in short runs, then pause and inspect the lettering before continuing.
A Kya Sand example that saves an order
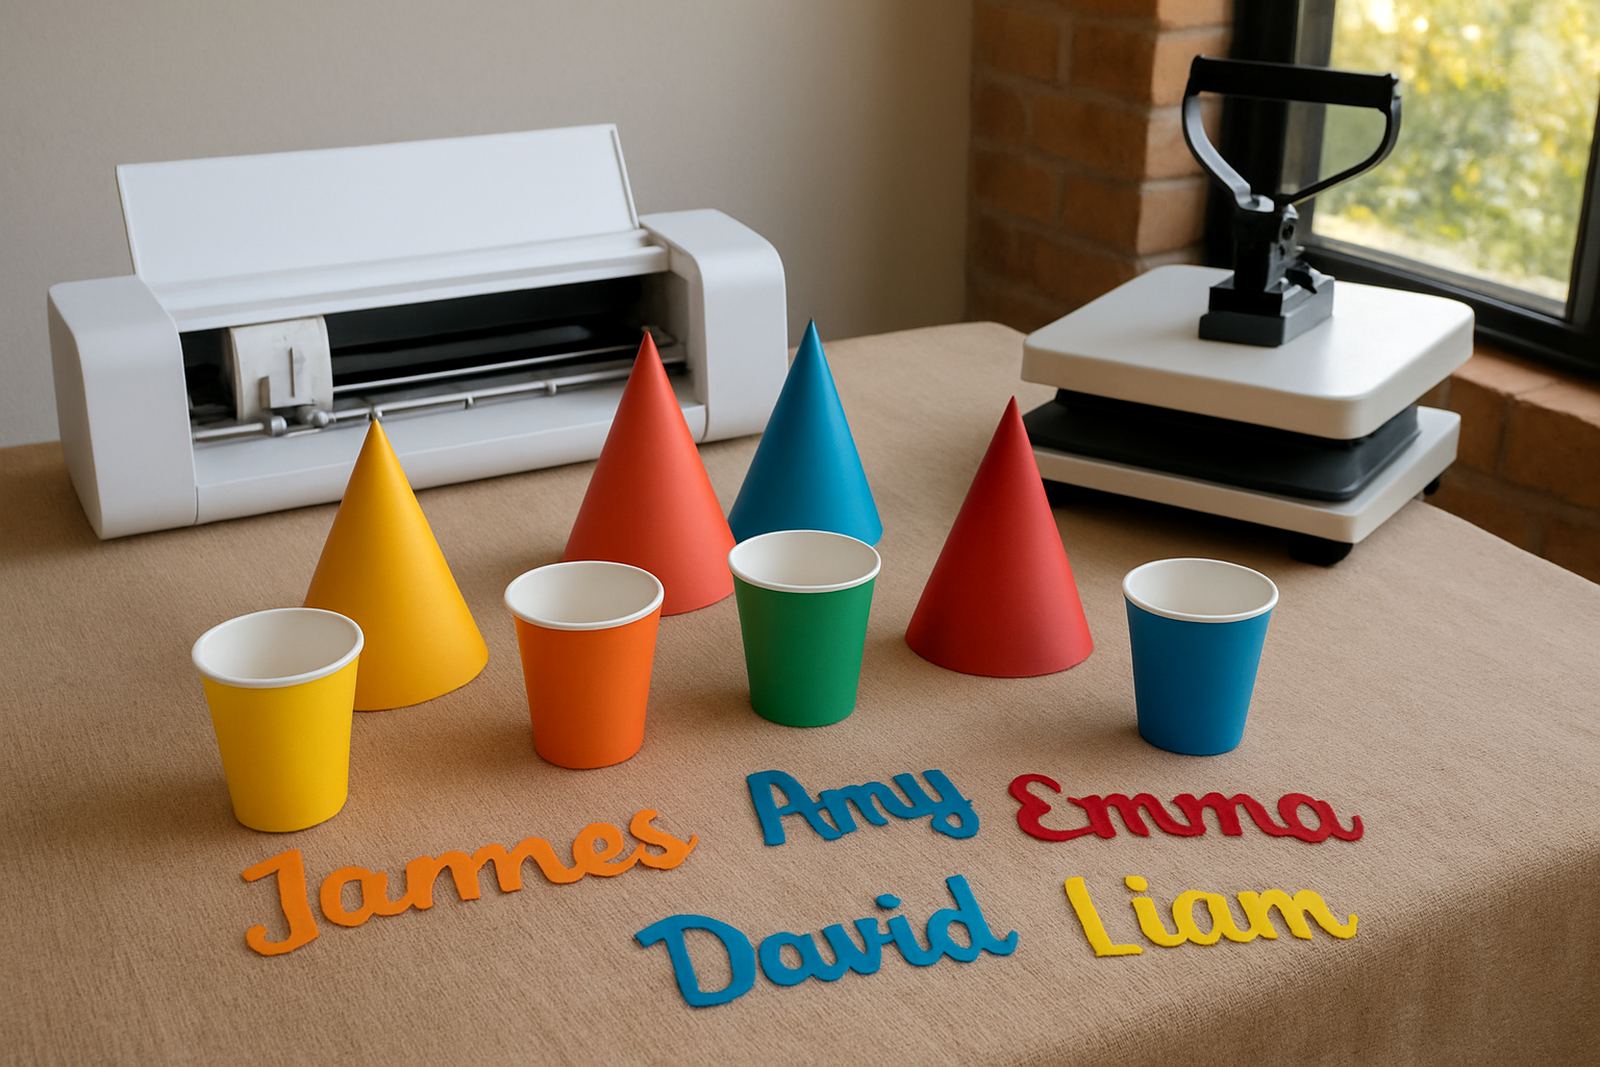
A home crafter in Kya Sand preparing custom baby grow names for a market order can lose half an hour by chasing tiny scraps one by one. A quicker method is to sort the cuts by size, weed the larger areas first and leave the smallest letters for last under strong light. If a single name has very narrow strokes, it is often worth slowing down on that one piece rather than trying to rush through and fixing damage later.
That same approach works for side hustles in Sandton flats, Midrand garages and small workshops in Randburg. Set the sheet on a flat board, keep a hook tool and tweezers close by, and clear the waste in one direction only. The result is less stress, fewer ruined pieces and a neater finish ready for pressing.
- Plan the order of weeding before you peel the first corner.
- Use one clean direction for waste removal so scraps do not snag on finished detail.
- Keep a test piece nearby to check pressure before starting a fresh sheet.
- Store vinyl flat so the next job starts in better condition.