
Start With the Wall, Not the Decal
The first mistake many people make is rushing to stick the graphic up before checking the wall. For a good result, the surface must be clean, dry and fully cured. Fresh paint should usually be left for at least two weeks, and longer if the room is cool or damp. In Johannesburg homes and offices, a painted wall can look dry in a day but still release moisture under the surface, which affects adhesion.
Use a soft cloth with mild soap and water to remove dust, then wipe again with clean water and let it dry fully. Skip oily cleaners and heavy polish. If the wall has texture, flaking paint or cracked filler, sort that out first because a decal will only follow the wall underneath. On a smooth plastered wall near Kya Sand or Randburg, the result is much neater than on a rough wall with patch work showing through.
- Check for dust, moisture, loose paint and uneven patches.
- Allow fresh paint to cure before application.
- Test a small offcut first if the wall finish is uncertain.
Measure Twice and Mark Lightly
Before removing any backing, place the decal against the wall with masking tape and step back. This dry position tells you if the graphic sits well with the room, skirting, windows or a feature shelf. For a wall quote above a couch in Sandton, or a logo in a Midrand reception, the centre line matters more than people think. A decal that is level but too high or too low can look wrong even when the application itself is neat.
Use a tape measure, spirit level and light pencil marks, or low tack masking tape guides. If the decal is very wide, mark a centre point on the wall and on the graphic so both line up before the transfer step. Keep in mind that bigger decals are harder to adjust once they touch the paint, so the setup stage saves a lot of grief later on. A few extra minutes here can prevent lifting and re-sticking, which often leaves marks.
- Centre the design before you peel the backing.
- Use masking tape as a hinge for large pieces.
- Check sight lines from the doorway and the opposite side of the room.
Use the Hinge Method for Bigger Graphics
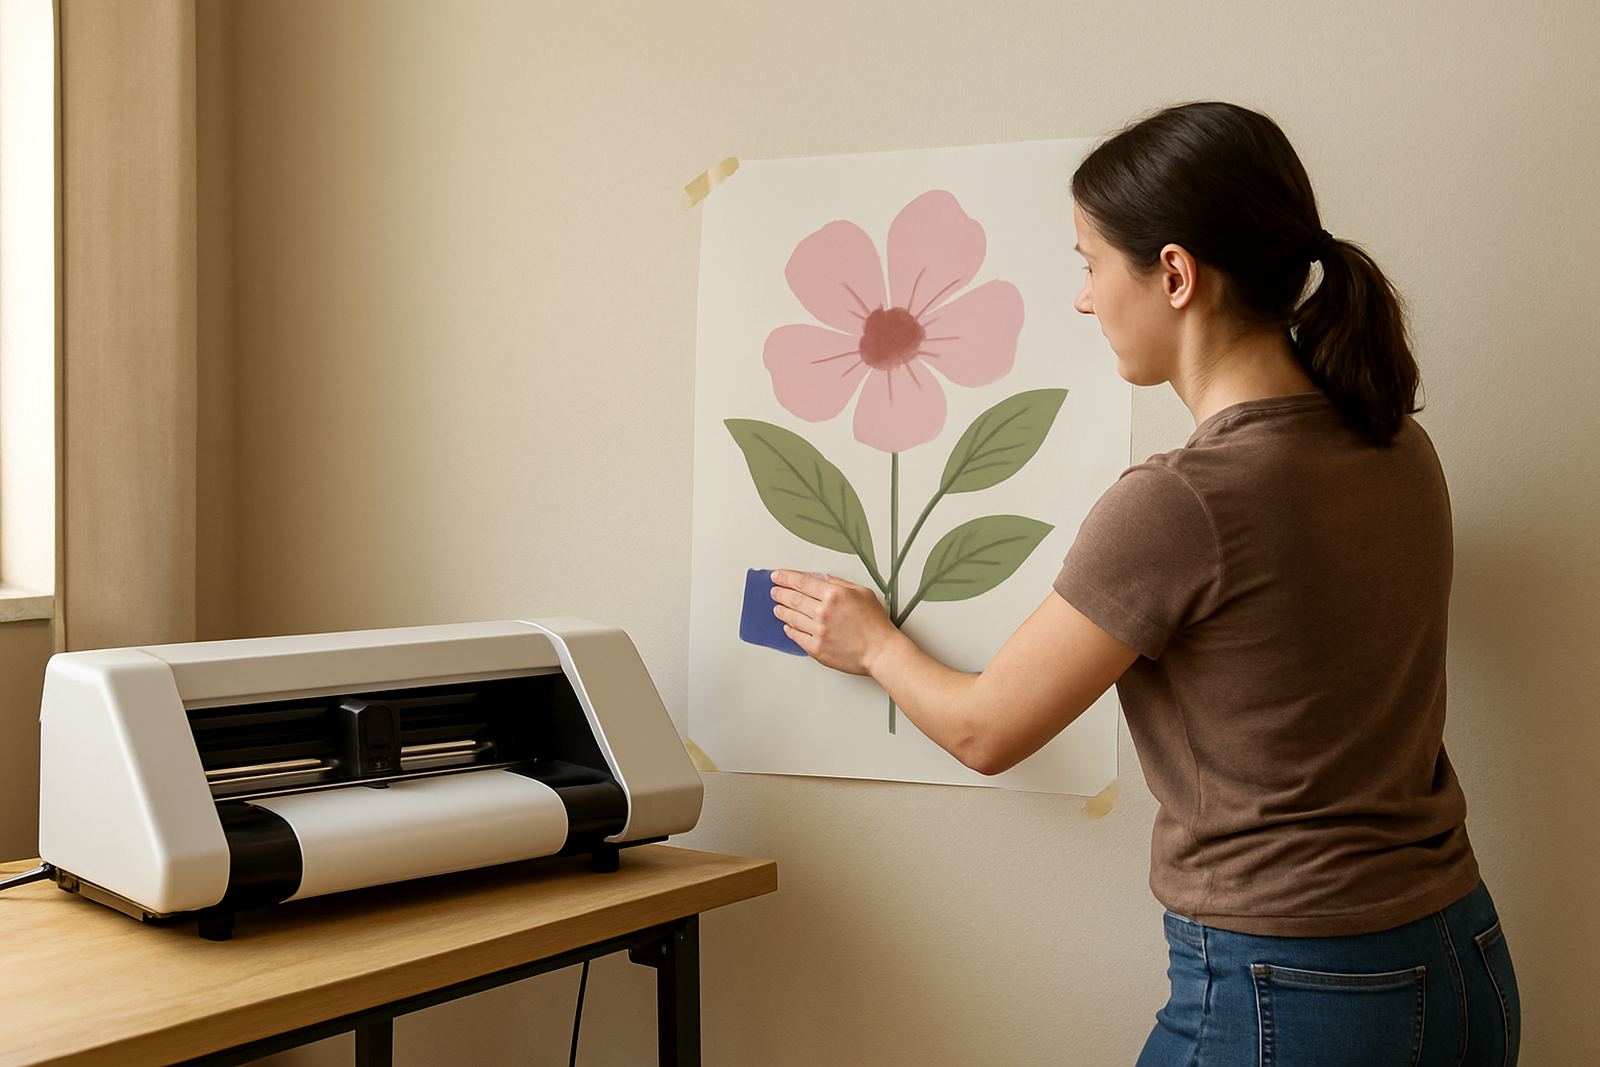
For larger wall decals, the hinge method gives you control. Tape the top edge of the decal to the wall where you want it, then lift one half and peel back the liner a little at a time. Cut away the exposed backing if needed, then smooth the decal onto the wall from the centre outward. After that, remove the tape hinge and finish the other side. This method helps keep the graphic level and reduces trapping air underneath.
A felt-edged squeegee works well because it presses the vinyl down without scratching the face. Apply firm, even pressure in overlapping strokes. If you are working alone in a Roodepoort lounge or a Pretoria East nursery, smaller sections are easier to manage than trying to stick the full width in one go. Do not pull the decal tight across the wall, because that can distort the shape and create a slight wave once the tape is removed.
When the room is warm, the adhesive grabs faster, so work steadily but do not rush. If the wall is cool from aircon or winter mornings, press each area firmly and give it time to settle.
Keep Air Bubbles Small Before They Start
Air bubbles usually happen when the decal is pressed down too quickly or the wall has tiny specks of dust. The best prevention is slow application with short smoothing strokes. If a small bubble remains, prick it with a very fine pin and push the air out with the edge of the squeegee. Do this sparingly. Too many holes can spoil the finish, especially on a plain colour wall where every mark shows.
Most wall decals do not like repeated lifting, so try to get each section right the first time. If a corner starts to curl, press it back down and hold it for a few seconds with firm thumb pressure. In humid areas or coastal homes, stickers can feel different on the wall from one day to the next, so it is worth checking the room conditions before applying. Even in Johannesburg, a room with poor ventilation can still hold enough moisture to affect the bond.
- Work from the middle of the decal outward.
- Use light pressure first, then firm pressure to finish.
- Prick only stubborn bubbles with a fine pin.
What to Do in Load-Shedding and Warm Rooms
Load-shedding can throw off the job in practical ways. Without strong lighting, it is easy to miss a slight angle, a small crease or a piece of dust under the film. If the room is dark, wait for better light or use a battery lamp positioned to the side so shadows show up clearly. Heat can also change how the vinyl behaves. On a hot afternoon in a metal workshop or a sunny north-facing wall, the adhesive may feel tackier, which means less room for correction.
If you are applying the decal during a power cut, keep the room cool and avoid opening and closing doors too much because moving air can pick up dust. In damp weather, especially after rain in Pretoria East or parts of Midrand, let the wall dry longer than usual. A wall that feels only slightly cool can still hold moisture inside the paint layer. That is why patient prep is often more important than the actual sticking step.
If you are unsure, do one section, stand back and inspect it before continuing. A careful pace is better than chasing a perfect result after the whole graphic is already down.
Finishing Touches That Make the Decal Last
Once the decal is in place, go over the full surface one more time with the squeegee. Pay special attention to edges, corners and fine lettering. Then leave it alone for a day before cleaning the wall or placing furniture close to it. That settling time helps the adhesive bond properly, especially on larger graphics.
Avoid wiping the decal with strong chemicals. For most wall decals, a clean dry microfibre cloth is enough to lift everyday dust. If the wall itself needs cleaning later, use a gentle damp cloth and keep scrubbing to a minimum near the edges. For business interiors, such as a training room or shop in Kya Sand, a neat wall graphic can stay smart for a long time if the wall is not bumped by boxes, ladders or chairs.
- Press all edges again after application.
- Leave the decal untouched for 24 hours where possible.
- Keep strong cleaners and abrasive cloths away from the vinyl.
When a Second Pair of Hands Helps
Small decals are usually manageable on your own, but larger pieces are easier with two people. One person can hold the graphic level while the other removes the backing and checks alignment. This is especially useful for wide wall quotes, logos above counters, or full feature shapes across a reception wall. In a busy Johannesburg home or small business, getting it right the first time saves time and material.
If the job involves several colours, tricky alignment, or a wall that is not perfectly smooth, extra help makes the process calmer. It also helps to test the decal material on a small sample area first if the wall finish is unusual. For anyone in the northern suburbs or nearby areas, a quick check before full application often avoids unnecessary lifting and rework. The main aim is simple: steady placement, clean pressure and a wall that looks planned, not patched together.