1. Choose a cutter that suits the work you want to do
Start with the jobs you want to make in the first three months. If you are cutting names for T shirts, simple decals, labels or small home décor pieces, you do not need a machine that is far bigger than your worktable. A compact desktop cutter is often easier to place in a spare room, studio corner or small shop in Kya Sand, Randburg or Midrand where space matters.
Check the cutting width, the media handling width and whether the machine can handle the vinyl you plan to use. For most first time buyers, the safer choice is a machine that handles standard craft vinyl and heat transfer vinyl with a clean, steady cut. Ask about the smallest letters it can cut well, because that matters more than a big headline number. Thin material, small script text and detailed logos will tell you a lot about the cutter’s real accuracy.
- Match the cutter size to your typical project size, not the biggest job you hope for one day.
- Confirm the machine supports the file types and software you are comfortable using.
- Ask what blade sizes, mats or holders are needed for the materials you plan to cut.
- Check whether setup help is available by phone or remote support if you are outside Johannesburg.
2. Check the box before you plug anything in
When the machine arrives, do a proper unpacking check before you switch it on. Keep the packaging until you know the cutter is working correctly. In Gauteng, courier handling can be rough and coastal humidity on shipments to Durban or Gqeberha can also affect packaging and some consumables, so it pays to inspect everything carefully.
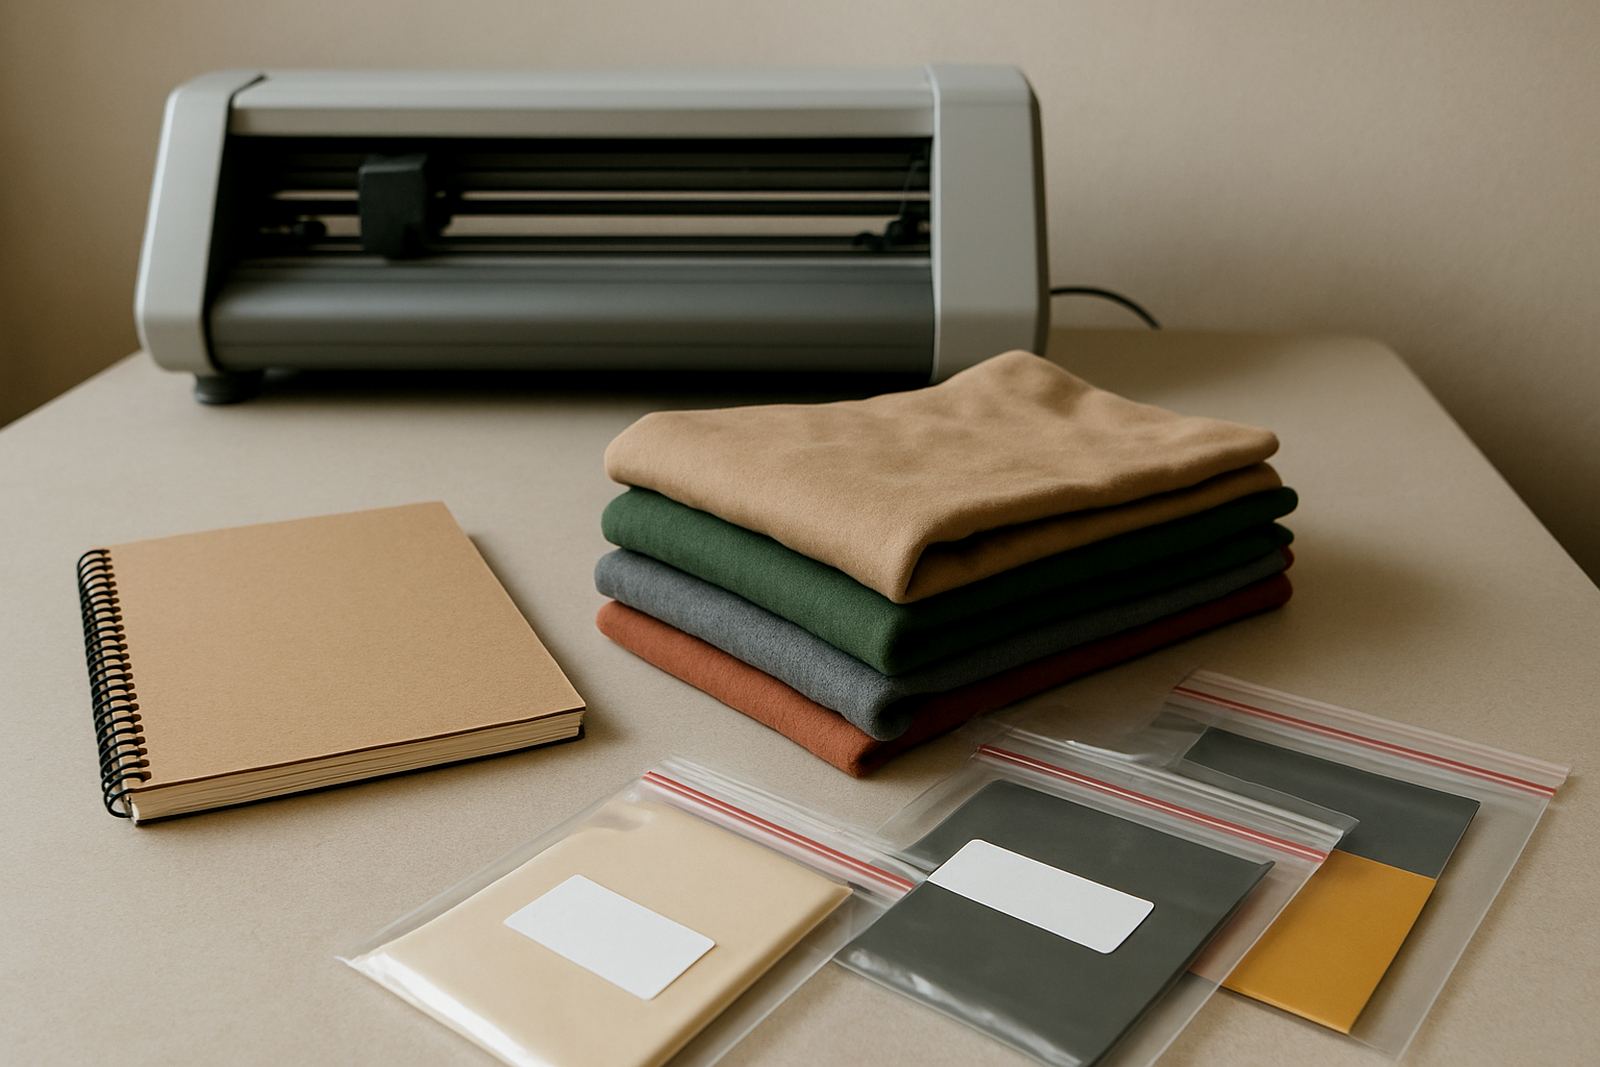
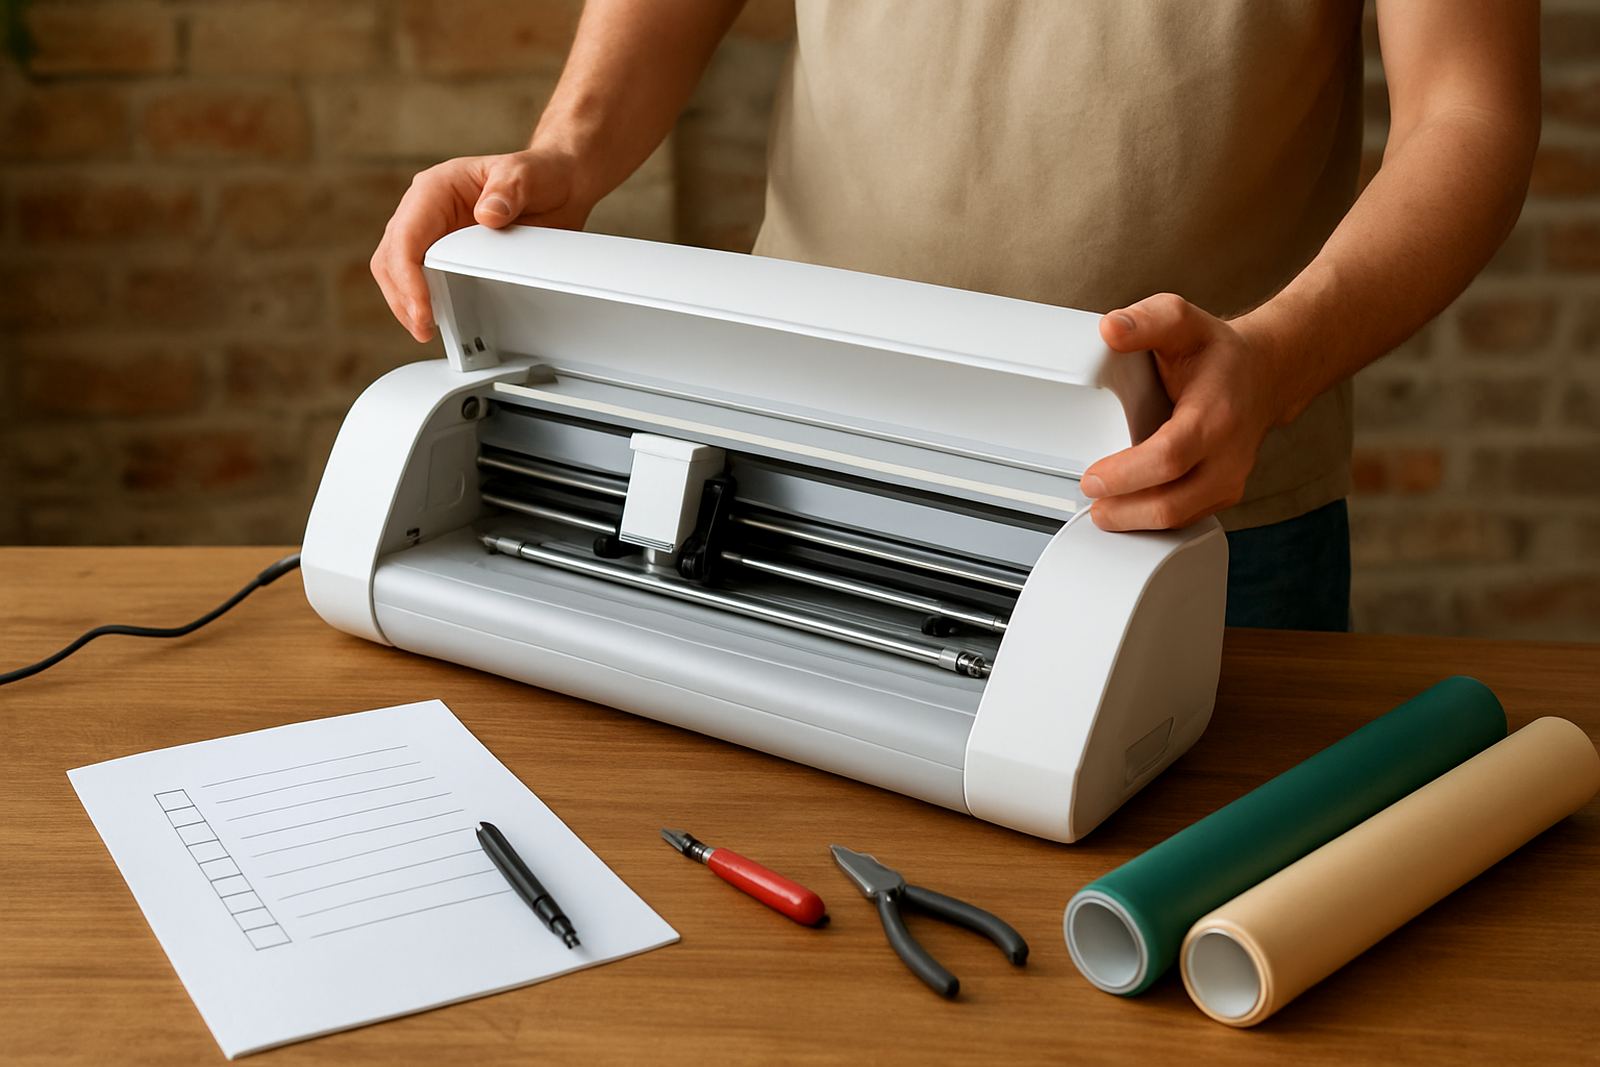
Lay out every item on a clean table and compare it to the packing list. Look for the power cable, blade holder, blade, rollers, manual and any software access details. If there is a dent, loose part or rattling sound, do not force the machine into use. Photograph the box and contents while everything is still visible. That makes it easier to sort out missing items or transport damage quickly.
- Check that the cutter body is level and the carriage moves freely by hand if the manual allows it.
- Look at the blade tip with care, it should be intact and seated properly.
- Keep blades, clamps and small fittings in a container so nothing gets lost during the first week.
- Do not throw away the foam inserts until the cutter has passed your first test cuts.
3. Set up the workspace for clean cuts and fewer mistakes
A good first setup saves material from the start. Place the cutter on a solid surface that does not wobble when the carriage moves. Leave enough space at the back and front for vinyl to feed straight through. If your shop or home studio uses an inverter, battery backup or generator because of load-shedding, test the machine on that power source as well before taking paid work.
Keep the area free of dust, loose scraps and open drinks. Craft vinyl collects dirt on the adhesive side fast, and that can affect finished results. If you are working in a place like Pretoria East or Roodepoort where rooms can get warm, avoid direct sun on the machine and material stack. Heat can make some vinyl curl at the edges. A clean, stable table and a neat cable layout help more than most people expect.
- Allow at least 30 cm behind the cutter for feed space.
- Place the machine close to a power point so cables are not stretched.
- Store vinyl flat or upright as recommended, away from damp walls.
- Keep a small brush or cloth nearby for routine cleaning after each session.
4. Do the first software connection and test cut slowly
The first software connection should be simple and patient. Install the required software, connect the cutter and send one basic shape first, such as a square or circle. Do not start with a full name logo or a detailed pattern. A single test shape tells you whether the communication, blade depth and pressure are in the right range.
If the cutter does not respond, check the USB cable, power cycle the machine and confirm the driver or device connection settings. Many first time issues come from a simple mismatch between the cutter settings and the software output. If you are working from Sandton or Midrand and sharing the machine between staff, write down the correct settings so the next person does not need to guess.
- Use a small test design first, then check whether the corners are sharp and the vinyl weeds cleanly.
- If the backing paper is scored, reduce blade depth or pressure.
- If the vinyl lifts and misses lines, increase pressure a little and test again.
- Keep a note of the final settings for each material type.
5. Calibrate the blade before you buy bulk material
Blade calibration is one of the most important early checks. A blade set too deep will cut through the backing paper, waste material and make weeding harder. A blade set too shallow will drag or leave sections uncut. Work in small steps and test each change with scrap vinyl before you use full sheets or a fresh roll.
It is also worth checking how the cutter handles different materials. Standard craft vinyl, HTV and some thicker specialty films can all behave differently. Test both short straight lines and small curves. If your first batch is for school labels, bridal signage or a small apparel order, you want the cutter to repeat the same result more than once, not just on a lucky first try.
- Start with the lowest blade depth that still gives a clean cut.
- Test pressure in small increments only.
- Weed a test piece fully to see if letters like A, O and R release cleanly.
- Keep notes for each vinyl type so setup becomes faster later on.
6. Learn the basics of heat transfer before your first shirt
If you plan to use heat transfer vinyl, check the full workflow before pressing your first garment. Cut the design mirrored, weed it properly, place it on the garment and confirm the press temperature and time for the material you are using. A heat press check matters because pressing too hot or too long can spoil the finish, especially on thinner fabrics.
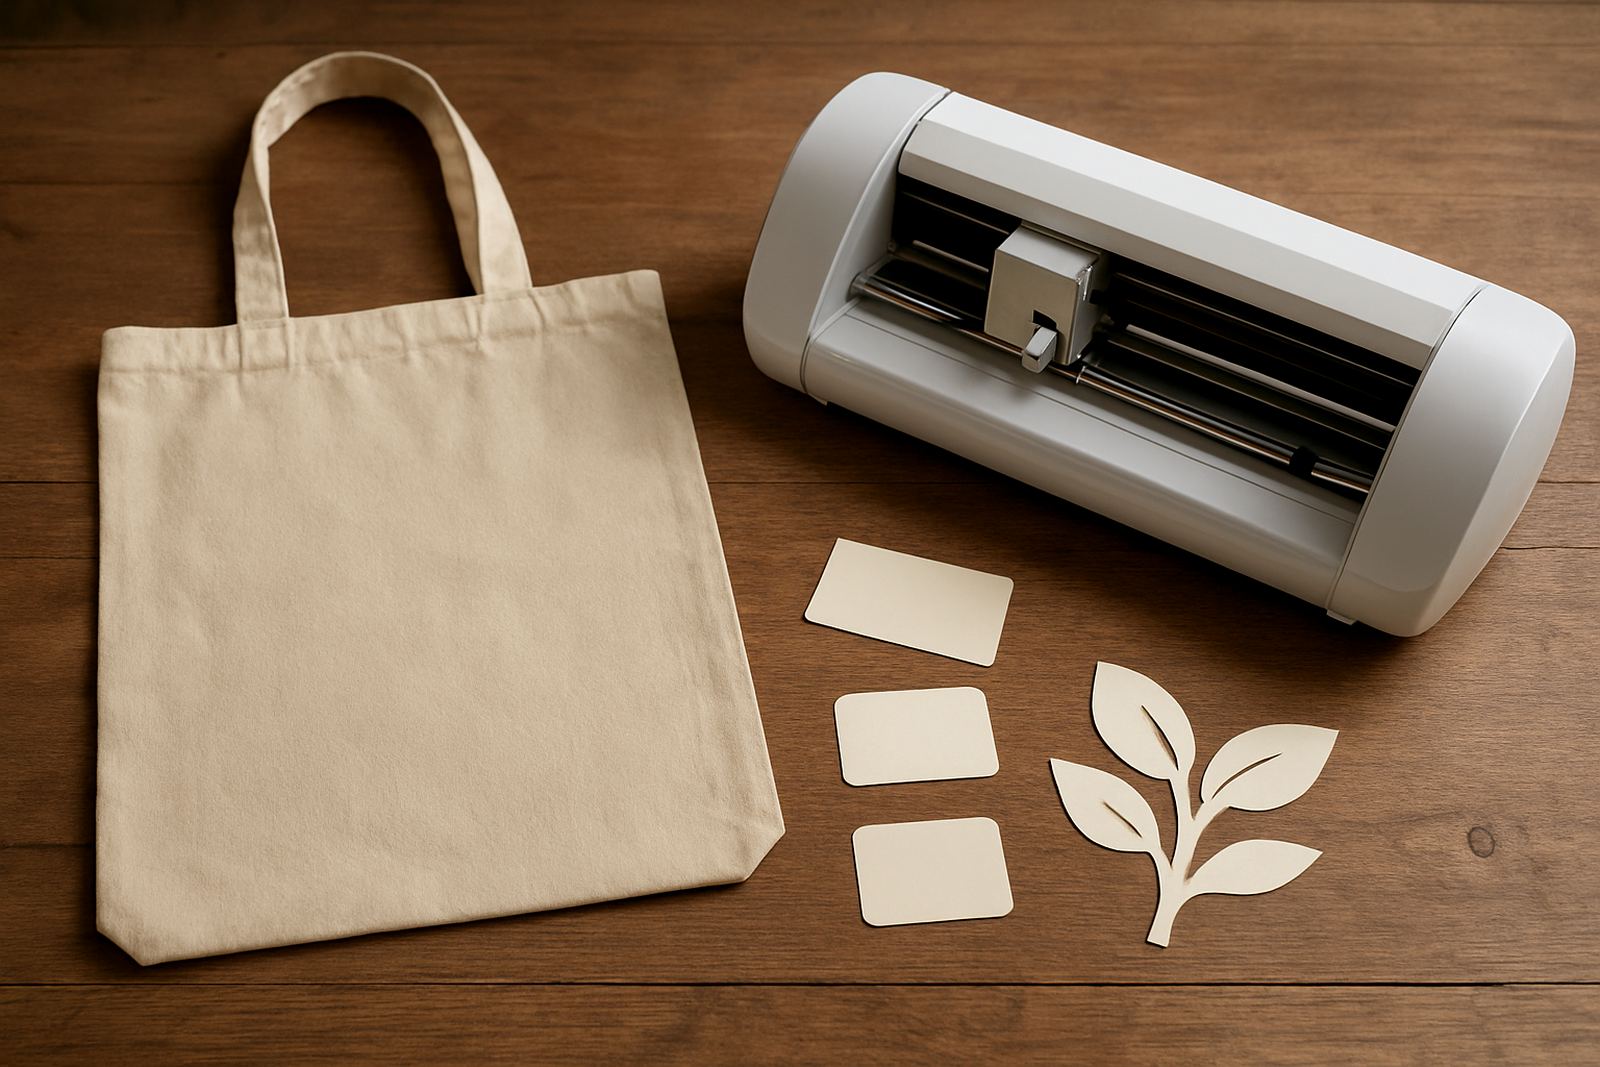
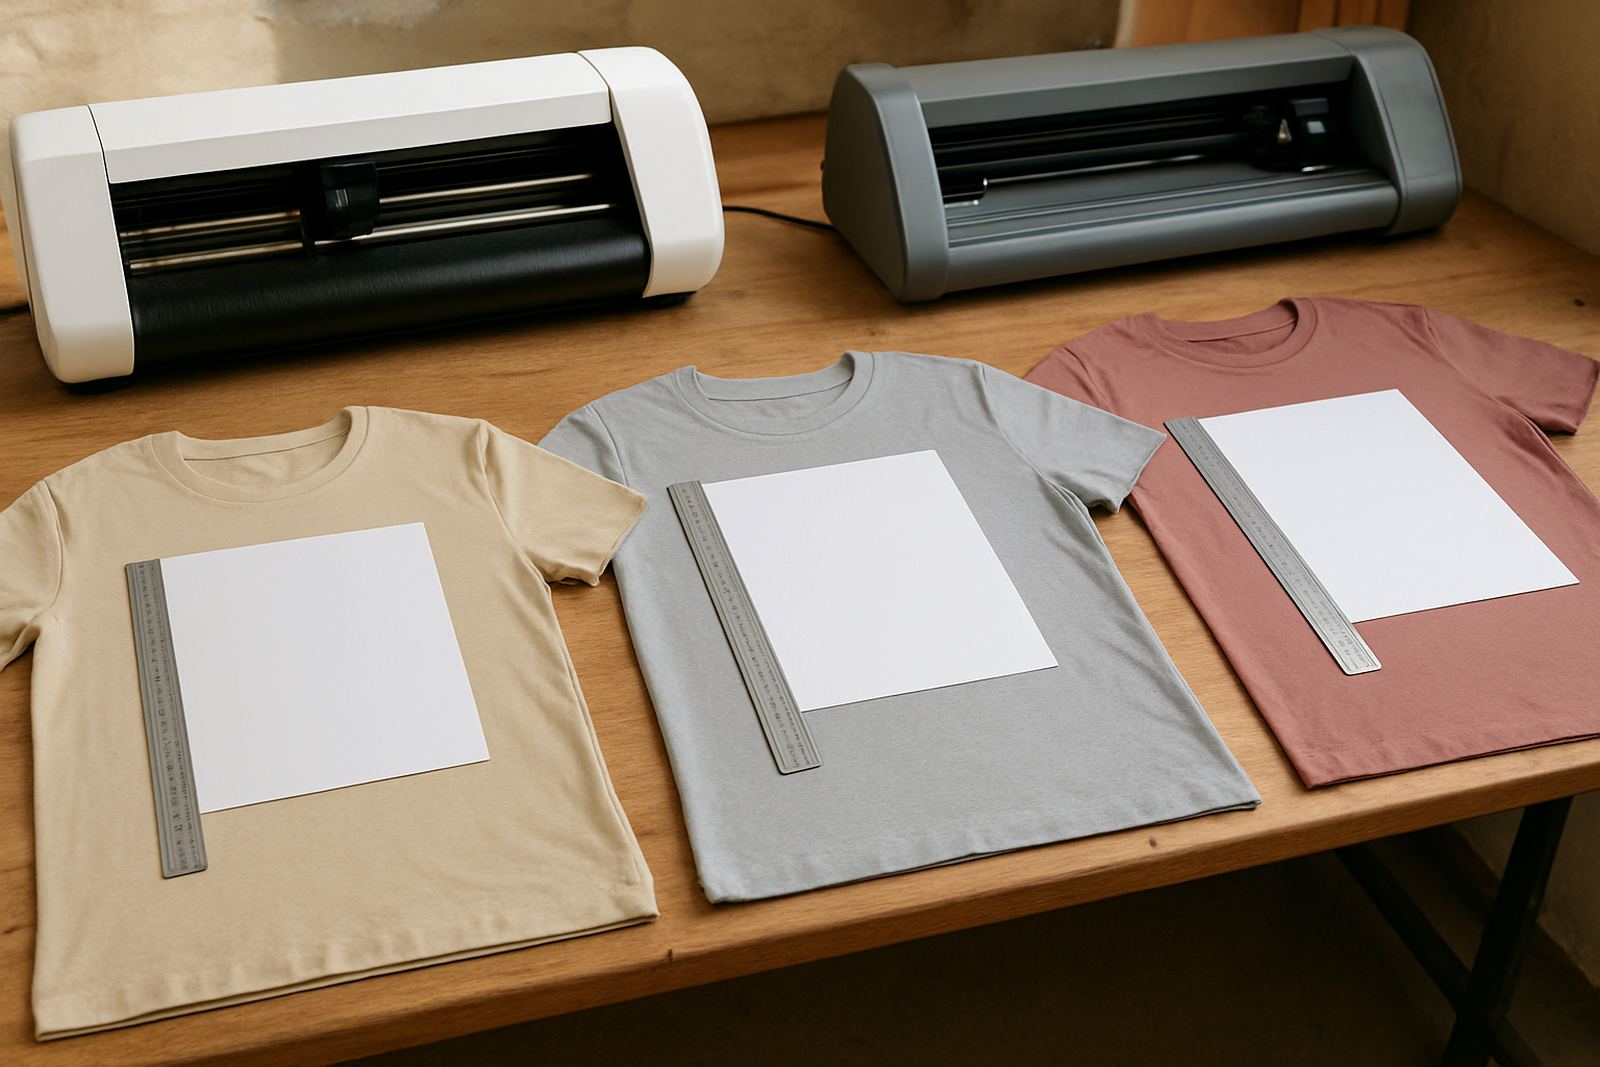
For your first garment, use a plain cotton T shirt or tote bag and a simple design with enough spacing between letters. Avoid fine detail until you have seen how the vinyl behaves on fabric. In practice, a few small test pieces on different fabric colours will teach you more than one large order. If you are preparing items for a market in Kya Sand or a school fundraiser in Pretoria East, test the garment type before the event day.
- Mirror the artwork before cutting HTV.
- Check press temperature with a proper reading, not guesswork.
- Let the garment cool or warm peel only as recommended for the vinyl type.
- Store leftover HTV flat so it does not crease at the edges.
7. Keep a first month checklist for cleaner daily work
The first month is where good habits save money. Do a quick cleaning after every few jobs, clear vinyl dust from around the rollers and check the blade holder for buildup. If cuts start drifting, inspect the mat or feed path and confirm the rollers are gripping evenly. Routine care is easier than fixing avoidable problems later.
It also helps to keep a simple log of what you cut, which settings worked and where the machine struggled. That record makes it easier to order the right parts, plan future work and ask better technical questions. If you need replacement part help or remote support, having that information ready speeds things up. For small businesses around Johannesburg and nationwide, that kind of record keeping can mean fewer mistakes and less wasted stock.
A first cutter should feel predictable. Once you know the machine, the material and the settings, the work becomes much calmer and a lot more profitable.