Start With Projects That Teach One Skill at a Time
Beginner projects should do one job well. A first cut teaches blade depth and pressure, a first press teaches heat and timing, and a first transfer teaches how to line things up without panic. When the project is too complicated, it is harder to see what went wrong, and that makes learning slower.
For new users in Johannesburg, especially in places like Kya Sand, Randburg or Midrand, it helps to begin with short runs of the same design rather than trying ten different items at once. You will see patterns in your results much faster. If a corner lifts or a line does not weed cleanly, you can correct the setting before wasting more material.
Think of your first few projects as practice with a purpose. The goal is not perfection, it is repeatable results that you can trust.
Simple Projects That Give Fast Wins
The easiest beginner projects are the ones with large shapes, clear edges and very little layering. These are ideal for learning how vinyl cuts, how the carrier sheet behaves, and how transfer looks once it is pressed. You also spend less time weeding, which is a relief when you are still figuring out blade calibration.
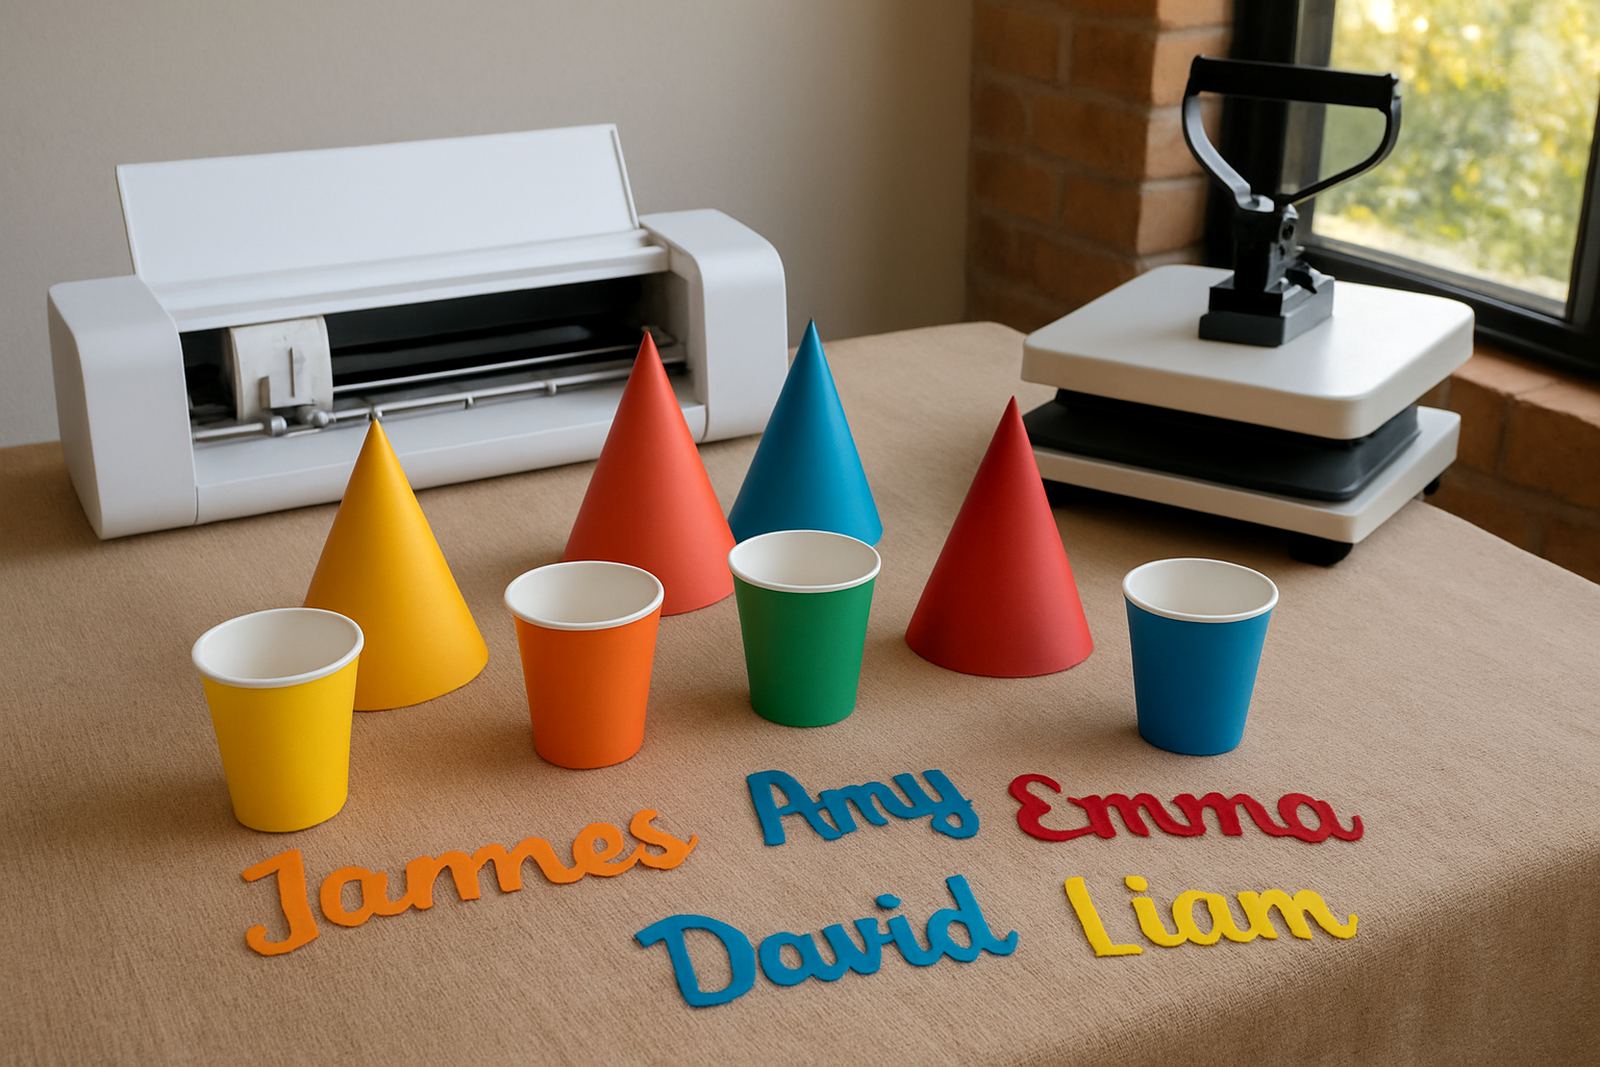
- Single-colour name labels for storage containers, lunch tins, or workshop boxes
- Basic wall decals with large lettering for a bedroom, office, or playroom
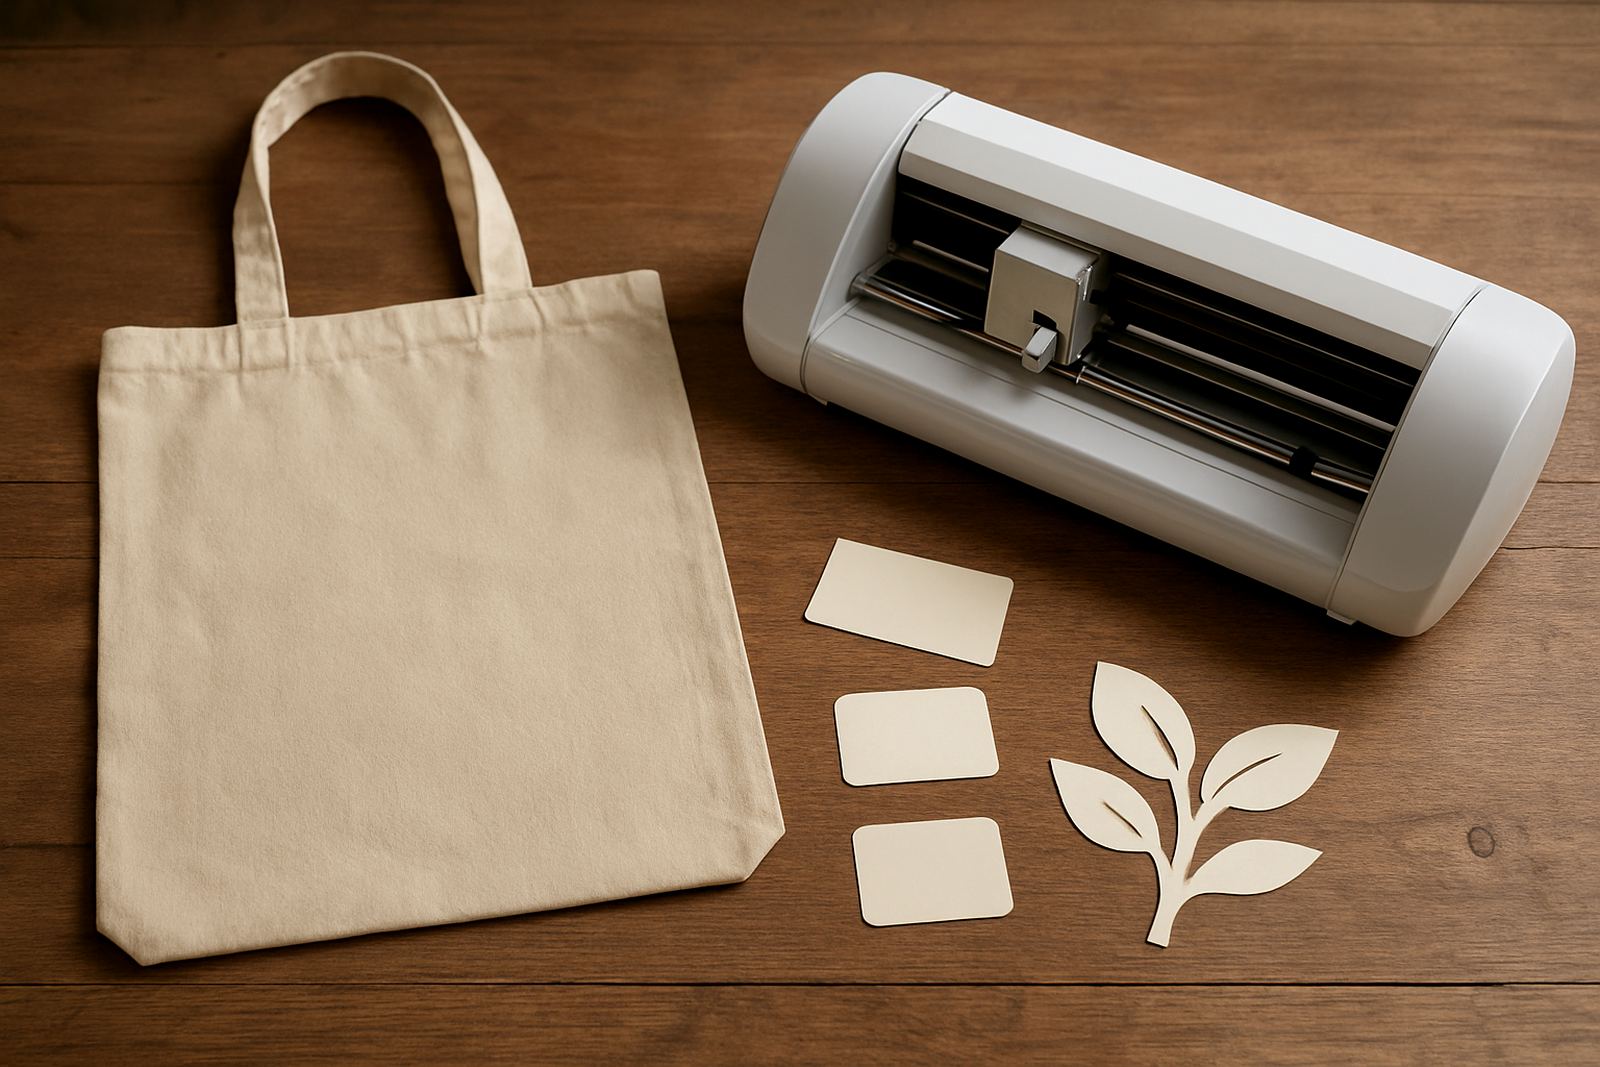
- One-word tote bag designs for gifts or market stock
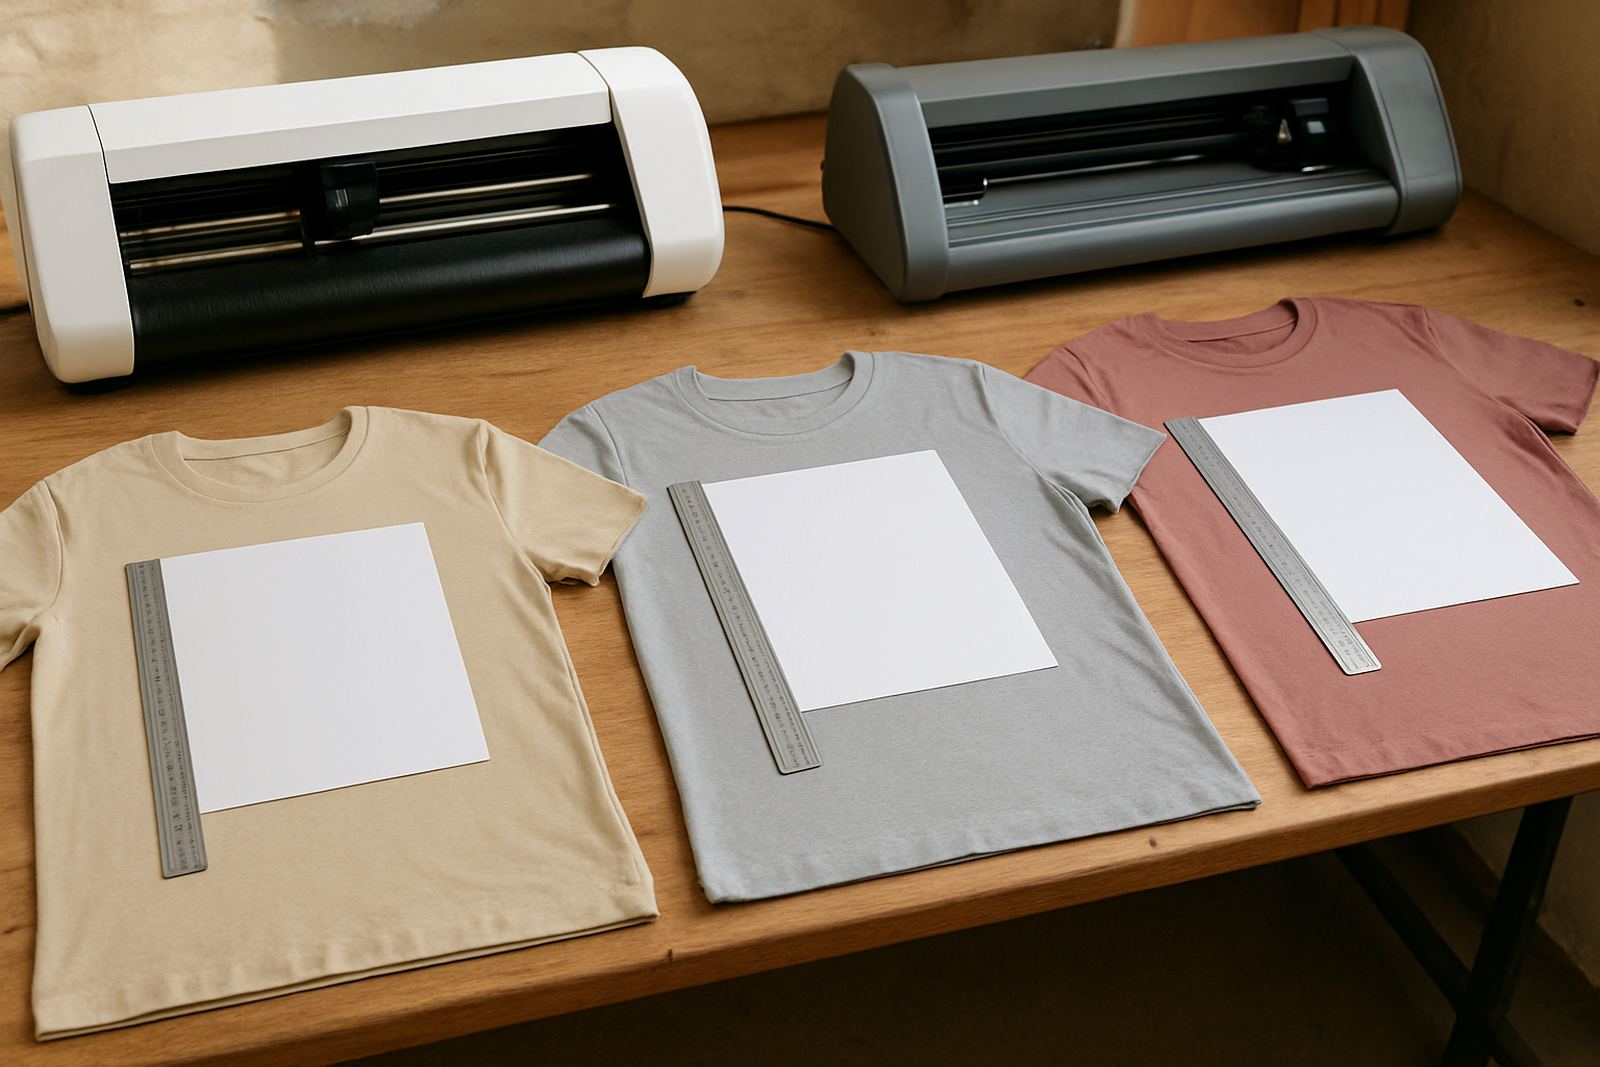
- Simple T-shirt graphics with no tiny text or fine detail
- Vinyl labels for jars, spice bottles, or stationery tubs
These jobs may sound small, but they teach the same control you need for bigger work. A neat label on a spice jar can tell you just as much as a full apparel design. And if you can cut a clean circle today, you are already on the way to handling more detailed shapes tomorrow.
Why Heat Transfer Vinyl Is a Strong First Material
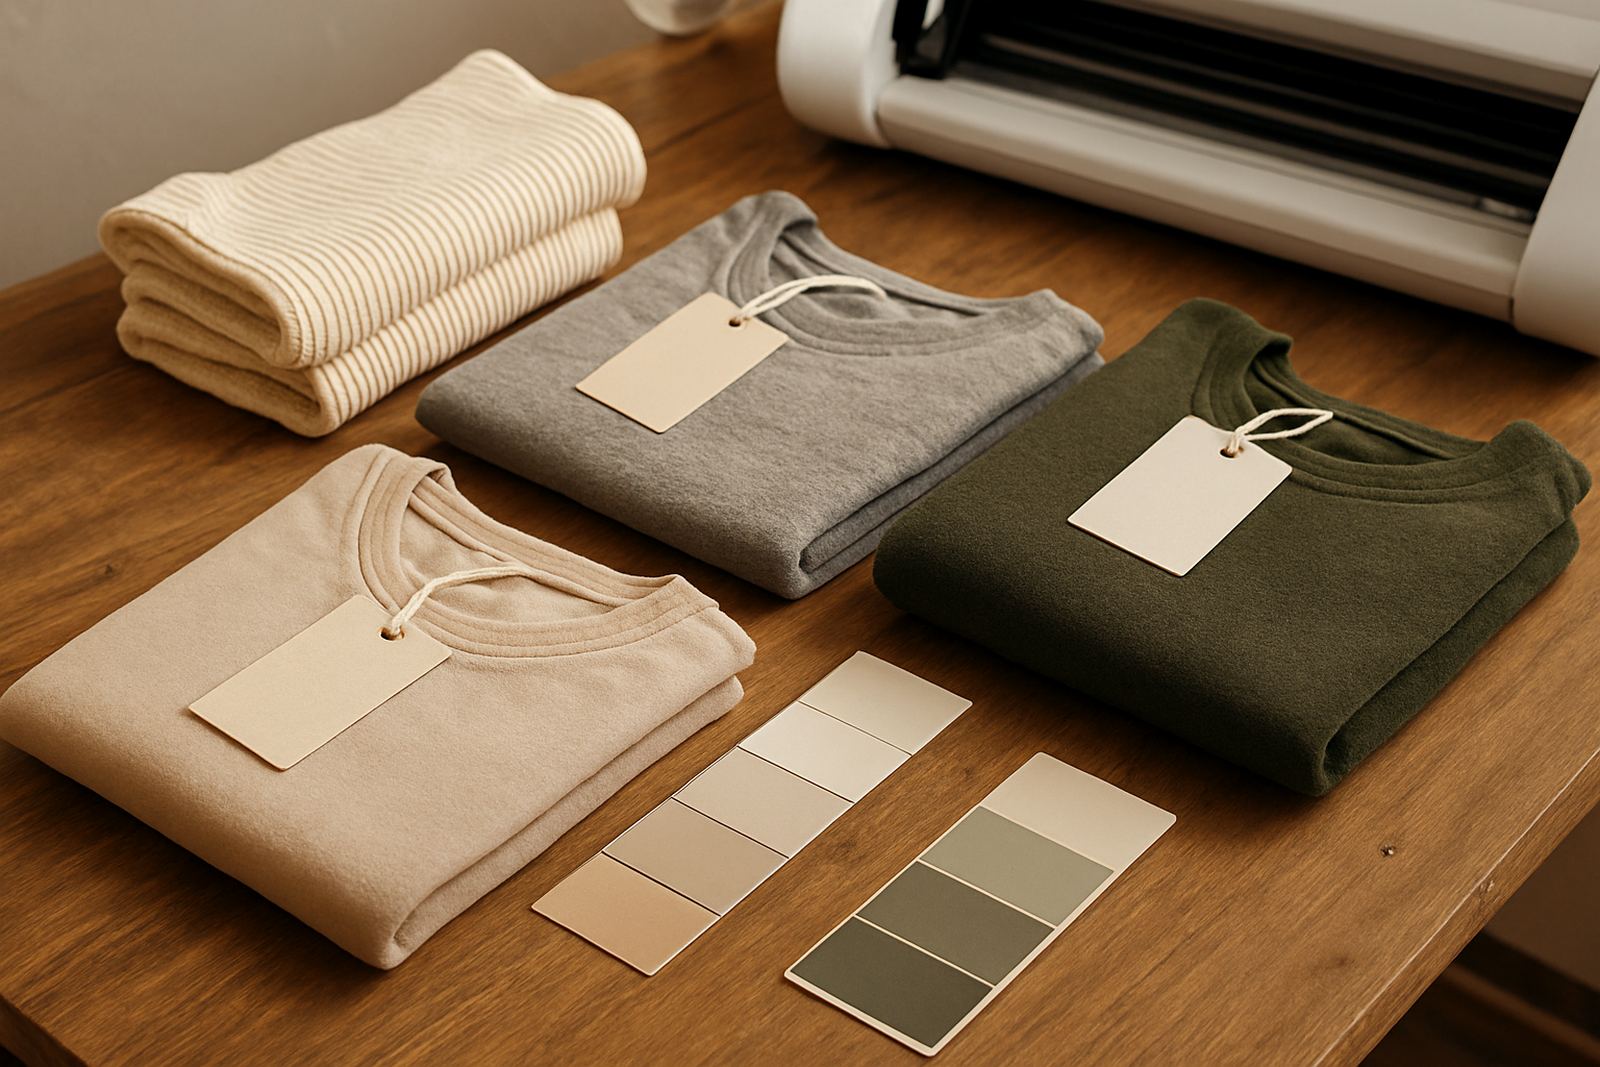
Heat transfer vinyl, often called HTV, is a good starting point because it gives new users a clear result on fabric. You cut the design, weed away the excess, then press it onto a T-shirt, tote or apron. The process is easy to follow and you can spot mistakes quickly, which is helpful when you are still learning.
For South African users, HTV also suits a small home setup because it does not need a big workshop space. A spare table in a flat in Sandton or a garage in Roodepoort can be enough, as long as the machine is on a stable surface and you have room to work safely around the heat press. In summer, keep the room dry if you live near the coast or in a humid area, because moisture can affect how some materials handle. That said, a cool dry cupboard and a bit of order goes a long way.
Avoid very fine lettering at first. Thick lines, bold fonts and simple icons give you cleaner results and less frustration when weeding.
Paper, Card and Sticker Jobs Build Cutting Control
Before you move into clothing, it is worth testing the machine on paper-based or sticker-style materials. These projects are useful because they show whether your blade is set correctly and whether your cut lines are clean from corner to corner. If the blade is too deep, you may cut through the backing. If it is too shallow, the design will tear when you weed.
- Gift tags for birthdays, baby showers or school events
- Vinyl stickers for lunch boxes, water bottles and tool cases
- Planner labels and calendar tabs for home organisation
- Window decals for shopfronts, in line with municipal signage rules where needed
A small batch of stickers can teach you a lot in one afternoon. You will learn how the machine tracks, how to space designs on the sheet, and how to keep waste low. For someone working from Kya Sand and delivering to Pretoria East or Centurion, this kind of repeatable cutting is practical because it keeps turnaround time under control.
Set Up a First Workflow That Does Not Waste Material
A calm workflow matters more than fancy materials. Start with a simple habit: check the blade, test cut, weed a small corner, then press or apply. Once that sequence becomes automatic, your results improve quickly. It also helps you avoid re-cutting the same job three times, which burns through vinyl and patience.
Keep a notebook with the settings that work for each material thickness. Write down pressure, speed, temperature and press time. Even a rough note can save money later. On busy days, especially when load-shedding interrupts your routine, it helps to know exactly where you left off so you can return to the job without guessing. Small operators in Johannesburg often find that this one habit makes the biggest difference.
A few basic tools will also make things easier:
- A scraper or squeegee for smooth application
- Weeding picks for lifting small sections
- A ruler or tape measure for lining up text
- A heat-resistant surface for pressing
- Clean storage for offcuts and spare rolls
A Local Example: A First Market Batch in Kya Sand
Picture a beginner in Kya Sand preparing a small batch for a weekend market in Randburg. The first run is a set of 20 tote bags with a single bold word on each bag. The design is simple, the material use is low, and every bag teaches something useful. If the letters lift at the corners, the press time needs a small increase. If the carrier film shifts, the design may need better alignment before pressing.
This kind of project is ideal because it matches how many South African customers actually start. They want items they can sell in small numbers, or gifts they can make without a lot of waste. It also keeps delivery simple if you are serving local customers in Sandton, Midrand or Pretoria East. You can test, correct and repeat without taking on a large order too early.
Beginner success is often about doing one simple job well, then doing it again.
What to Avoid Until You Have a Few Clean Runs
Some projects look exciting, but they are not the best starting point. Multi-layer decals, tiny script fonts, detailed logos and tricky fabric textures can all wait until your basic setup is sorted. If you jump too quickly into advanced work, you may blame the machine for problems that are really caused by settings or handling.
Hold off on these until you have a few good results behind you:
- Layered apparel designs with several colours
- Very small text or fine lines
- Reflective or specialty films that need careful handling
- Large wall graphics that must be aligned over long distances
Once your cuts are consistent and your pressing is even, those more advanced jobs become much easier. The confidence you build on simple projects carries over, and that matters when you are working for paying clients.