
Start with the real job size, not the sheet size
The quickest way to waste material is to guess. Before you cut, measure the finished item, the usable area, and the margin you actually need for weeding and handling. A T-shirt logo that looks simple on screen can need far more space once you add a border, direction marks, and a safe gap for the blade path.
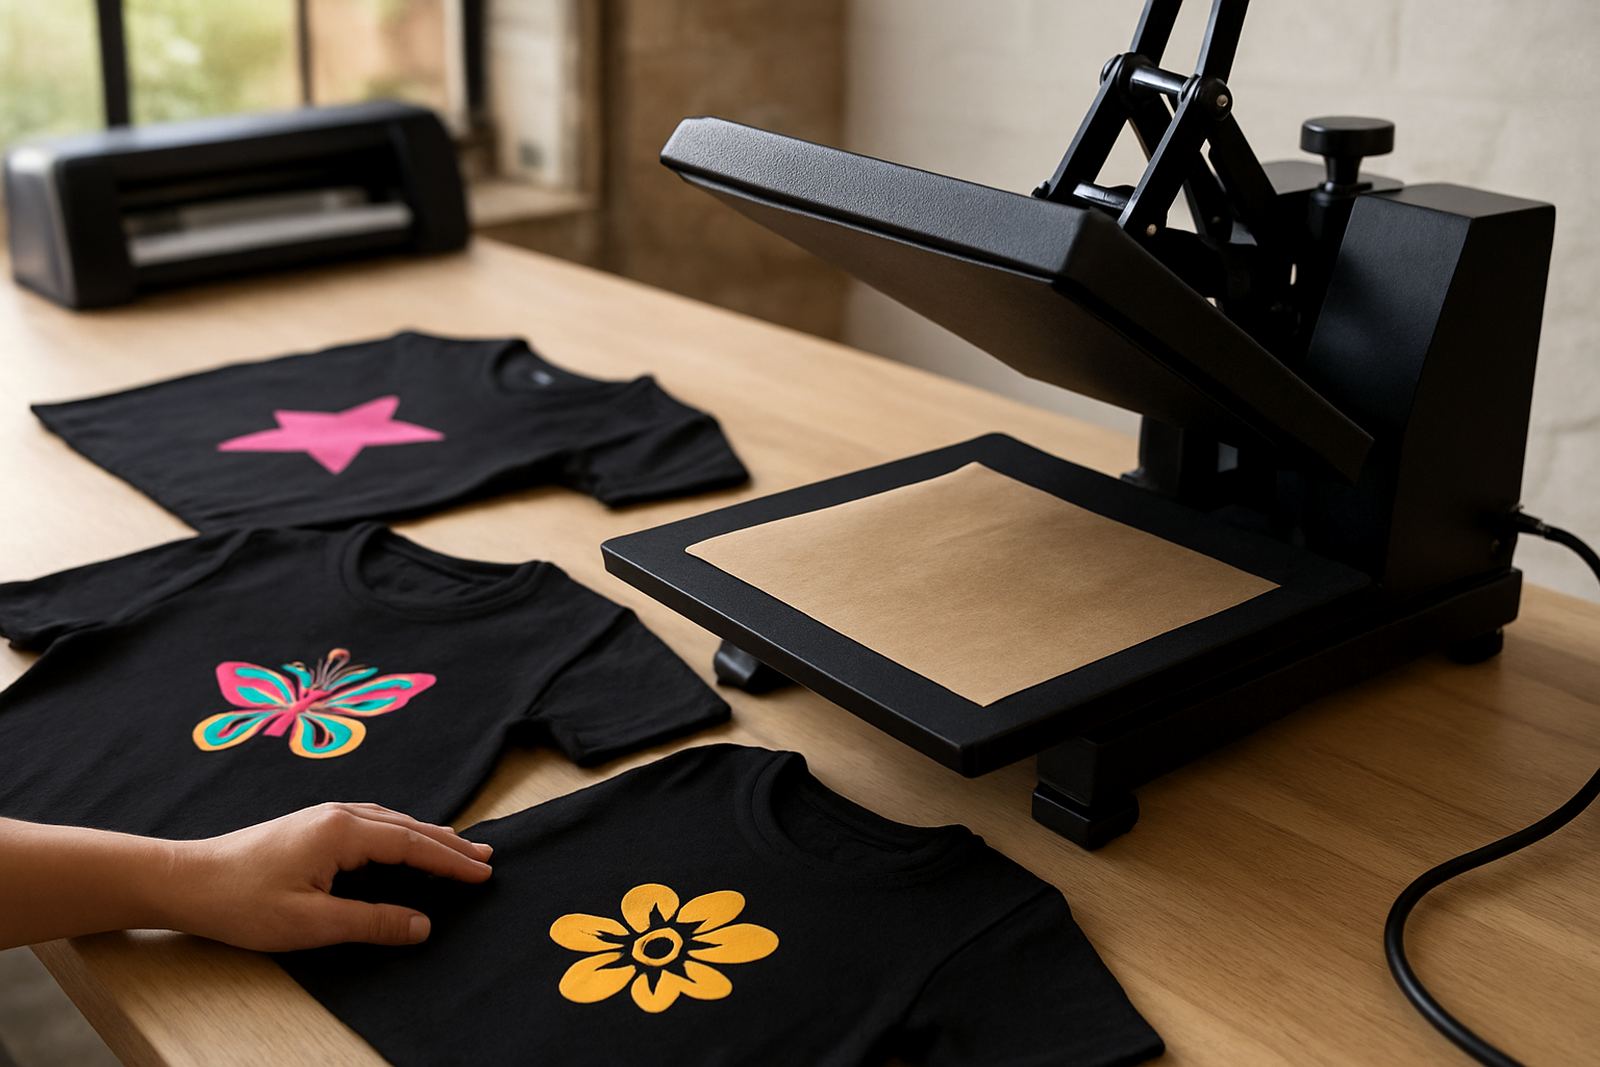
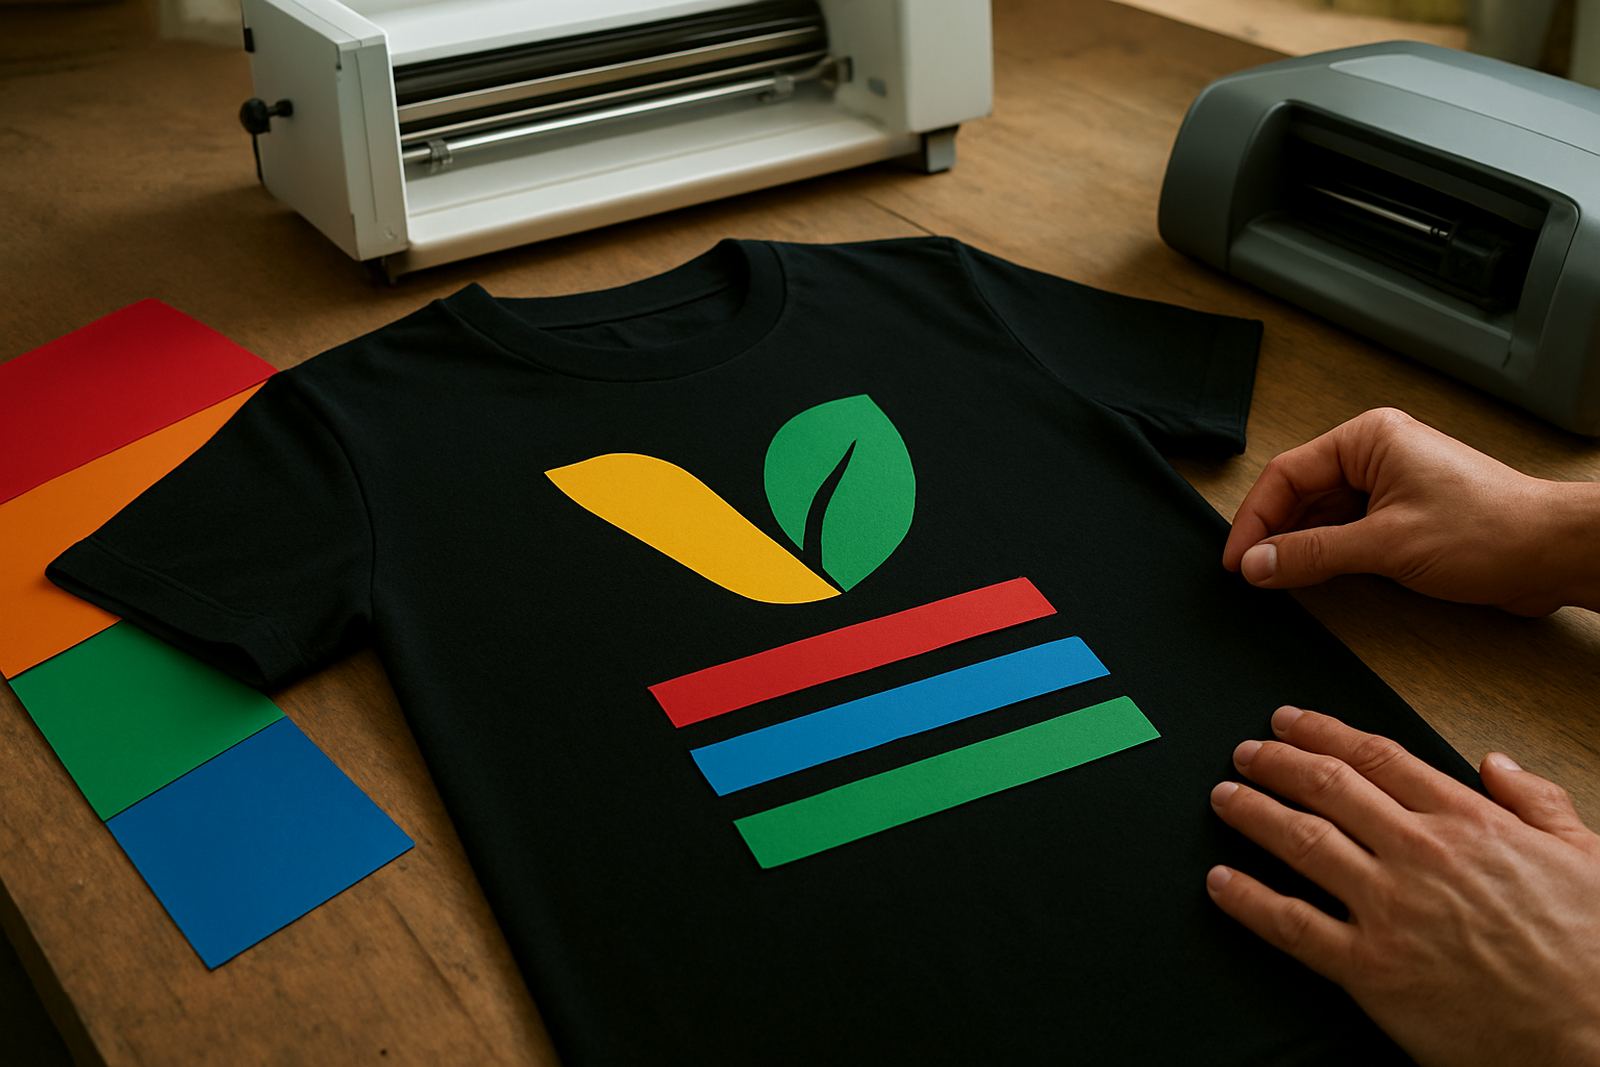
For heat transfer vinyl, plan around the garment size first. A left chest mark, school name, or team number often fits into a smaller rectangle than people expect, but only if the artwork is sized correctly from the start. On small batches, even a 20 mm mistake can turn a neat offcut into scrap.
It helps to write down the final cut size before you open the software. That habit sounds plain, yet it stops you from resizing at the last minute when the job is already set up. In Kya Sand, where many orders are rushed before school fundraisers or weekend markets, that one step can save both time and material.
Nest artwork to use the sheet properly
Nesting means placing several shapes on the sheet so they use the space well. It works best when you group jobs by material colour and by finish, then arrange the designs with only the clearance needed for cutting and weeding. If you cut one item at a time, the leftover edges become awkward strips that are hard to use later.
For small businesses and hobby users, a simple layout grid often does the job. Keep the design close together but leave enough room so the blade does not score into the next piece. If you are cutting letters, try to place them in the same direction where possible. That makes the weed line easier to follow and reduces lift on thin vinyl.
- Group same-colour jobs together before sending the cut.
- Place larger shapes first, then fill gaps with smaller items.
- Rotate pieces only if it keeps the grain and cut direction practical.
- Use the narrow ends of leftover vinyl for small decals, labels, or test cuts.
A good nesting layout is especially useful when you are working around load-shedding windows. If power may drop, you want the sheet planned properly before the machine starts so you do not restart with half-used material and a loose offcut pile.
Use test cuts so you do not waste the whole roll
A tiny test cut can save a full metre. If the blade is too deep, the liner scores badly and the job tears during weeding. If it is too shallow, the corners lift and the design will not release cleanly. Either way, you lose material and time. A proper test takes a few seconds and gives you confidence before the main run.
Keep one small piece of the same vinyl beside the machine for checking settings after a blade change, a new roll, or a software update. In humid coastal weather, materials can behave differently than they do inland, and even in Johannesburg a warm workshop can change how the liner feeds. A fresh test is cheap compared with replacing a spoiled sheet.
If the cut quality looks uneven, check the usual points in order: blade depth, speed, pressure, mat grip, and the condition of the strip under the cutter. That routine is faster than re-cutting a whole job and hoping the next pass will fix it.
Match the vinyl type to the job
Not every design needs the same material. Thin lettering, simple logos, and one colour signage do not call for a heavy setup. Likewise, stretch garments, bags, and textured fabrics often need a material that suits movement and heat better than a general purpose option. When the material choice fits the job, there is less failed weeding and fewer re-cuts.
A frequent waste point is using a large offcut of premium vinyl for a small practice job. That feels efficient until you realise the scrap could have covered a name label, a decal for a bottle, or a short promo run for a church or school event. Keep a separate offcut box and sort it by size so you can see what is truly usable.
- Use larger sheets for full names, logos, and garment runs.
- Keep small pieces for initials, numbers, and test settings.
- Store leftover vinyl flat so edges do not curl.
- Mark the usable area on each offcut with a pen or tape.
Keep the cutter feeding cleanly from the first metre
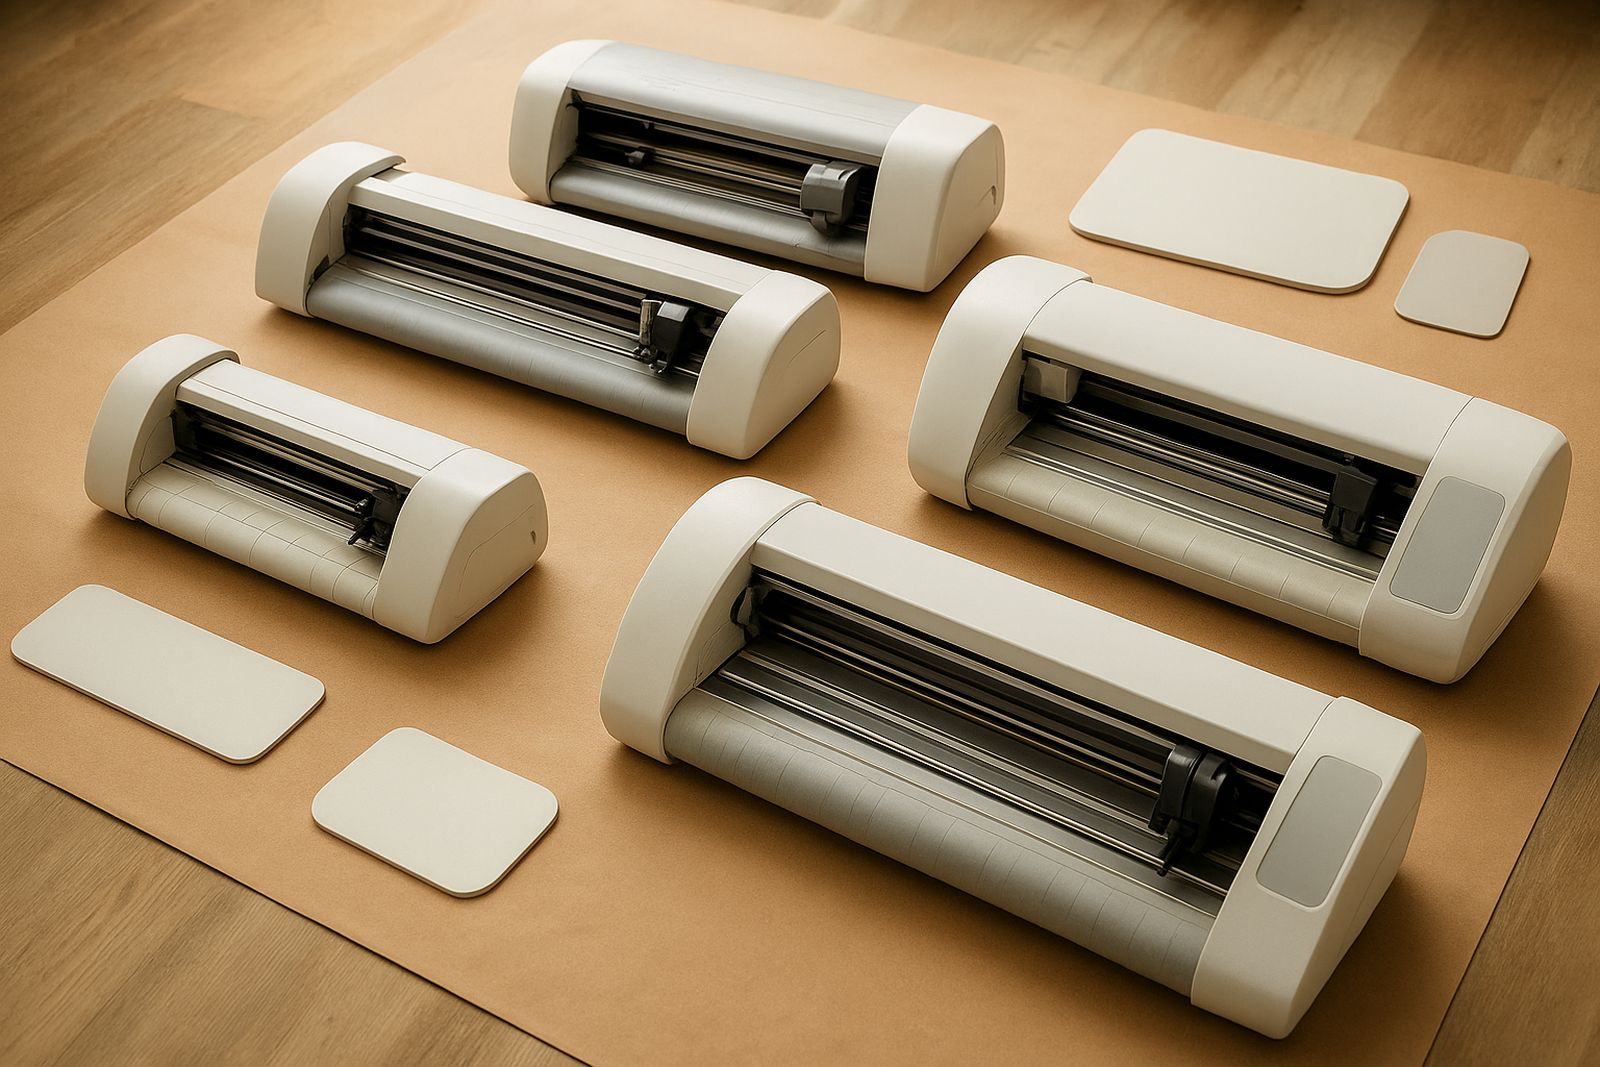
Waste is not only about artwork. A machine that feeds badly can pull a design off line and ruin an otherwise good cut. Check the pinch rollers, the feed path, and the condition of the cutting strip often. If the vinyl skews even slightly, you may not notice until the final letters do not line up and the last section of the sheet is unusable.
Routine cleaning matters too. Dust, adhesive residue, and tiny vinyl shavings build up near the blade holder and rollers. In a workshop with constant use, that grime can cause drag. A quick clean before a busy day is easier than trying to rescue a sheet after the machine has started pulling unevenly. If you hear unusual noise or see jagged edges, stop and inspect before the next cut.
For new users, a machine setup session can be the difference between tidy offcuts and repeated waste. Once the blade is calibrated and the material test is done, you are far less likely to throw away half-finished pieces because the settings were never right in the first place.
Plan around small jobs and local realities
Small jobs often come in batches from the same area: a few staff shirts for Randburg, club numbers for Sandton, or labels for a Midrand market stall. When that happens, plan the full set before you cut the first item. Grouping the work by size and colour can turn a pile of loose requests into one neat cutting session.
In Johannesburg, many makers also work around municipal rules, building access times, and power interruptions. If you know the day may be split by load-shedding or courier collection times, prepare the artwork, material, and weed tools in advance. That way the actual cutting window is spent on production, not on searching for scraps or adjusting files.
The best habit is simple: treat every sheet like it costs money, because it does. When you measure carefully, nest well, test first, and keep the cutter in good order, you get more from each roll and less waste on the floor. A small amount of planning pays back quickly, especially when orders are short and margins are tight.