Start With a Clean Cut Plan
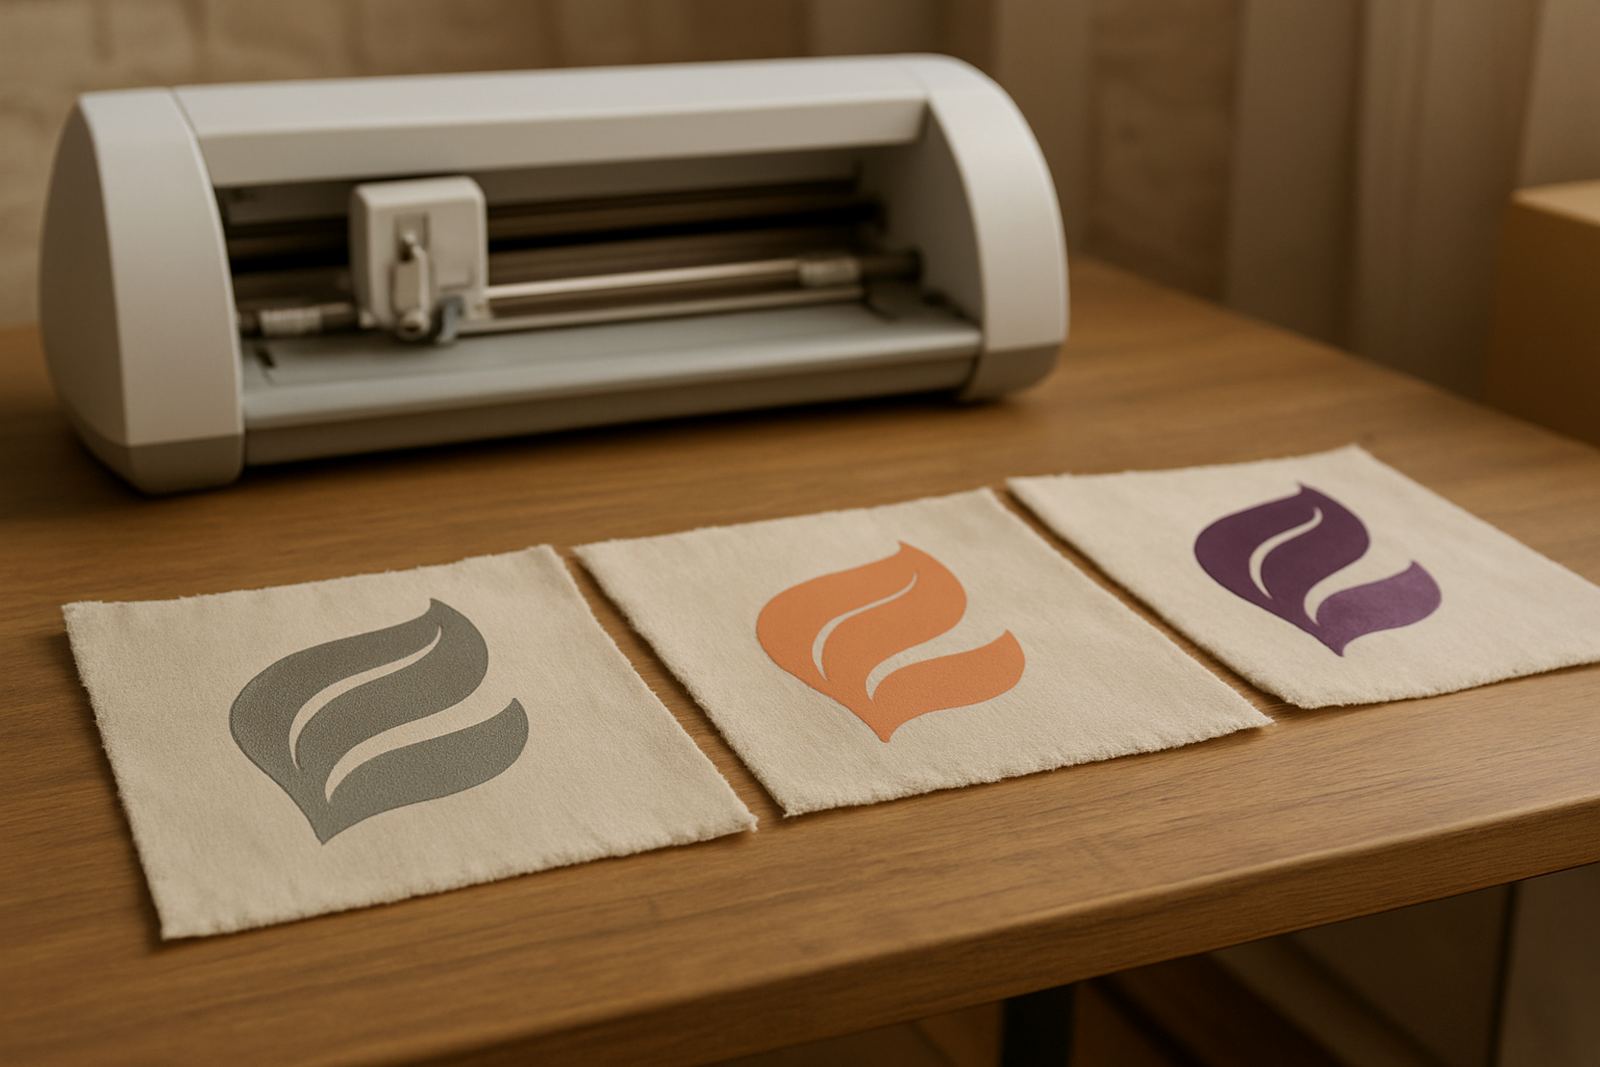
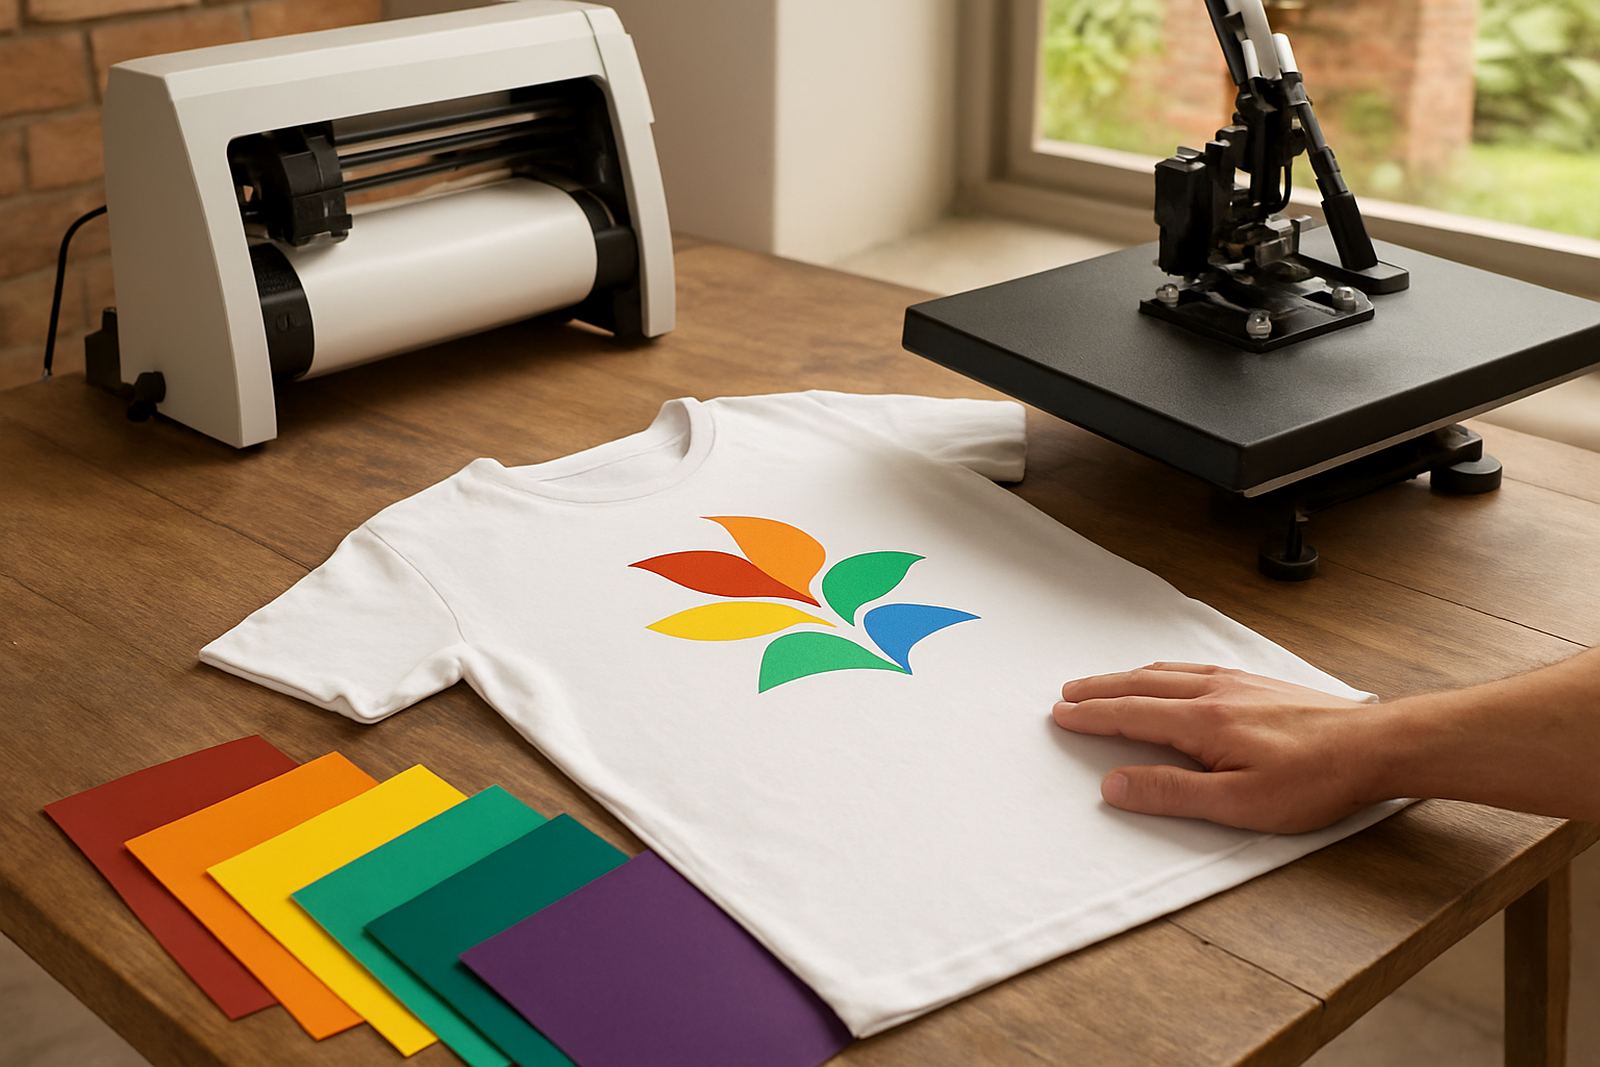
Before you switch on the heat press, plan the full artwork from bottom layer to top layer. The base colour should carry the most detail and the top layers should be simpler, because every extra layer adds thickness and a bit of stiffness. For polo shirts, cotton tees and poly-cotton blends, keep the final design within a size that sits flat on the garment, especially if the logo goes near seams or buttons.
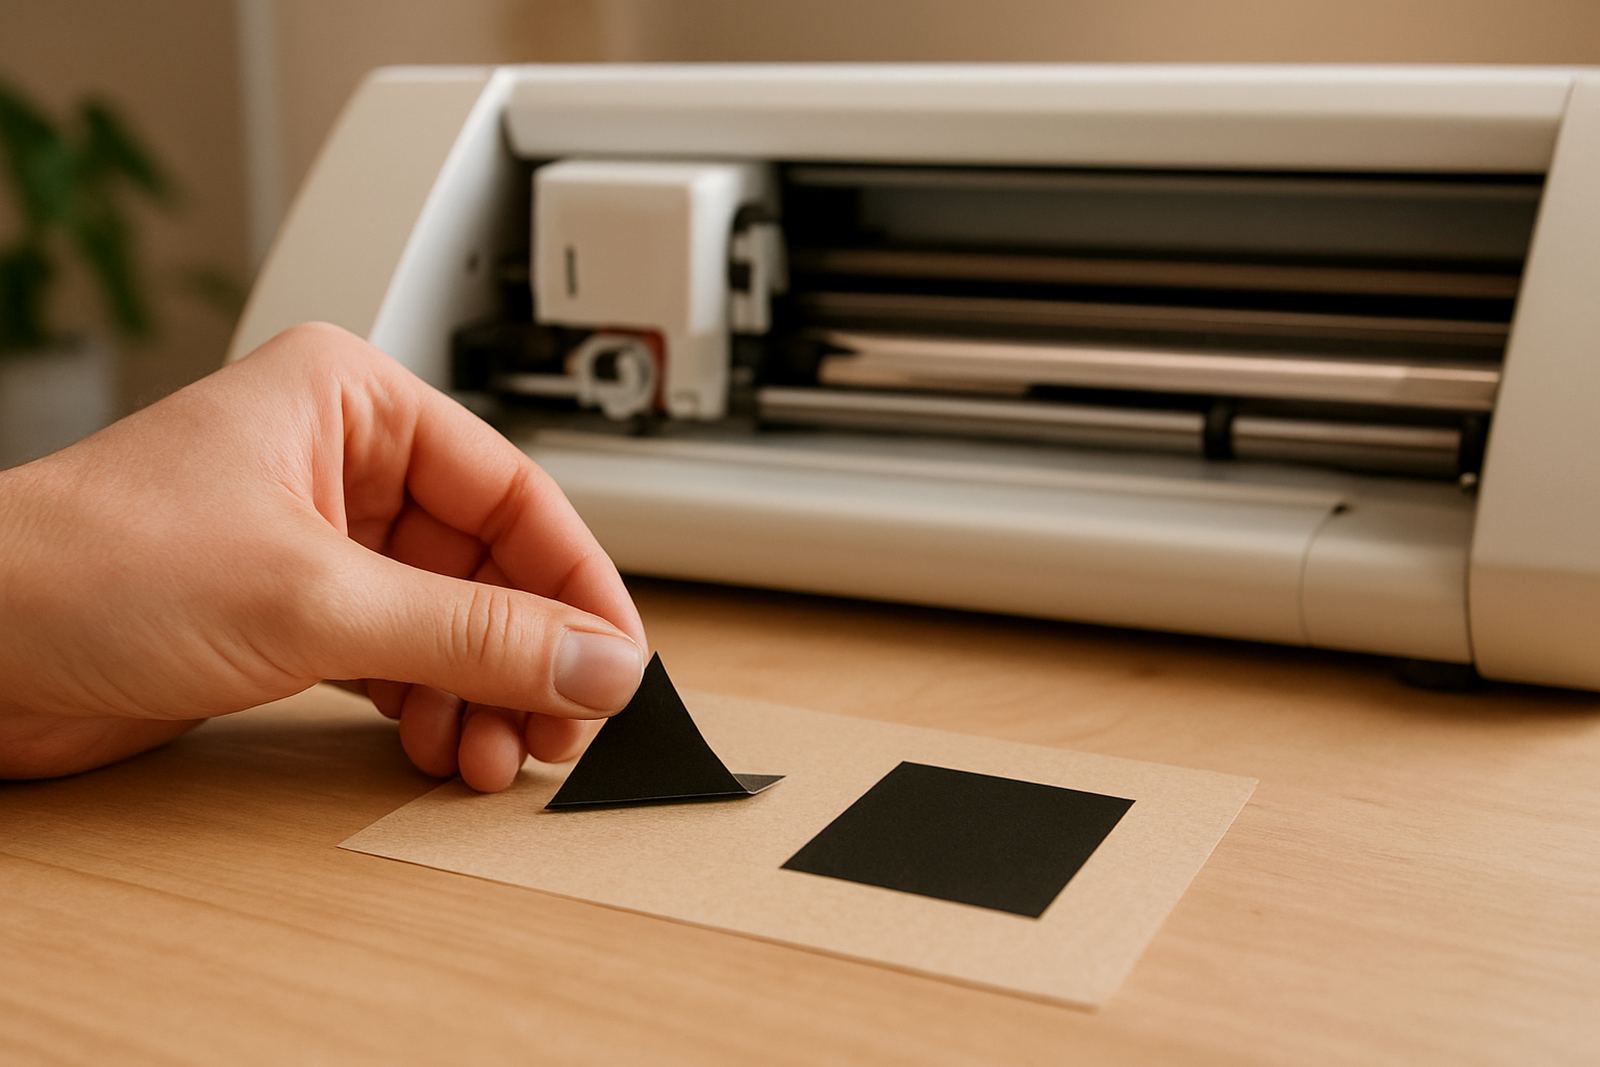
For multi-colour work, weed each layer carefully and label the order on the carrier sheet with a small note. This saves time when you are doing repeat jobs in Kya Sand, Randburg or Midrand and need the same result every time. If the cut is dragging or lifting at the corners, stop and check blade depth before you press anything.
- Confirm fabric type and press temperature first.
- Sort layers from bottom to top before weeding.
- Keep small text to the top layer where possible.
- Test the design size on the garment with a ruler or tape measure.
Press the Base Layer First
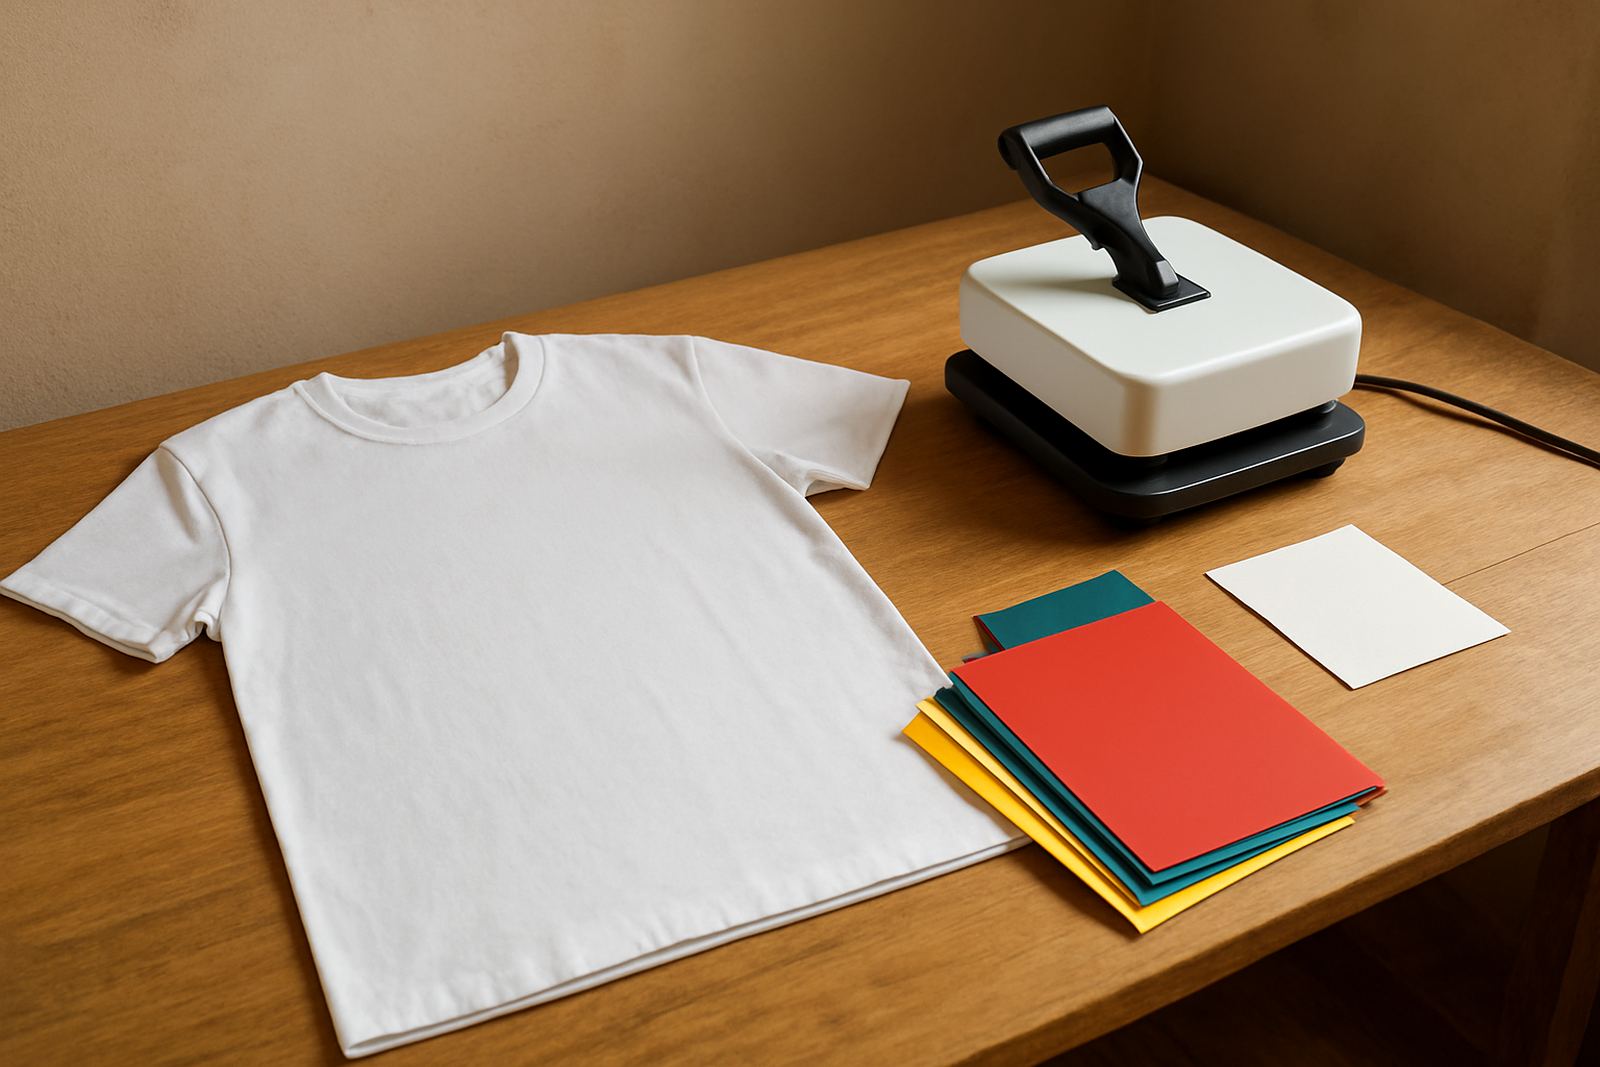
Place the garment flat on the platen and pre-press for 3 to 5 seconds to remove moisture and wrinkles. In Johannesburg winters and on damp coastal stock, trapped moisture can cause a weak bond or bubbling. Lay the base HTV layer in position, check alignment from the neckline and side seams, then press with firm, even pressure.
Use the correct time and temperature for the material, then peel according to the film type, either warm or cool. Do not rush the first press. If the base layer is not fully bonded, the top colours will pull it loose when you add the next layer. Let the surface settle for a few seconds before moving on.
- Pre-press the garment to remove steam and lint.
- Keep the press pressure even from edge to edge.
- Use a silicone sheet or cover sheet if the surface needs protection.
- Let the base cool enough to handle without shifting.
Align the Next Colours Without Stretching the Film
Once the base layer is secure, line up the next layer using the same reference points every time. A simple method is to mark the centre line and the top edge on your carrier before pressing. For multi-colour names, badges or shop logos, work from the widest area outward so the smaller pieces land in the right place. Be careful not to over-handle hot film because it can stretch and throw off the fit.
If you are applying a layer over another layer, trim away any carrier edge that could sit under fine detail. This helps stop a visible step between colours. When you are doing short runs for local schools, clubs or small retailers, consistency matters more than speed, so pause and check each layer before the press closes.
- Use a centre mark on both the garment and carrier.
- Keep the garment smooth, not pulled tight.
- Do a dry fit first, then press once happy with placement.
- Remove loose threads and dust before each layer goes down.
Use Light Pressure for the Top Layers
The top layers usually need slightly less pressure than the base, especially when the design is already built up. Too much pressure can leave a ridge around the artwork or flatten fine detail. For small business orders, a lighter second press often gives a neater finish and reduces scorching on polyester blends. If your heat press has hot spots, check the corners and centre with a test strip or sample patch.
Press each added layer for the minimum time needed to secure it. If the carrier marks the surface, cover it with baking paper or a pressing sheet on the final press. This keeps the finish clean and helps the colours sit together without looking crushed. On thicker designs, allow a short cool down between presses so the garment does not shift.
- Reduce pressure slightly for upper layers.
- Use a protective sheet on the final press.
- Check for shine marks on delicate fabrics.
- Allow a short rest between layers on thicker builds.
Check Bond, Edges and Wash Safety
When the final layer is on, inspect the full design while the shirt is still warm but not hot. Look at the edges, corners and small lettering. If a corner lifts, cover it and give it a short spot press. A proper bond should sit flat with no peeling at the sides. For workwear that will be washed often, this step is not optional because layered HTV takes more wear at the edges.
After pressing, wait before folding or packing. Many operators rush straight to packing and the top layer can shift while still soft. For best wash life, turn garments inside out and follow the heat transfer care instructions on the film used. If you are printing for businesses in Roodepoort or Pretoria East where orders move fast, a simple final check can save a return trip later.
- Inspect all layer edges before the garment cools fully.
- Spot press any lifted corner straight away.
- Wait before stacking, folding or bagging.
- Give wash care guidance with every finished garment.
Common Layered HTV Problems and Quick Fixes
Layered jobs often fail for the same few reasons: wrong timing, too much heat, poor alignment or fabric moisture. If the second colour is sliding, the base was probably not cooled enough. If the top layer looks sunken, pressure may be too high. If the garment shows marks around the artwork, the press may be set hotter than the film needs. Small adjustments usually solve the problem without starting again.
For makers working from home or in a small workshop, keep a simple test notebook with temperature, time, pressure and fabric type. That record helps when you repeat a design for a school, club or small retailer. If the machine itself is causing uneven pressure, blade cut issues or workflow delays, a setup check or remote support session can save a lot of wasted material and time.
- If layers slip, let the base cool more before adding the next one.
- If edges lift, increase time slightly or check pressure balance.
- If the finish is shiny, lower the temperature.
- If cut detail is weak, test blade calibration before pressing again.