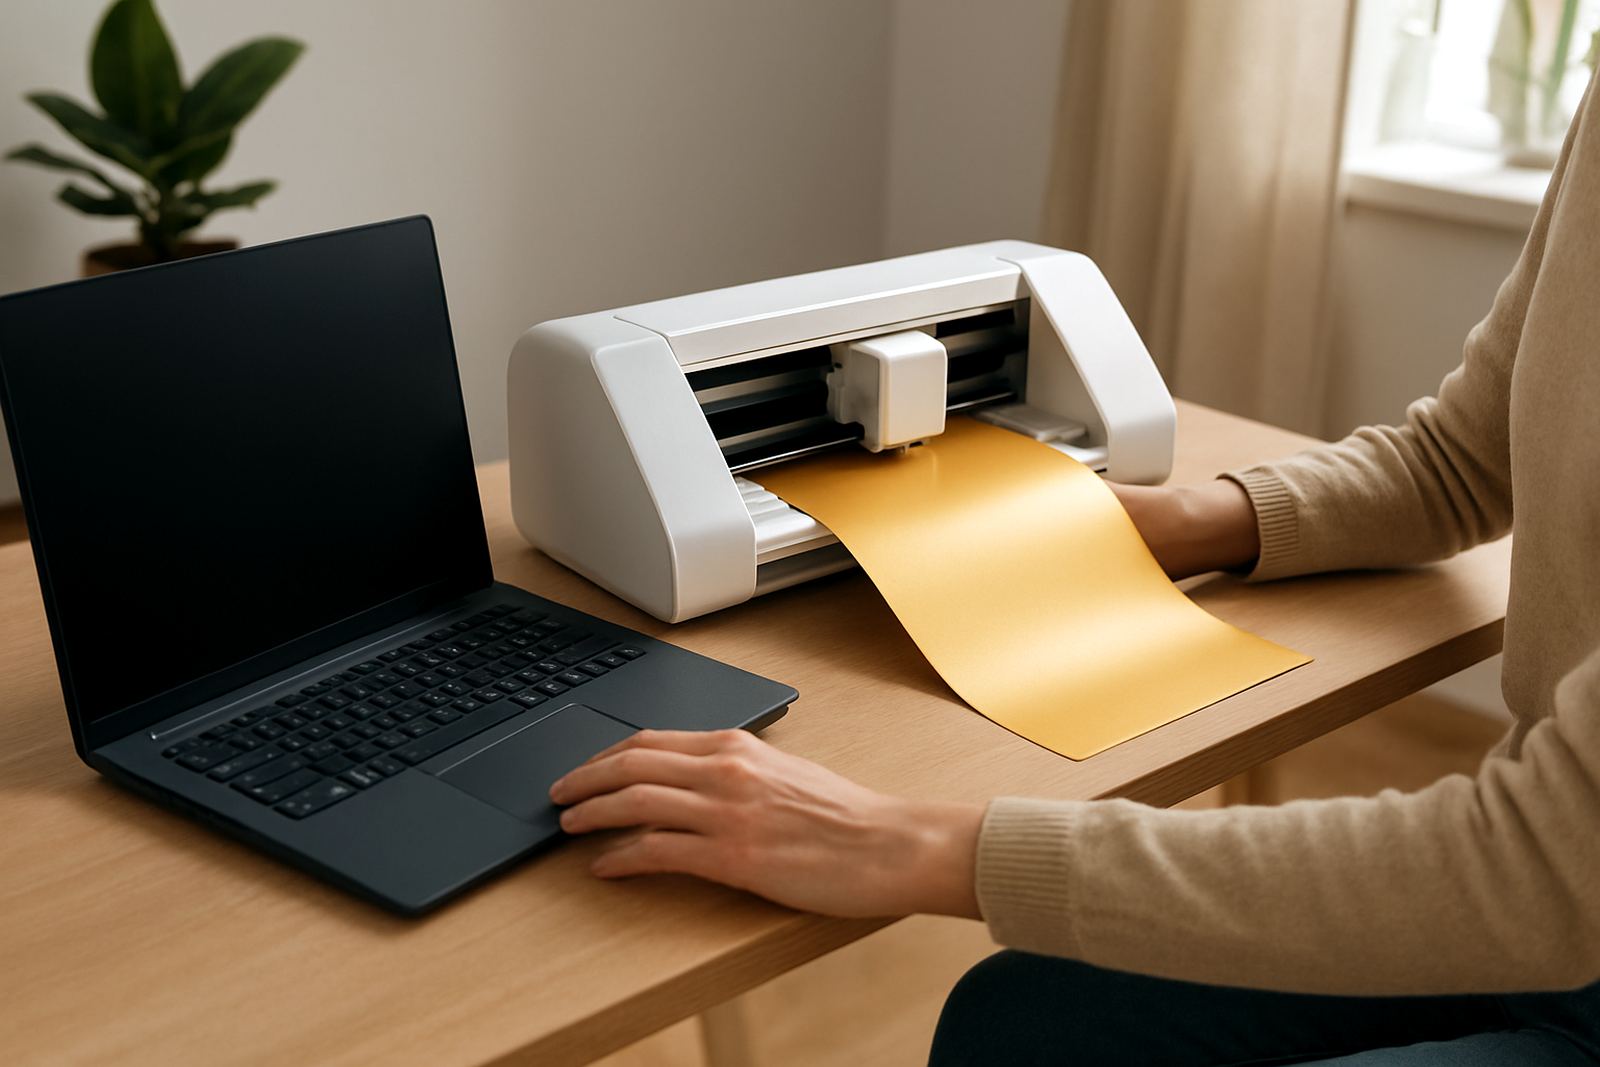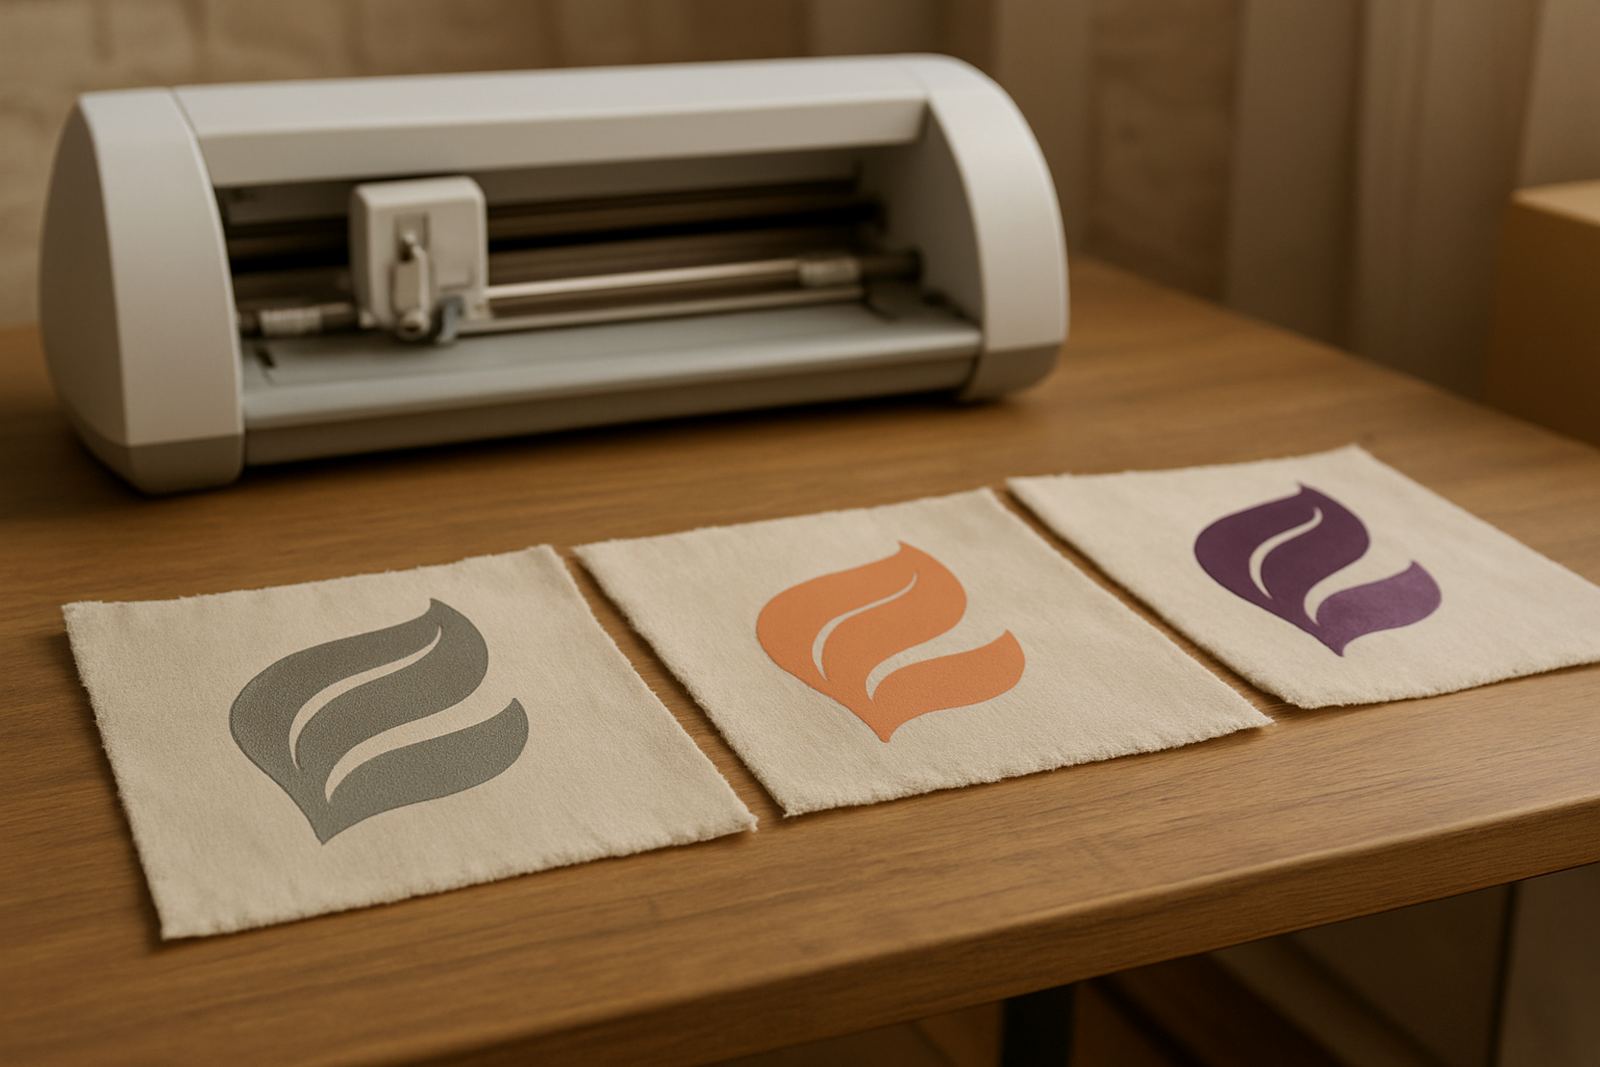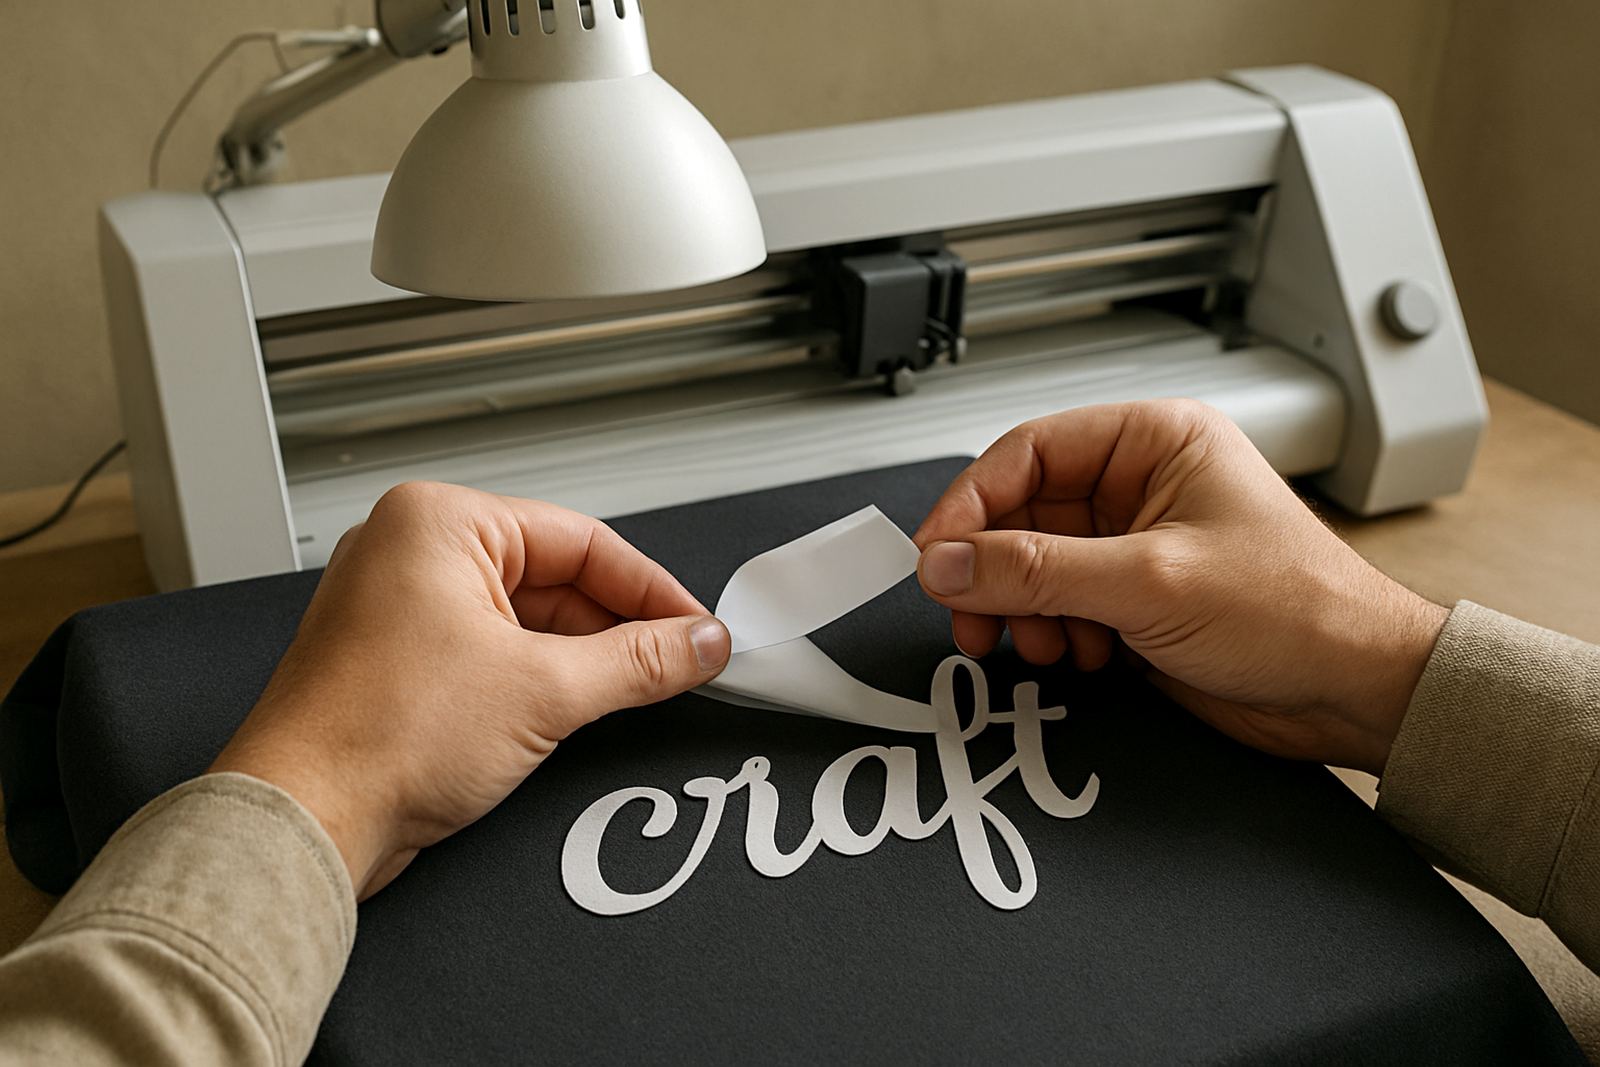
Start With the Garment, Not the Design File
Before you open your cutting software, look at the item first. A toddler T shirt, adult tee, tote bag or cap all have different usable spaces, and the print area is often smaller than it looks once seams, buttons, zips and pockets are accounted for.
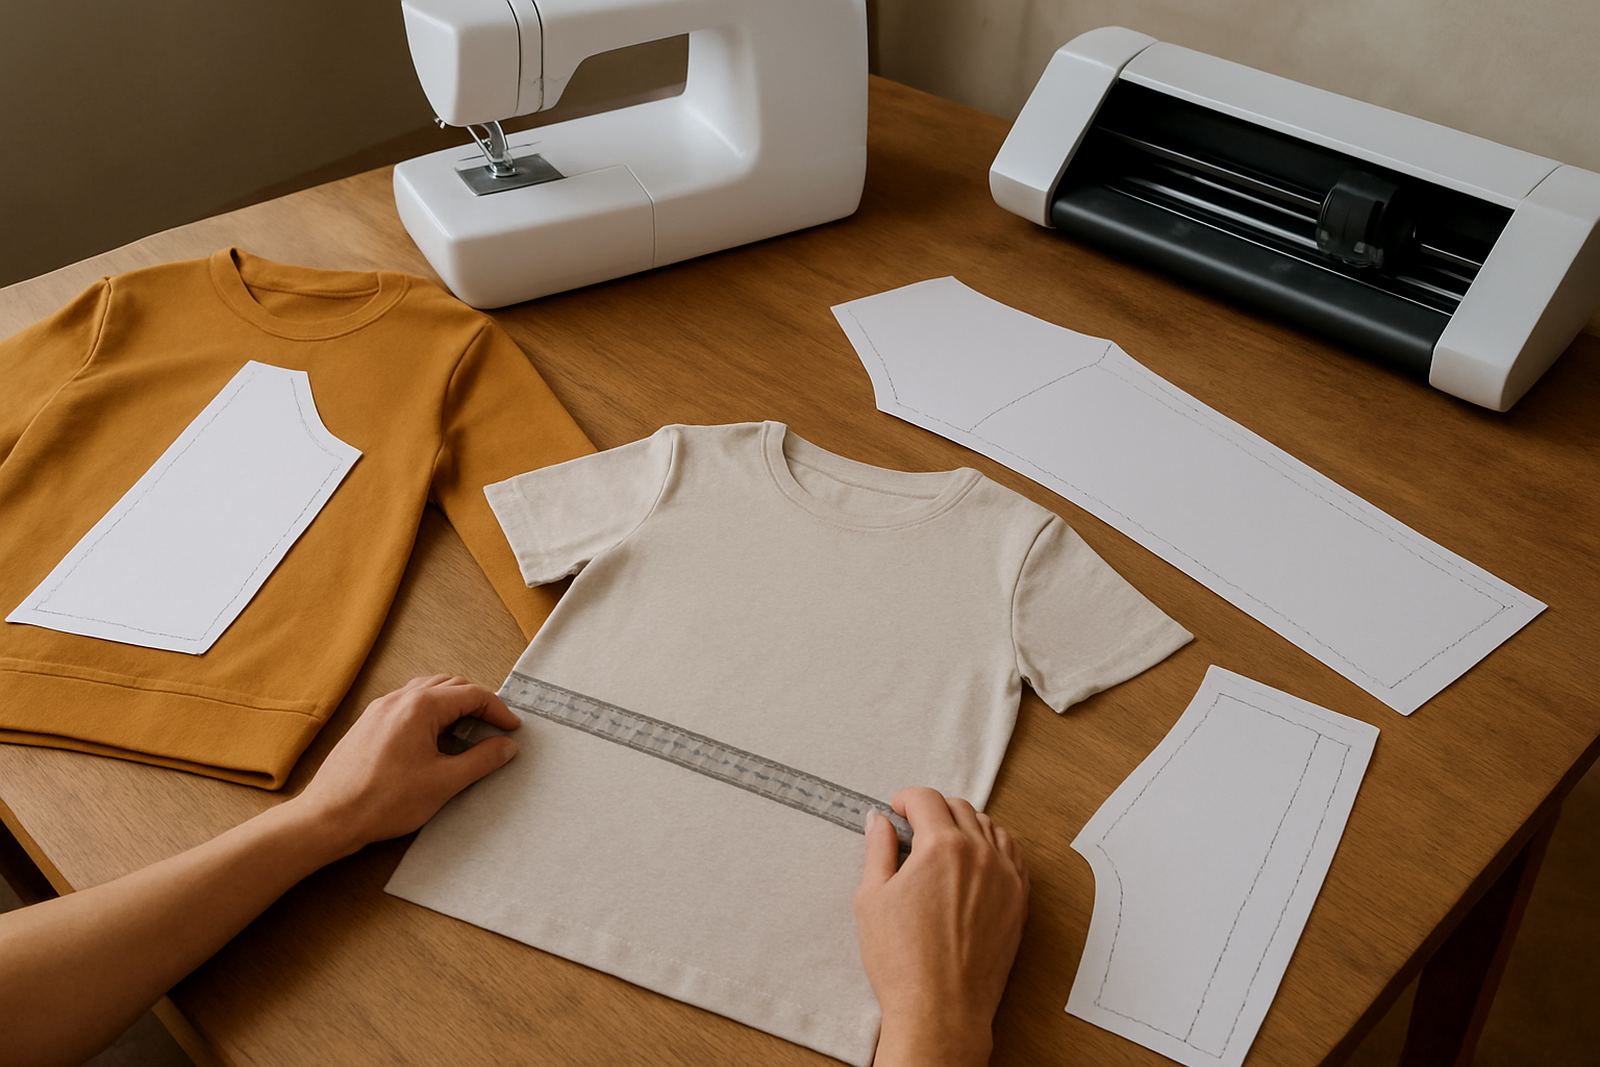
For shirts, measure the front and back area between the seams, then note where the neckline starts to curve. For babywear, keep the design light and simple so it does not feel heavy on the garment. For bags, check the flat panel size and whether the handles or gusset will interrupt the design. A quick tape measure in millimetres helps you avoid guesswork.
In Johannesburg and Pretoria, many makers work across mixed orders, so it helps to keep a standard sizing chart on hand. That way you can plan fast, even when you are cutting for a Saturday market, a small school order, or a custom family set.
Use Practical Size Ranges for Each Product
There is no single correct HTV size, but there are practical starting points that work well for most jobs. Use these as a guide, then adjust for garment size and artwork shape. Long slogans need less height but more width, while logos can sit neatly inside a smaller square.
- Adult front chest designs: 250 to 300 mm wide for most tees
- Adult full front designs: 280 to 320 mm wide, depending on artwork shape
- Youth tees: 220 to 260 mm wide
- Babywear: 120 to 180 mm wide, keeping the design soft and light
- Tote bags: 220 to 280 mm wide for a central print
- Caps: 45 to 65 mm high for front panel artwork
If the design has very fine text, do not shrink it too far. Small text can weed badly and may not press cleanly, especially on stretch garments. A tiny logo can also look lost on a large shirt, so size for the product, not only the file. I often tell new cutters to print a paper mock-up first, it avoids a lot of second guesses and the odd aligment mistake.
Check Placement Before You Cut Vinyl
Good placement is just as important as size. A design can be the correct width but still sit too high, too low, or too far to one side. On shirts, centre chest logos usually sit a little below the collar, while larger graphics need more room lower down on the torso.
Use a ruler or placement guide and mark the centre line of the garment with a light crease or temporary fold. For left chest marks, keep the print area even with the armpit seam line and make sure the top edge is not cramped near the collar. On babywear, avoid placing vinyl too high where it may interfere with the neck opening or nappies.
Caps need extra care because the front panel is curved. Size the artwork to fit the flat section, not the full curved shape, and keep the design simple enough to press cleanly. If the cap has a seam down the centre, move the artwork slightly lower if needed so the press can sit evenly.
Plan for Material Type, Stretch and Pressing Heat
Different HTV types behave differently, even when they cut the same way. Stretch material for sportswear may need slightly smaller lettering than standard film so it can move with the garment. Glitter and thicker finishes often need larger shapes and bolder lines because fine details can lift or break during weeding.
Heat-sensitive fabrics also affect planning. Thin polyester, light babywear and some coated bags can mark easily if the press is too hot or the design is too large for the area. If you are working in a room with load-shedding backups or a small home studio, let the machine and press stabilise before you start, because temperature swings can change results.
- Use bold shapes for glitter or textured HTV
- Keep script fonts larger so the weed lines stay clear
- Leave space around seams, zips and button plackets
- Test new materials on offcuts before a full order
In coastal humidity, especially when stock travels from Johannesburg to Durban or the east coast, store vinyl flat and sealed so it does not curl or pick up moisture. That small step makes sizing and cutting more reliable.
Make a Simple Size Chart for Repeated Orders
If you sell custom garments regularly, create a size chart for your most common jobs. A chart helps when you are cutting at speed and need to keep every order consistent. It also makes it easier for staff or family helpers to prepare jobs the same way each time.
Keep the chart practical and write down the exact width, height, product type and placement notes. For example, a school tee might use a 240 mm wide front logo, while a toddler birthday shirt could use a 160 mm wide design. Add notes for special instructions such as small wording, a curved cap front or a bag with a gusset.
- Product name and garment size
- Recommended design width and height
- Placement point from collar, seam or edge
- Vinyl type used for the job
- Press time, temperature and pressure notes
A simple record keeps your cut sizes consistent across repeat jobs and makes reorders easier for customers in Randburg, Sandton or Midrand who want the same look every time.
Test the Fit Before You Press the Final Piece
Do a paper or low tack test before you cut the final vinyl sheet. Lay the paper on the garment and step back to check proportion, spacing and balance. This is especially useful for family sets, baby shower gifts and sportswear where the same design may be used on several sizes.
Ask three quick questions before you start the final cut: does the design suit the garment size, can the text be read from a normal viewing distance, and is there enough room to press without hitting seams or zips? If the answer is no to any of them, adjust before wasting material.
For small business owners, this habit saves money and keeps turnaround times steady. It also cuts down on pressing mistakes that can happen when a customer wants a rush order and everyone is working fast. A short test run now is cheaper than replacing a garment later.