What Custom T-Shirts Work Best For
Custom shirts suit a wide range of jobs, from a birthday weekend in Sandton to a church fundraiser in Pretoria East or a small run for a team in Randburg. They work well when you need a few printed pieces quickly, without the setup costs of screen printing for every colour change. For many South African buyers, the appeal is simple: order only what you need, keep the design flexible, and make changes later if the event date or names shift.
For families, that often means matching shirts with surnames, nicknames or a trip theme. For schools and clubs, it may be team names, house colours, camp shirts or learner events. Small clothing sellers also use custom T-shirts to test new ideas before placing bigger orders. If the fabric is suitable and the artwork is kept clear, vinyl-applied shirts can be neat, durable and cost effective.
Typical Machine And Press Setup
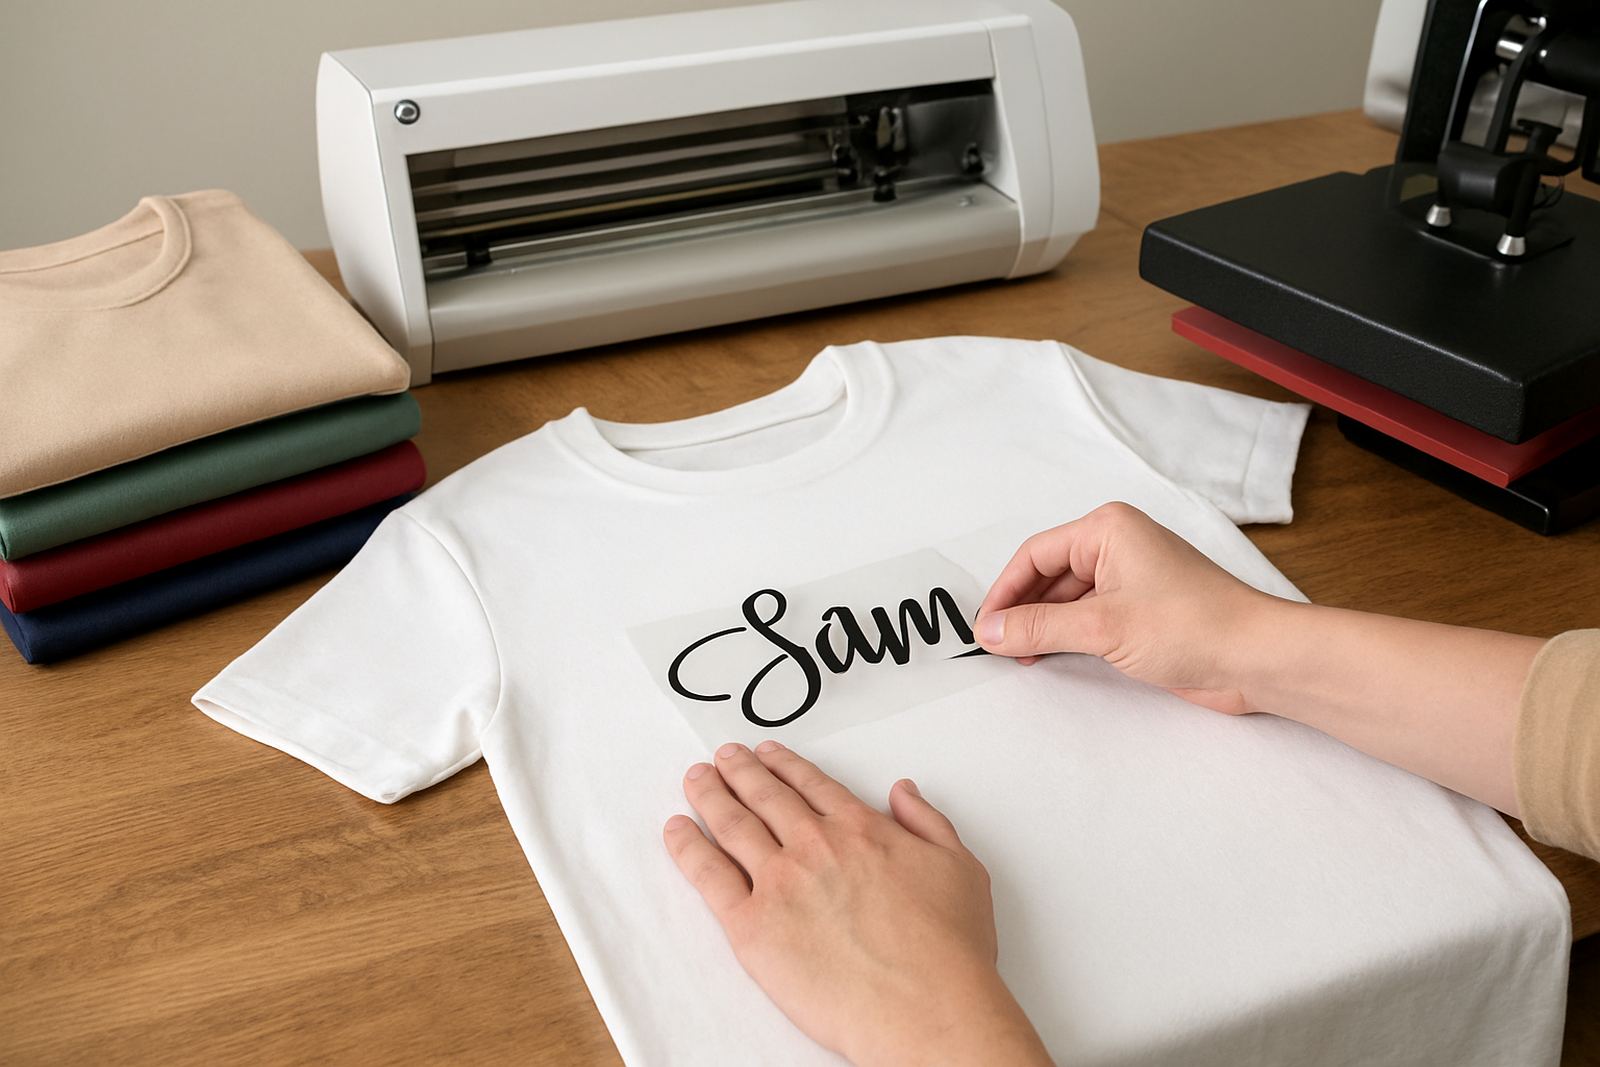
A small custom T-shirt setup usually starts with a desktop vinyl cutter, heat transfer vinyl, a cutting mat or carrier sheet depending on the material, and a heat press. For simple text, numbers and single-colour logos, this is often all you need. If you plan to do more detailed work, a cutter with accurate blade control and consistent tracking becomes more important, especially for repeated small letters and fine outlines.
- Desktop vinyl cutter for text, shapes and simple graphics
- Heat press for even pressure and stable temperature
- Heat transfer vinyl in standard, stretch or glitter finishes
- Weeding tools and a ruler or alignment guide
- Test shirts for calibration and first press checks
In areas like Midrand and Roodepoort, many small operators work from home, a spare room or a workshop corner. That makes compact gear useful, especially when load shedding interrupts longer production runs. A cutter and press that recover well after a power cut saves time, because you are not redoing half a job. The best setup is the one that matches your order size and the fabric you use most.
Planning The Shirt Layout Before You Cut
Good shirt work begins before the cutter starts moving. You need to decide where the artwork will sit on the chest, back or sleeve, and how big it should be for each size. A large design that looks fine on an XL shirt can crowd a small child's shirt very quickly. When you are doing family sets or school groups, keep the layout consistent and then make small size adjustments instead of guessing on each shirt.
For most front chest designs, a width of about 22 cm to 28 cm is a useful starting point, depending on the shirt size. Names on the back often sit higher than people expect, and sleeve marks should stay modest. It helps to make a sample on paper first, then place it on the shirt with a ruler or centre line. Small planning errors are expensive once vinyl has been weeded and pressed.
- Check garment size before choosing artwork width
- Leave enough top space so the design does not sit on the collar
- Group repeated names or numbers to reduce setup time
- Mirror the artwork only when the vinyl type requires it
Common Mistakes With Heat Transfer Vinyl
Many first-time shirt makers rush the pressing step and then wonder why edges lift or letters peel. Usually the problem is heat, pressure or timing. Thin shirts can scorch if the temperature is too high, while thicker cotton blends may need firmer pressure to bond properly. Another common issue is overweeding tiny pieces and then losing important details in the process.
It also helps to test the vinyl on the exact fabric type you plan to use. A shirt that is 100 percent cotton behaves differently from a polyester blend, and a dark garment may need a different vinyl finish from a light one. In Johannesburg's dry winter air, static can make handling small cut parts annoying, and coastal humidity can affect storage if rolls are left open too long. Keep materials sealed and labelled so you know what is what.
- Wrong heat setting for the fabric
- Uneven pressure from a worn press or loose platen
- Cut depth set too high, which scores the backing
- Artwork too small for easy weeding
- Pressing over seams, zips or thick hems without checking contact
Budget Ranges For Small Shirt Orders
For a home or small workshop in Kya Sand, a basic shirt setup can start with a desktop cutter and a heat press, with total spend often landing from about R8 000 to R25 000 depending on size, features and accessories. If you already have pressing gear, a reliable cutter and a starter selection of HTV can keep the entry cost lower. A more serious setup with better pressure control, spares and extra tools can move above that, especially if you want to work faster on repeat orders.
On the consumable side, simple single-colour names and numbers are the cheapest jobs to produce. Multi-layer designs, special finishes and frequent sample testing use more vinyl and more labour. For small clothing orders, many people build their pricing from shirt cost, vinyl usage, press time and packaging. It is wise to keep a buffer for failed tests and replacement blades because those small items add up. If you are handling school or club work, order a little extra stock so one damaged shirt does not delay the whole group.
Support That Helps You Keep Shirts Moving
When shirt orders are time sensitive, setup support matters just as much as the machine itself. A cutter that is slightly off in blade calibration can waste material, while a software connection issue can stop a whole batch before it starts. That is why practical help with machine setup, cut quality troubleshooting and material testing can save hours. For small operators in Randburg, Sandton or Pretoria East, remote support is often enough to get a job back on track without driving across town.
Routine cleaning also makes a difference. Dust, adhesive residue and small vinyl scraps can affect cut quality, especially on repeated runs. If you keep your work area tidy and check the blade, rollers and heat press before a busy weekend, you reduce the chances of rework. For custom T-shirts, consistency is the goal. The first shirt should look like the tenth, and that only happens when the tools are set up properly.
- Check blade depth before every new roll of vinyl
- Run a test cut on offcuts before a full batch
- Keep spare blades and basic replacement parts on hand
- Review press time and temperature when changing fabric type