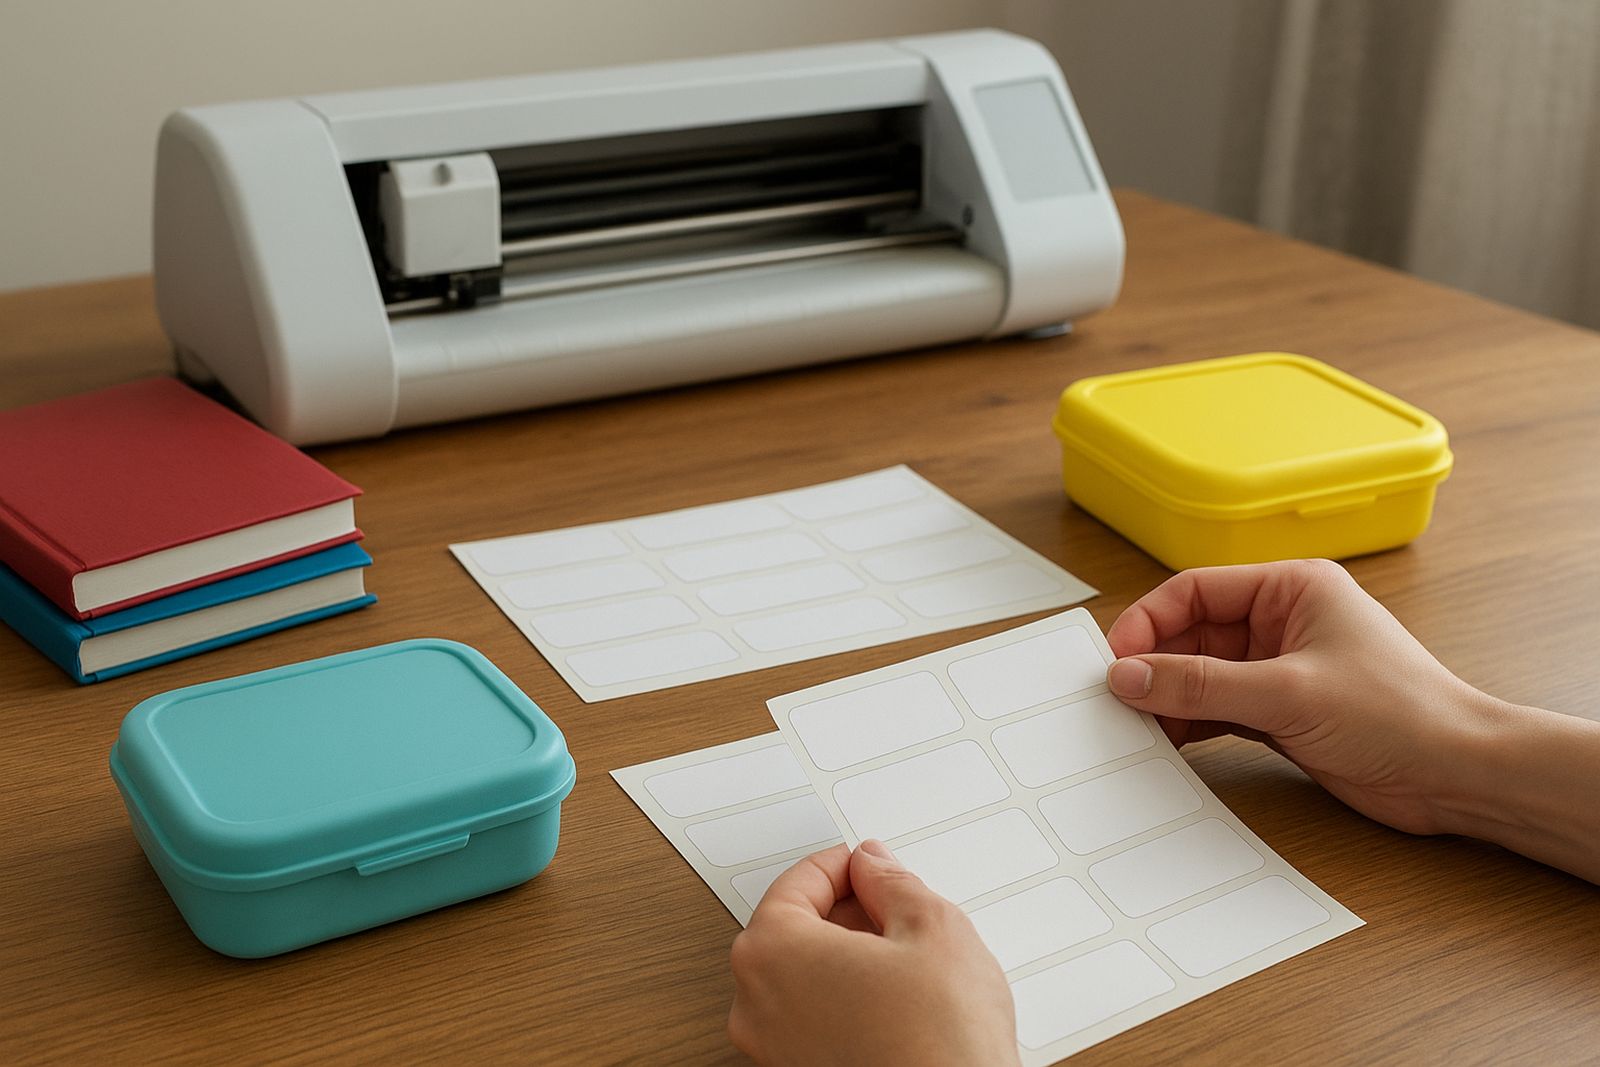
What School Labels Need To Handle Each Term
School labels sound simple until you see how fast they get tested. Book covers rub against school bags, water bottles sweat in the heat, lunch tubs get washed at night, and pencil cases go missing between home, aftercare and sports. For that reason, school labels need clean cutting, good adhesion and a finish that still looks tidy after repeated handling.
In Johannesburg, Randburg, Sandton and Pretoria East, many parents and small stationery sellers look for labels that are quick to make in term-start rushes. In coastal areas, humidity can weaken cheap adhesive if the material is not stored properly, while in hot inland suburbs like Midrand or Roodepoort, labels must cope with heat and dust. For learner items, a simple name label with a clear font is usually more practical than a busy design.
The best school labels are usually made from vinyl or printable sticker material depending on the item. Vinyl suits bottles, lunch boxes and hard surfaces. Smaller sticker labels work well for books, folders and stationery packs, as long as the surface is clean and dry before application.
A Practical Starter Set For Small Label Jobs
You do not need a large workshop to begin. A compact cutter, a basic computer connection and the right material stock can cover most school label work from a home room, tutoring office or small shop counter. VinylCutter Craft supplies desktop craft cutters and heat transfer vinyl for people who want to produce neat labels without complicated setup.
A sensible starter set for school labels usually includes:
- A desktop vinyl cutter for names, borders and simple icons
- Cutting mats or backing sheets suited to small items
- Adhesive vinyl in white, black and a few bright colours
- Transfer tape for placing cut labels accurately
- Basic weeding tools for lifting small letters and numbers
- A label testing area with common school items like lunch tubs and exercise books
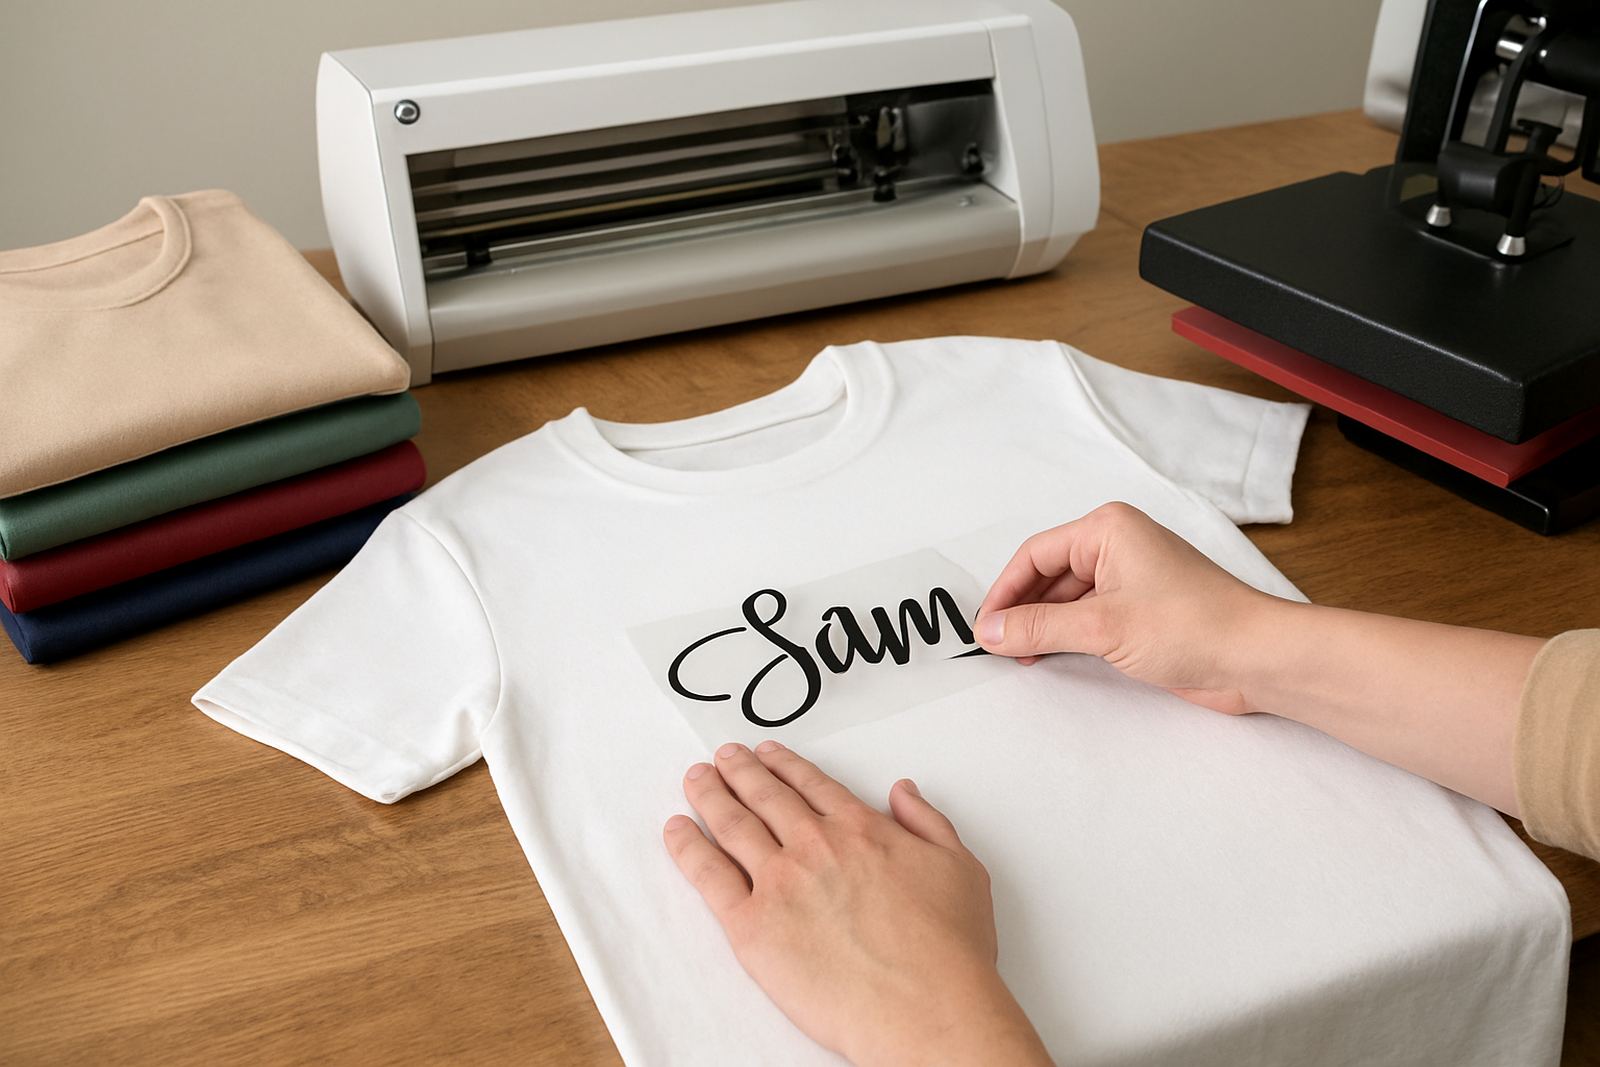
If you also plan to do T-shirts for sports days or class events, HTV is useful for learner names, team numbers and one-off parent orders. That gives a small business more ways to sell from the same machine, especially in Kya Sand, Randburg and Sandton where personalised items are often ordered in batches.
How To Plan Label Sizes And Layouts Properly
Good layout saves time and material. For school labels, work from the item first rather than from the artwork. A book label might only need 60 mm by 30 mm, while a lunch box may allow a wider strip. For a water bottle, a vertical label often reads better than a wide one because it fits the curve and stays visible when the bottle is packed into a bag.
Keep the font simple and bold. Thin script can look pretty on screen but it cuts poorly and becomes hard to read on a moving child’s item. Leave enough space around the name so the blade does not nick small letters. If you are making labels for more than one child, create a consistent size range so the whole set looks neat and easier to sort.
- Use one font family across the set for a clean school-ready look
- Keep surnames in a slightly smaller size if the full name is long
- Plan a few standard label sizes, not one size for every item
- Use high contrast colours for younger learners and shared stationery
For aftercare centres and small school suppliers, a simple worksheet can help track item type, quantity and finish. That avoids mixing up reusable labels with single-use sticker runs. It also makes repeat term orders far quicker when a parent comes back in February or July.
Common Mistakes That Waste Material And Time
The most common mistake is cutting too finely. Tiny letters may look good on a screen, but on a school label they can weed badly and lift at the edges. Another issue is using the wrong material on the wrong surface. A lunch tub with texture needs stronger adhesive than a smooth exercise book cover. If the label is going on a surface that gets washed often, test it first before producing a full batch.
Another problem is skipping machine checks. A blade that is slightly off will waste material on small names and borders. If your cutter is not feeding squarely, one run can ruin a whole set of labels. Our team in Kya Sand assists with blade calibration, material testing and cut quality troubleshooting, which helps avoid those costly mistakes when you are doing back-to-school orders.
Power interruptions also matter. During load shedding, a half-finished file can be frustrating if the machine loses connection or the computer shuts down. Keep saved settings, use a backup power source where possible, and avoid starting long batches when supply is uncertain. For small jobs, short runs of 10 to 20 sheets are easier to manage than one large cut that must not fail.
Budget Ranges For Home And Small Shop Label Work
Budgets vary depending on whether you are buying for home use, a small school shop or a side business doing term orders. A basic entry-level setup for school labels can start around R3,500 to R8,000 for a simple cutter and starter materials. A more capable set-up with better software connection support, spare blades and enough vinyl stock for batch work can sit between R9,000 and R18,000.
If you are adding HTV for name labels on fabric pencil bags, sports shirts or library totes, allow another R500 to R2,500 for starter colours and test rolls. Consumables also matter. Transfer tape, replacement blades and cleaning supplies are small costs, but they add up when you are serving several families or a school shop in Pretoria East, Midrand or Roodepoort.
For buyers who only need to label their own children’s items, a smaller order may be more practical than a full production set. That said, if you plan to sell labels each term, it is usually better to choose equipment that can handle repeat batches and a mix of sizes without constant adjustment.
Support That Helps School Label Work Stay Consistent
School label orders are repetitive, and that is exactly why good support matters. Once your cutter is set up well, the same settings can be reused for name packs, class labels and item tags. VinylCutter Craft supports customers nationwide with remote support sessions, workflow help, software connection help and machine checks when the cutter is not tracking properly.
Based in Kya Sand, Johannesburg, with service across Randburg, Sandton, Midrand, Roodepoort and Pretoria East, the team understands what local makers need when term deadlines are close. If a blade starts dragging, a heat press is uneven or a material roll is not feeding smoothly, it is better to sort it before a full parent order arrives. A little setup time now can save a lot of rework later, especially when the school bell is already against you.
For a practical school-label business, the goal is not fancy effects. It is clear names, quick repeatability and labels that stay put long enough for parents to trust them.